
I spent eight years as an assistant watching photographers freak out over gear, convinced that a three-thousand-dollar lens was the magic fix for a mediocre portrait. They’d spend the whole session obsessing over technical specs, only to realize too late that they’ve spent an hour making their subject look like a distorted caricature. If you’re sitting there scrolling through gear reviews trying to figure out how to choose a focal length for a face, stop. The math in the textbooks is fine, but it doesn’t account for the actual physics of a person standing in a cramped studio or a client who starts shrinking into their collar the moment you move too close.
I’m not here to give you a lecture on millimeters or sensor crop factors. Instead, I want to talk about the real-world trade-offs you make between compression, distance, and the psychological comfort of your subject. I’m going to tell you exactly which focal lengths I reach for when I need to flatten a nose without making someone feel like they’re being interrogated, and when I’m willing to sacrifice that perfect bokeh just to get the shot before the light dies.
Understanding How to Choose a Focal Length for a Face
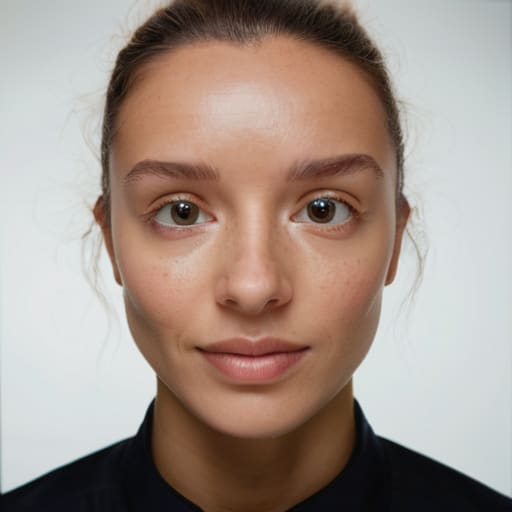
Look, if you walk into a studio with a 24mm lens and expect to take a professional headshot, you’re asking for a disaster. At that width, you aren’t just capturing a person; you’re performing a surgical distortion. The closer you get to the subject to fill the frame, the more you’re going to stretch their nose and pull their ears back into another dimension. This kind of portrait lens distortion is exactly why clients end up hating their photos—they don’t look like themselves, they look like a funhouse mirror version of themselves.
When I’m deciding on a setup, I’m thinking about how the glass interacts with the bone structure. If I want to keep things natural, I lean toward the 85mm to 135mm range. This is where you start to see those lovely lens compression effects on faces that actually make people look like they do in real life. It flattens the features just enough to be kind without looking fake. It’s a delicate balance between the wide-angle chaos and the heavy compression of a massive telephoto, but finding that sweet spot is what actually delivers flattering facial proportions every single time.
Key Things to Know
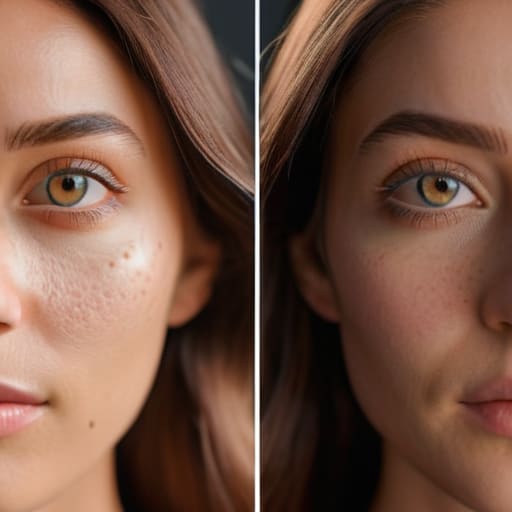
First, let’s talk about the physics of why people look “off” in photos. It’s rarely their bone structure; it’s usually portrait lens distortion caused by being too close with the wrong glass. If you’re shooting a tight headshot with a 35mm because you’re cramped in a tiny studio, you’re going to make their nose look like it’s leading a charge. You aren’t just capturing a person; you’re managing how the lens warps their geometry.
The real magic—or the real headache—happens when you understand lens compression effects on faces. When I move back and switch to a longer lens, I’m not just changing the frame; I’m flattening the features in a way that actually feels human. This is the classic tug-of-war of telephoto vs wide angle portraits. A wide lens pushes everything toward the center, while a telephoto pulls the background in and settles the features.
Finally, don’t get so obsessed with the technical math that you forget the person in front of you. You want flattering facial proportions, but you also need to be able to actually see them. If you’re standing twenty feet away behind a massive prime, you lose the ability to direct them, and a disconnected subject is a bad subject.
Practical Tips and Steps
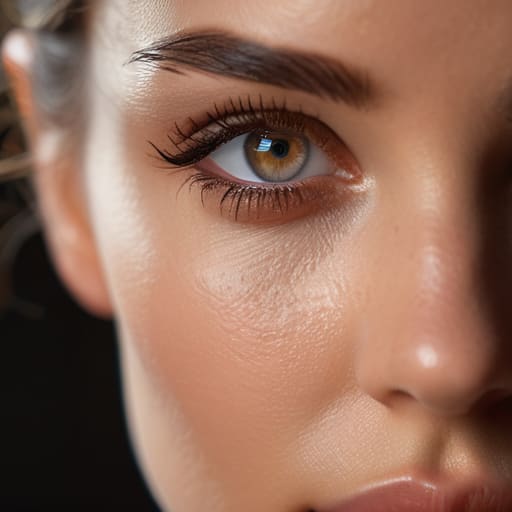
First, stop standing three feet away from your subject with a 35mm lens and expecting them to look like a movie star. You’re going to get massive portrait lens distortion that makes their nose look like it’s leading the charge. If you’re doing headshots, step back. I usually find that anything wider than 50mm on a full-frame sensor starts to feel a bit aggressive for a tight crop. If you want those flattering facial proportions that make a client actually want to use the photo, you need to embrace the compression that comes with a longer lens.
My rule of thumb is to start with an 85mm or even a 135mm if the room allows it. This is where you see the real magic of telephoto vs wide angle portraits; the long end pulls the features together in a way that feels natural rather than forced. Just watch your space. If you’re shooting in a cramped studio corner, you might be stuck with a 50mm, so you’ll need to be much more mindful of your distance from the subject to avoid that caricature effect.
Common Mistakes to Avoid
The biggest mistake I see—and I’ve made it myself when I was still an assistant—is treating a wide-angle lens like it’s a “creative choice” for a close-up. If you’re standing two feet away from someone with a 35mm, you aren’t being edgy; you’re just giving them portrait lens distortion that makes their nose look like it’s leading a parade. Unless you are specifically trying to make a subject look slightly unsettling or hyper-real, stay away from the wide end when you’re working on tight crops.
Another trap is getting so obsessed with a creamy, blurred background that you forget about the subject’s actual anatomy. People often chase a shallow depth of field in portraiture by opening up to f/1.4, only to realize they’ve accidentally focused on an ear while the eyes are a soft blur. It’s a technical win but a portrait failure. You have to balance that aesthetic with the reality of the face. If you’re shooting headshots, don’t be afraid to move back and use a longer lens to get those flattering facial proportions that actually make a client feel like themselves, rather than a caricature.
Final Thoughts
Look, at the end of the day, you’re going to make a choice, and you’re going to make it while a client is staring at you, wondering why you haven’t pressed the shutter yet. Stop overthinking the math. If you’re shooting a tight corporate headshot and you’re worried about the client’s nose looking like it belongs on a different person, just back up a step. You don’t need a miracle; you just need to understand how lens compression effects on faces actually work in a real, cramped studio.
If you find yourself caught between telephoto vs wide angle portraits, remember that the “perfect” lens is the one that doesn’t make the subject feel like they’re being interrogated by a wide-angle lens from three feet away. It’s about managing the room and the person in it. Pick a focal length that gives you enough breathing room to move, but keeps the proportions honest. Once you stop fighting the gear and start managing the space, you’ll realize that the best lens is simply the one that lets you get back to the actual work.
Five ways to stop fighting your glass
- Stop treating the 35mm like a magic wand for portraits; it’s great for environmental shots where you want to see the messy studio around the subject, but if you get too close to a face with it, you’re going to give them a nose that looks like it’s leading a parade.
- If you’re shooting a headshot and the client is already feeling self-conscious, back up and grab the 85mm or even a 105mm; compression is your best friend when someone is worried about their jawline or facial proportions.
- Watch your distance as much as your focal length; I’ve seen assistants swap to a longer lens only to realize they’ve backed themselves into a corner where they can’t physically move far enough away to get the shot.
- Don’t get married to one prime lens for a whole session; if the client starts acting twitchy or needs more space to breathe, having a 24-70mm zoom in your bag is a better safety net than a beautiful but inflexible 50mm.
- Test the distortion on your subject before you commit to the light setup; take a quick test shot at your chosen focal length, show them, and if they say “I look weird,” change the lens immediately rather than trying to fix it in Lightroom later.
The Geometry of the Face
Stop looking at the technical specs on the lens barrel and start looking at the person in front of you; if you use a wide lens because you’re too lazy to move back, you aren’t capturing a portrait, you’re capturing a caricature of their nose.
Iwona Krawczyk
Before You Pack the Bag
At the end of the day, choosing a focal length isn’t some mathematical equation you solve in your head before the client arrives; it’s about managing the physics of the room and the psychology of the person in front of you. Remember that a 35mm lens will make your subject feel like they’re in a documentary, even if it slightly stretches their features, while an 85mm or 105mm is your best friend for flattering compression and keeping that nose exactly where it belongs. Don’t get married to a single prime lens just because it’s your favorite. If the studio is cramped or the client is fidgeting, you need to be ready to swap that long lens for something wider so you can actually get the shot without feeling like you’re performing surgery from across the room.
If you find yourself staring at a beautiful subject through a viewfinder only to realize the proportions look wrong, don’t blame the sensor or the light. It’s almost certainly the distance between you and their face. Take a breath, step back, and adjust your gear to match the mood of the session. Photography is mostly just a series of small, practical compromises made in real-time. Once you stop fighting the limitations of your lens and start working with the geometry of the face, you’ll find that the gear finally starts behaving. Now, go out there and actually test these distances on someone who isn’t paying you.
