
I remember a corporate shoot in a glass-walled boardroom where the sunset was bleeding this aggressive, bruised orange through the windows, while my strobe was hitting the CEO with a clinical, daylight blue. I stood there, staring at my monitor, realizing that no amount of expensive lens glass was going to fix the fact that my subject looked like he’d been photoshopped into a different dimension. People will tell you that you need a massive lighting kit or a complete relocation of the set to solve this, but that’s nonsense. Most of the time, you just need to learn how to use gels to match ambient light so the room stops fighting your gear.
I’m not going to give you a lecture on the physics of color temperature or a list of expensive modifiers you don’t need. Instead, I’m going to tell you how I actually handle it when the light in the room is being difficult. We’re going to talk about specific distances, the exact shades of CTO you should keep in your bag, and the compromises you have to make when the client refuses to move the table. This isn’t theory; it’s just how you get the job done.
Understanding How to Use Gels to Match Ambient Light
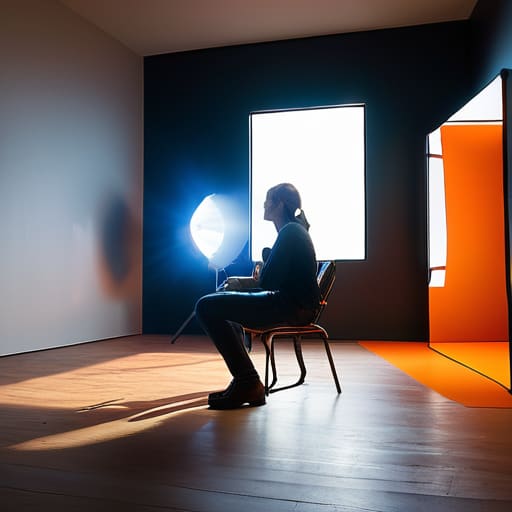
Before you start sticking plastic over your strobes, you have to stop thinking about “fixing” the light and start thinking about matching it. Most people walk into a room, see a weird orange tint from some old tungsten lamps, and panic. They try to fix it in Lightroom later, which is a recipe for muddy skin tones and a massive headache. Instead, you need to understand the physics of the room. It’s about balancing tungsten and daylight so your subject doesn’t look like they’re standing in a sunset while the background looks like a hospital ward.
This usually comes down to the basics of CTO vs CTB lighting gels. If you’re shooting in a space flooded with cool, natural light from a big north-facing window, your flashes are going to look blue and clinical unless you warm them up with a CTO (Color Temperature Orange) sheet. Conversely, if you’re in a dim office with those sickly yellow overheads, you’ll likely need a CTB (Color Temperature Blue) to bring your lights up to a daylight standard. It’s not magic; it’s just making sure your gear stops fighting the environment.
Key Things to Know
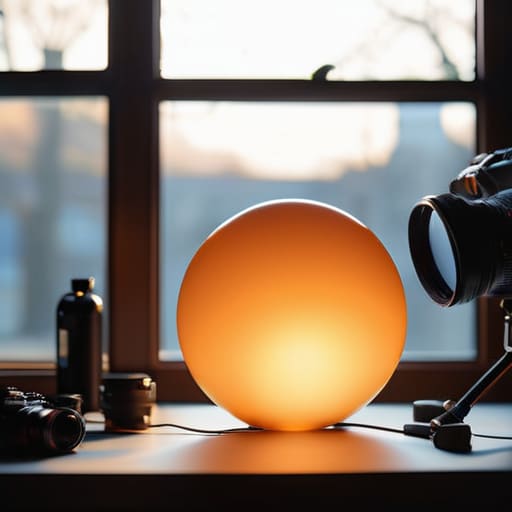
First, you need to stop thinking about color as a “feeling” and start thinking about it as a math problem. If you’re shooting in a room with warm tungsten bulbs but you’ve got a window throwing daylight onto your subject’s shoulder, you aren’t just dealing with a mood—you’re dealing with a mess. This is where balancing tungsten and daylight becomes your primary job. You have to decide which light source is the “boss.” Usually, that’s the ambient light you can’t turn off, so you bring your flashes or LEDs down to its level.
This means getting intimate with your kit. You’ll spend most of your time toggling between CTO vs CTB lighting gels to bridge that gap. If the room is orange and your light is blue, grab a CTO (Color Temperature Orange) sheet and slap it on your modifier. It’s not about making everything look perfect; it’s about making the different light sources stop fighting each other. If you try to fight the room without a gel, you’ll spend the whole shoot chasing white balance adjustments that never quite land.
Practical Tips and Steps
First, stop trying to fix everything in post-production; you’re just making your life harder later. When you walk into a room and see that sickly orange glow from the overheads fighting your window light, grab your kit. Start by setting your camera’s white balance to daylight (around 5600K) to lock in the natural light. Then, take your strobe or continuous light and start experimenting with CTO vs CTB lighting gels. If the room is warm and tungsten-heavy, slap a CTO (Color Temperature Orange) gel on your light to bring it into alignment. It’s about forcing the light to agree rather than fighting a losing battle with your sensor.
Don’t overthink the math, but keep a mental note of the Kelvin scale for video production if you’re switching between stills and motion. If you’re balancing tungsten and daylight, I usually find that a single sheet of warming gel on my key light does more than three expensive modifiers ever could. It’s a messy, trial-and-error process, but once you find that sweet spot where the shadows don’t look bruised, you’ve won.
Common Mistakes to Avoid
The biggest mistake I see is people treating color correction like a magic wand rather than a math problem. You can’t just slap a gel on a light and hope it “vibes” with the room. Most beginners try to fight the ambient light instead of negotiating with it. If you’re trying to balance tungsten and daylight without actually checking your white balance, you’re just guessing, and guessing leads to skin tones that look like they’ve been cooked in a microwave.
Another trap is the “more is better” fallacy. I’ve seen assistants pile on layers of color correction filters for studio lights, thinking they can brute-force a solution. Stop. When you stack too many, you don’t just change the color; you kill your light intensity and turn your shadows into a muddy mess. It’s much more effective to understand the basic CTO vs CTB lighting gels logic—warm for tungsten, cool for daylight—and pick your battles. Don’t try to fix the entire room if you can just control the light that actually hits the subject.
Final Thoughts
At the end of the day, don’t let the gear intimidate you. If you find yourself staring at a monitor that looks like a neon fever dream, remember that you aren’t failing; you’re just dealing with a messy environment. Whether you are balancing tungsten and daylight in a cramped office or trying to make a windowless studio look intentional, gels are your best tool for regaining control. It’s less about mathematical perfection and more about making the scene look the way it feels to the person standing in front of your lens.
I know it feels like a lot to juggle—the Kelvin scale, the different sheets of plastic, the constant tweaking—but it gets easier. Once you stop fighting the room and start working with it, you’ll realize that mastering mixed lighting isn’t about following a manual, it’s about intuition. Grab your CTO and CTB, get comfortable with the mess, and just start shooting. The best shots usually happen when you stop worrying about the technical “correctness” and start focusing on the light.
Five ways to stop fighting the room
- Trust your eyes, not your light meter. The meter is a liar when it comes to color temperature; it sees the intensity but misses the “mood” of the tungsten or the sickly green of a cheap office fluorescent. Look at the shadows on your subject’s face—if they look too orange compared to the wall behind them, your gel is either too weak or you’ve placed your light too far from the subject.
- The “One Light” rule for gels. If you’re struggling with a messy room, don’t try to gel everything. Pick one key light, match it to the ambient light using a CTO (Color Temperature Orange) gel, and let the rest of the room be the “wrong” color. It creates depth. Trying to make the whole room match your strobe is a losing battle that wastes half your shoot time.
- Don’t forget the spill. If you’re using a heavy gel on a softbox to match warm indoor lighting, that light is going to bounce off every white wall and ceiling in the room, effectively “un-geling” your setup. Use flags or even a piece of black foam core to keep that colored light directed at the subject and away from the surfaces that will bounce it back as neutral light.
- Test the “skin tone vs. background” compromise. Sometimes, you can’t make the light match perfectly without making your subject look like an extra from a horror movie. If the ambient light is a nasty fluorescent green, don’t try to turn your strobe green to match it. Match your strobe to natural skin tones and accept that the background is going to look “off”—that’s called atmosphere, and it’s better than a subject with grey skin.
- Always carry a roll of CTB (Color Temperature Blue) as a backup. I know, we’re talking about matching warm light, but if you get into a room that’s flooded with daylight and you’re trying to use tungsten-balanced lights, you’ll need that blue to pull your strobes up to speed. You can’t fix a mismatch if you’re missing the right end of the spectrum.
## The War Against the Room
Stop blaming your white balance settings when the room is clearly winning. If you’re shooting under those nasty, warm tungsten lights and your strobe is coming out a clinical, sterile blue, don’t fight the camera—fight the light. Throw a CTO gel on your modifier, make the strobe play by the room’s rules, and stop trying to fix a fundamental mismatch in post-production.
Iwona Krawczyk
The Reality of the Result
At the end of the day, matching your flash to the room isn’t about mathematical perfection; it’s about making a choice. You’ve learned to read the color of the tungsten bulbs overhead, you know which gel to slap on your modifier to stop that sickly orange tint, and you understand that sometimes you just have to force the light to behave. Remember that the goal isn’t to erase the ambient light entirely, but to integrate your strobe so it doesn’t look like a clinical accident. If the skin tones look natural and the subject doesn’t look like they’re floating in a void, you’ve won the battle against the room.
Don’t let the technicality of color temperature paralyze you when a client is staring at you, waiting for the shutter to click. You will get it wrong sometimes—the gels will be too heavy, or the white balance will be a mess—and that’s fine. The most important thing is that you stop fighting the environment and start commanding it. Grab your kit, trust your eyes more than your light meter, and remember that the best images usually come from the moments where you stopped worrying about the gear and started focusing on the person in front of you. Now, go make something beautiful.
