
I once spent forty minutes of a high-stakes corporate shoot sweating under a single strobe, trying to figure out why my subject looked like they were floating in a muddy, gray void instead of a crisp white studio. I had the “correct” settings, the expensive modifiers, and a brand-new sensor, yet I still couldn’t figure out how to light a white background evenly without blowing out the subject’s hair or turning the backdrop into a shadow-filled mess. It’s the classic trap: you think the gear is failing you, but really, you just haven’t learned how to manage the light’s relationship with the walls of the room.
I’m not here to give you a lecture on the physics of photons or suggest you buy a third power pack you don’t need. Instead, I’m going to tell you exactly where to stand, how far to pull that background away from your sitter, and the specific compromises you’ll have to make when the room is smaller than the client promised. This is the practical, messy reality of getting that clean look without losing your subject to the glare.
Understanding How to Light a White Background Evenly
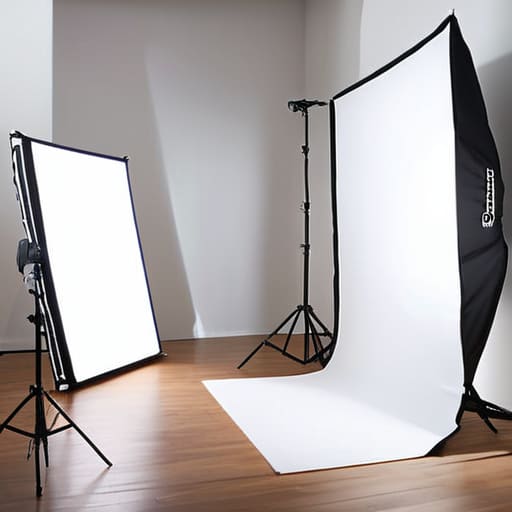
The mistake most people make is thinking you can just blast the whole room with light and hope for the best. If you treat your subject and your backdrop as one single entity, you’re going to end up with a muddy, unintentional gray mess. You have to stop thinking about “the scene” and start thinking about two distinct light battles. One battle is for the subject, and the other is for the wall behind them. To get that crisp, clean look, you’re essentially overexposing background vs subject by design—but only by a controlled amount.
I usually set up my background lights first, separate from my key light. I’ll place two strobes on either side of the backdrop, angled slightly toward the center, and I’m very picky about diffusing studio lights to ensure the fall-off is smooth. If you don’t get the intensity right, you’ll see those dreaded dark corners or, worse, a weird gradient that makes the person look like they’re floating in a void. You aren’t just aiming for brightness; you’re aiming for a consistent, high-energy white that doesn’t swallow the person standing in front of it.
Key Things to Know
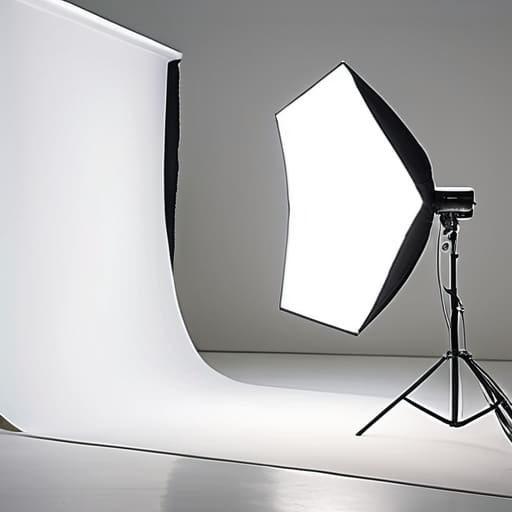
First, you have to accept that you aren’t just lighting a person; you are lighting two entirely different things at once. The biggest mistake I see is people trying to use one light to do everything, which usually results in a muddy, unintentional grey. You need to treat the background as its own entity. This means you’re essentially managing two separate exposures: one for the subject and one for the backdrop. If you don’t master overexposing background vs subject, you’ll end up with a portrait that looks like it was shot in a basement rather than a professional studio.
Second, distance is your best friend and your worst enemy. If your subject is standing too close to that white sweep, you’re going to deal with light spill that eats their hair or, worse, those dreaded shadows creeping up from the floor. I always tell my assistants that background separation techniques start with physical space. You need enough room to keep your subject’s light from hitting the wall, and enough distance between the lights and the backdrop so you don’t create hot spots that look like a sunburst.
Practical Tips and Steps
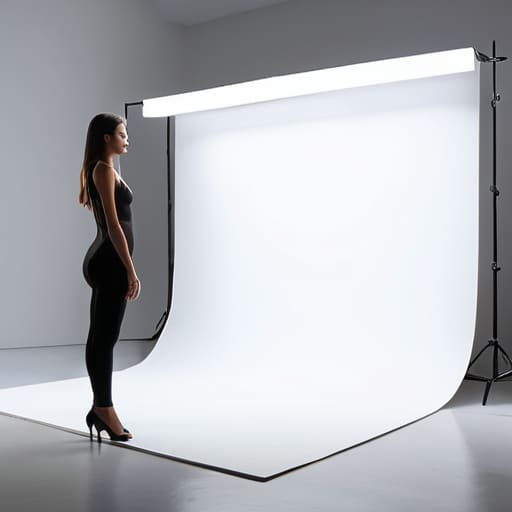
First, stop trying to light the subject and the background with the same lamp. If you do, you’ll end up with a muddy, unintentional grey. You need two separate light sources: one dedicated solely to the backdrop and one for the person. I usually place my background strobes about 4 to 5 feet away from the paper to avoid light spill, aiming them directly at the white surface. You want to aim for a reading that is roughly one to two stops brighter than your subject’s exposure. This is the secret to a true high key lighting setup; you aren’t just illuminating the wall, you are intentionally overexposing the background vs the subject to blow out those stubborn shadows.
Once the background is screaming white, turn your attention to the person. I prefer using a large octa or a deep parabolic with a heavy diffusion silk to keep the skin looking soft. The real trick is the distance. If your subject stands too close to the wall, they’ll catch the backlight and look like they have a glowing, unappealing halo. Keep them at least six feet away from the backdrop. This creates the necessary background separation techniques that allow your subject to actually pop instead of melting into a white void.
Common Mistakes to Avoid
The biggest mistake I see—and I’ve made it myself more times than I’d like to admit—is treating the subject and the backdrop like they’re part of the same entity. If you don’t maintain a physical distance between your person and the wall, you’re going to end up with a muddy mess. You’ll find yourself desperately trying to fix preventing grey background shadows in post-production, which is a nightmare. You need to push that subject forward. If they are leaning against the white, they are going to catch the spill, and suddenly your crisp high-key look turns into a hazy, unintentional dreamscape.
Then there’s the trap of overexposing background vs subject. It is so tempting to just crank the power on your strobes until that white looks blinding, but if you aren’t careful, you’ll blow out the edges of your subject’s hair or shoulders. You want the background to be bright, yes, but it shouldn’t be “eating” the person. Watch your light meter; you’re looking for a specific balance where the background is roughly one to two stops brighter than the subject, not a total whiteout that erases their silhouette.
Final Thoughts
At the end of the day, don’t let the gear intimidate you. You can spend hours obsessing over your studio strobe placement or fiddling with your light meter, but if you aren’t watching how the light actually interacts with the edges of your subject, you’re just chasing ghosts. It’s easy to get caught in the trap of overexposing background vs subject and end up with a person who looks like they’re melting into a void of pure white.
If you find yourself struggling, take a breath and step back from the viewfinder. Usually, the fix isn’t a new expensive modifier; it’s just moving a light six inches to the left or slightly increasing the distance between the person and the paper. Mastering a high key lighting setup is less about following a rigid blueprint and more about learning when to compromise. It’s a constant negotiation between the light, the room, and the person standing in front of it. Get the basics down, stop worrying about perfection, and just start shooting.
Five ways to stop fighting your backdrop
- Give the background its own light source. If you try to light the subject and the white paper with the same strobe, you’ll end up with a subject that’s either a silhouette or a background that looks like a muddy, unwashed gray. Use two separate lights pointed directly at the backdrop, set about 1.5 meters back, and let them do their job independently of your key light.
- Watch your distance. If your subject is standing too close to the white paper, you’re going to get “light spill”—that annoying glow that bleeds onto their hair and shoulders, making them look like they’re vibrating against the background. Pull them at least two or three meters away from the wall so the light on them stays clean and the light on the wall stays bright.
- Check your light meter, not just your eyes. Your eyes are liars, especially in a studio where everything feels brighter than it actually is. If you want that crisp, commercial white, you need to expose the background about one to one and a half stops higher than your subject. If you don’t, you’ll spend three hours in Lightroom trying to brighten a gray mess that should have been white from the start.
- Mind the “hot spot” in the middle. When you aim lights at a white backdrop, the center often ends up looking like a blinding sun while the edges fall into shadow. To fix this, don’t point your lights dead-on at the center; angle them slightly toward the edges of the paper to create a more even wash, or use a wider modifier like a large softbox to spread the energy.
- Be prepared for the heat and the mess. If you’re using paper rolls, remember that lighting them intensely for a long shoot can actually make them curl or even singe if you’re using old-school tungsten. And if you’re using a fan to get some movement, make sure it isn’t blowing the light-weight paper into a crumpled heap halfway through the session.
The Reality of the White Backdrop
Everyone thinks a white background is a “set it and forget it” situation, but if you aren’t treating the backdrop as its own separate lighting project, you’re just going to end up with a subject who looks like they’re floating in a muddy, gray void.
Iwona Krawczyk
Stop Fighting the Light
At the end of the day, getting a clean white background isn’t about finding some magical setting on your strobe; it’s about managing the physics of the room. You have to stop treating the subject and the background as one single problem and start treating them as two separate battles. Keep your background lights far enough away that they don’t spill into your subject’s hair, and make sure you’re giving that paper enough juice to actually hit pure white without blowing out the details of the person standing in front of it. It’s a constant game of measuring the compromise between a bright, high-key look and a muddy, gray mess that makes your client look like they’re sitting in a basement.
If you find yourself staring at a monitor feeling frustrated because the light isn’t behaving, remember that the gear is rarely the culprit. Most of the time, you just need to step back, look at where the light is actually landing, and move a stand two feet to the left. Photography is less about the “perfect shot” and more about the constant, small adjustments you make when things inevitably go sideways. Don’t let a stubborn backdrop ruin your flow. Once you master the separation between the person and the space behind them, you stop being a technician and start being a photographer.
