
I once spent forty minutes in a cramped corporate boardroom, sweating through my shirt while trying to figure out how to light a group evenly, only to realize the problem wasn’t my strobe settings. It was the fact that the CEO was standing three feet closer to the window than the interns, and the sheer volume of white walls was bouncing light around like a pinball machine. Most tutorials will tell you to just buy a bigger softbox or add a second light, but they never mention that geometry is your real enemy when you’re dealing with a row of people of varying heights and skin tones.
In this notebook entry, I’m skipping the gear porn and the “perfect studio” fantasies. Instead, I’m going to show you how to manage the actual chaos of a real-world room, from calculating your effective light fall-off to choosing a modifier that won’t leave the person on the end in total darkness. We’re going to talk about the compromises you’ll have to make when the client refuses to move the table, because knowing how to light a group evenly is less about following a diagram and more about managing the physics of a messy room.
The Room Is the Enemy How to Light a Group Evenly
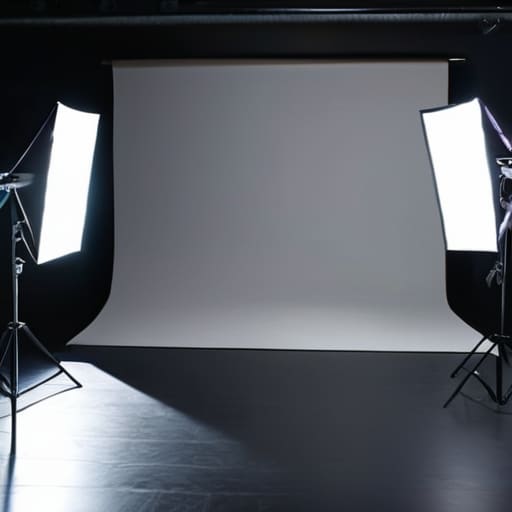
Before you even touch a power switch, look at the walls. If you’re working in a tiny office with beige walls and a ceiling that’s a weird shade of industrial grey, you’ve already lost half the battle. I’ve spent way too many hours trying to fix “muddy” skin tones that were actually just the room’s color bleeding into my highlights. Most people think they need more gear, but what you actually need is distance. If you’re trying to master lighting multiple subjects in a cramped space, you’re going to run into the physics of the inverse square law. If your light is too close to the front row, they’ll look like they’re standing in a spotlight while the people in the back are basically in a cave.
My rule of thumb? Move the light back and go bigger. Instead of a tiny modifier, grab your largest octabox. Proper softbox placement for groups means getting that light source far enough away that the light “wraps” around the entire line of people rather than hitting the first person like a freight train. You want a shallow angle of fall-off so the person on the far left isn’t fighting a different shadow profile than the person on the far right. It’s about managing the fall-off, not just turning on a lamp.
Fighting the Inverse Square Law in Unruly Spaces
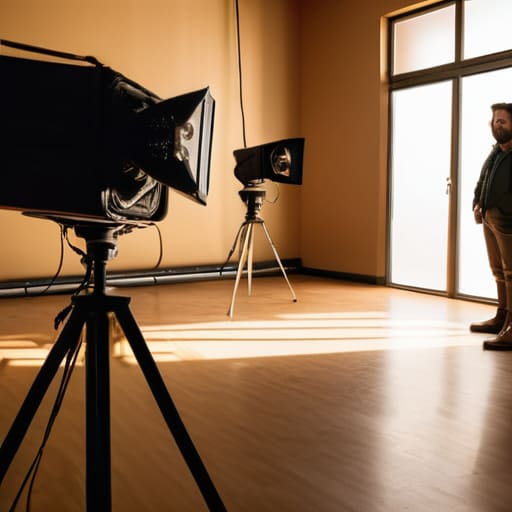
Here is the problem with most “pro” tutorials: they assume you’re working in a controlled studio with ten-foot ceilings and infinite power. In reality, you’re usually squeezed into a cramped boardroom or a drafty community hall where the walls are an aggressive shade of beige. When you’re trying to manage lighting multiple subjects in a shallow space, the inverse square law starts to feel less like a physics concept and more like a personal insult. If your lead subject is sitting two feet from the light and your back row is five feet behind them, that back row is going to look like they’re standing in a cave.
To stop the light from falling off so aggressively, you have to stop trying to wrap the group in a single, tight beam. I usually ditch the standard medium softbox for something much larger, or even better, I’ll bounce a heavy strobe off a white ceiling if the height allows. The goal is to increase the distance between the light source and the subjects as much as possible; the further away the light is, the more even the light distribution becomes across the entire line. It’s a trade-off: you lose some of that punchy, directional drama, but you gain a group where everyone actually looks like they belong in the same photo.
Strategic Softbox Placement for Groups Under Pressure
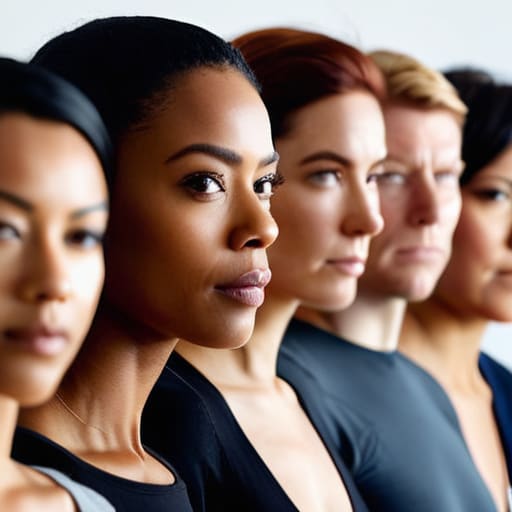
When you’re staring down a line of ten people who all look like they’re waiting for a dental appointment, your instinct is to grab the biggest modifier you own and blast them with light. Resist that. If you place a single large softbox too close to the center of the group, you’ll end up with a bright, glowing middle and two people on the flanks who look like they’re standing in a cave. Effective softbox placement for groups isn’t about finding a “sweet spot”; it’s about widening the throw. I usually pull the light back further than feels comfortable and aim it slightly off-axis, using a larger surface area to wrap the light around the edges of the formation.
If the group is particularly wide, stop trying to make one light do the work of three. I’ve learned that minimizing shadows in group portraits often requires a secondary, much lower-intensity source—sometimes just a large white reflector or a second, dimmed strobe—to fill in the fall-off on the ends. You aren’t just lighting faces; you’re managing a gradient. If you see the light dying out before you hit the last person, move the light higher and further back, even if it means the light feels a bit “thinner.” It’s better to have a slightly flatter, consistent look than a dramatic gradient that makes your subjects look unevenly lit.
Lighting Multiple Subjects Without Losing Your Mind
Once you’ve wrestled the room into submission, you’re left with the actual humans. This is where the math stops being fun and starts being a headache. When you’re lighting multiple subjects, the biggest trap is trying to treat them like a single unit. If you have a line of five people, the person in the center is going to be drenched in light while the two on the ends are receding into a murky, underexposed gloom. I’ve spent too many shoots moving a light six inches to the left only to realize I’ve just created a new shadow under someone’s chin.
The trick isn’t more gear; it’s about finding the widest possible “sweet spot.” I usually opt for one massive modifier—think a 60-inch octabox—placed slightly off-axis rather than trying to balance three smaller lights. You want to prioritize even light distribution techniques that favor the edges of the group. If you can’t get the light to wrap around the people on the perimeter, you aren’t finished. It’s a constant game of compromise between a soft, flattering glow and the harsh reality of a subject standing three feet further from the source than their colleague.
Even Light Distribution Techniques for Chaotic Crowds
When you’re staring down a crowd of twenty people who all seem to have different ideas about where they should stand, you have to stop thinking about “pretty” light and start thinking about coverage. I’ve learned that the quickest way to fail is trying to be too precise. If you try to aim a narrow beam at the center of the group, the people on the edges are going to look like they’re retreating into a cave. Instead, lean into large group lighting setups that prioritize width over intensity. I usually grab my largest octabox—the one that feels slightly ridiculous to carry—and move it further back than I’d normally like. It’s a compromise; you lose a bit of that creamy, directional fall-off, but you gain a much more predictable field of light.
The real trick to minimizing shadows in group portraits when the crowd is unruly is to use a secondary, much weaker source just to fill the gaps. I’m talking about a simple white V-flat or even a piece of foam core tucked just out of frame. It’s not about creating a new look; it’s about catching the light that’s already bouncing around and throwing it back onto the faces of the people stuck in the “shadow zones.” It’s messy, it’s unglamorous, and it’s exactly how you keep everyone from looking like they’re part of a different photo.
Large Group Lighting Setups and Minimizing Shadows
When you move from a small team to a massive crowd, the math changes, and so does the stress level. You can’t just rely on one massive umbrella and hope for the best; you’ll end up with a bright center and people on the fringes looking like they’re in a cave. For these large group lighting setups, I usually lean on a wide, rectangular softbox placed high and slightly ahead of the group. The goal is to create a broad “wash” of light rather than a spotlight. If you find the people in the front row are getting blasted while the back row is fading into the gloom, you’ve hit the wall of the inverse square law again.
To fix this, I stop trying to fight the physics and start working around them. I’ll often add a secondary, lower-intensity light source—something like a large bounce card or a second, dimmed strobe—to fill in the depth. It’s all about minimizing shadows in group portraits by ensuring the light wraps around the faces rather than hitting them like a flat wall. If the shadows under the eyes are getting too heavy because your main light is too high, bring the modifier down just a few inches. It’s a constant game of micro-adjustments.
Five ways to stop the light from playing favorites
- Stop trying to light the people; light the space. If you’re treating a group of twelve like a single subject, you’re going to fail. Instead, aim your modifier at a large, neutral surface—a white wall or a massive ceiling—to create a giant, soft wash. It’s much easier to manage a room filled with bounced light than it is to fight the shadows created by trying to aim a single softbox at a crowd.
- Watch the “edge” people. In any group, the people on the far left and far right are the ones who end up looking like they’re disappearing into a black hole. I usually move my main light source slightly more central than I think I need to, or I bring in a second, lower-power light just to kick some definition back into those outer subjects.
- Check the height of the modifier. If you’re shooting a group standing up, don’t keep your light at eye level; you’ll just create a sea of forehead glare and awkward chin shadows. Raise it up, tilt it down, and use a grid if you have to, but keep the light source high enough that it clears the heads of the front row without making the back row look like they’re in a cave.
- The “Hand Check” for lighting. Before you even click the shutter, look at what they’re doing with their hands. If someone is clutching a bag or nervously tucking hair behind an ear, they’re going to create micro-shadows on their own faces. I’ll often adjust my light angle by just five or ten degrees to catch those shadows before they become permanent problems in the RAW file.
- Accept the compromise on softness. You want beautiful, wrap-around light, but a massive 5-foot octabank is a nightmare to move when a client decides they want to stand three feet to the left mid-shoot. If the room is tight, use a smaller modifier but move it further away. You lose a bit of that creamy fall-off, but you gain the consistency you need to actually finish the job on time.
The Fallacy of the Perfect Setup
Stop obsessing over your light meter and start looking at the ceiling; you can have the most expensive softbox in the world, but if you’re fighting a room with uneven walls and a client who insists on standing six feet behind the rest of the team, your job isn’t to ‘set up’ a light—it’s to manage the physics of a disaster.
Iwona Krawczyk
The Reality of the Final Frame
At the end of the day, lighting a group isn’t about achieving some mathematical perfection; it’s about managing the chaos of the room and the physics of the light you actually have. You’ve fought the inverse square law, you’ve wrestled with oversized softboxes, and you’ve likely spent half the session repositioning people who keep drifting out of the sweet spot. Remember that the goal isn’t to make everyone look like they’re in a vacuum, but to ensure that no one is accidentally swallowed by a shadow or blinded by a stray reflection. If you’ve prioritized even distribution over gear-heavy complexity, you’ve already won half the battle. Focus on the practical compromises that keep the light consistent from the person in the front row to the one lurking in the back.
When the lights are finally packed away and you’re staring at the proofs, don’t obsess over the one person whose chin was a fraction too low. Instead, look at the cohesion of the group. A successful group portrait feels like a singular, unified moment rather than a collection of disconnected individuals. The gear is just a tool to manage the environment, but your ability to read the room and adapt to the mess is what actually makes the image. Trust your eyes more than your light meter, and remember: the best setup is the one that actually works when the client starts moving the chairs.
