
I once spent forty minutes in a cramped, windowless office in Warsaw, sweating through my shirt while trying to figure out how to bounce off a ceiling that was painted a hideous, light-absorbing shade of beige. I had a client staring at me, wondering why I was pointing my expensive strobe at the plaster instead of their face, and a mounting sense of dread that my gear was failing me. It wasn’t the gear, though; it was the physics of a room that simply refused to play fair. Most tutorials will tell you it’s a simple trick, but they conveniently forget to mention what happens when your ceiling is too high, too dark, or covered in acoustic tiles that eat light for breakfast.
I’m not here to give you a sanitized, studio-perfect lecture. This is about the messy reality of working in spaces you didn’t design. I’m going to tell you exactly how to angle your modifier, how much power you’ll actually lose in the process, and when you should just give up on the ceiling entirely and find a wall instead. This is the practical, unvarnished truth about making light work for you when the architecture is working against you.
Understanding How to Bounce Off a Ceiling
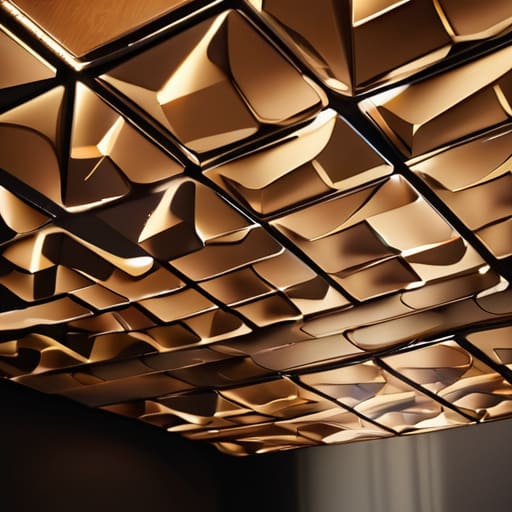
Before you even touch the power button on your strobe, you have to look up. I’m not talking about a casual glance; I mean a full-on assessment of the surface area and the color. If you’re in a studio with a pristine, matte white ceiling, you’re in luck. But if you’re in a corporate office with those beige, textured acoustic tiles, you’re in for a fight. The ceiling bounce physics here are unforgiving; those tiles are designed to absorb energy, not reflect it, meaning your light is going to die the moment it hits the surface.
You also need to account for the “spill” factor. If the room is small, that bounced light is going to hit everything—the subject’s shoulders, the back wall, the expensive rug. You aren’t performing a parkour ceiling wall run here, but you do need to be just as calculated about your angles. I usually aim my modifier about 45 degrees away from the subject to keep the light from feeling like a flat, uninspired wash. It’s about finding the sweet spot between diffusion and direction.
Key Things to Know
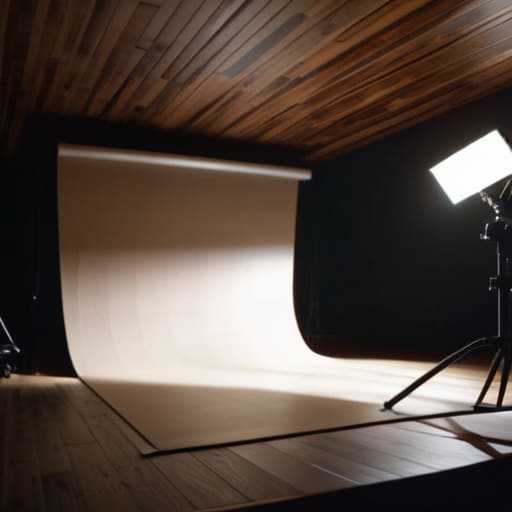
First, forget the idea that a ceiling is just a flat surface; it’s a massive, unpredictable modifier. You need to consider the ceiling bounce physics before you even plug in your strobe. If you’re in a room with dark wood or acoustic tiles, that light isn’t coming back to you; it’s being swallowed whole. I’ve spent far too many shoots staring at a matte-finish ceiling, wondering why my subject looks like they’re being interrogated in a basement. You have to know the material. If it’s white plaster, you’re in luck. If it’s anything else, you’re going to be fighting for every stop of light.
Second, watch your angles. Most people aim straight up, but that’s a rookie mistake that leads to flat, lifeless light. You want to aim slightly forward toward your subject, using the ceiling to create a soft, directional source rather than a generic wash. It’s a bit like a parkour ceiling wall run—you aren’t just hitting a surface; you’re using the geometry of the space to redirect energy. If you don’t respect the angle of incidence, you’ll end up with shadows that look accidental rather than intentional.
Practical Tips and Steps
First, stop treating your flash like a precision instrument and start treating it like a blunt object. When you’re stuck in a room with low, beige ceilings that soak up light like a sponge, you can’t afford to be precious. I usually grab my heavy-duty modifier—something with a wide spread—and aim it straight up. If the ceiling is too far away, you’re just wasting energy; you need that ceiling bounce physics to actually work in your favor. I’ve spent many shoots tilting the head of a single strobe just enough to catch the edge of a white surface, creating a soft, directional glow rather than a flat, overhead wash that makes everyone look like they’re under interrogation lamps.
Don’t just aim and pray, though. I always do a quick test shot, check the histogram, and then adjust the angle by a few degrees. If the light is hitting the subject’s forehead too hard, move the light closer to the wall. It’s not about being elegant; it’s about making the light behave. It’s less like a choreographed gymnastics ceiling maneuver and more like a controlled scramble to find the light before the client loses interest.
Common Mistakes to Avoid
The biggest mistake I see is people treating the ceiling like a magic wand that fixes everything. They think if they just point the flash up, they’ve solved the light problem. They haven’t. If you’re working in a room with dark, textured, or acoustic tiles, you aren’t bouncing light; you’re just killing it. You end up with a muddy, flat mess that looks like it was shot in a basement. You have to understand the ceiling bounce physics—if the surface absorbs the energy, your subject is going to look like they’re standing in a cave.
Then there’s the hardware issue. I’ve seen assistants try to tilt a heavy modifier at an impossible angle, trying to achieve some sort of acrobatic ceiling contact with the light beam, only to have the whole rig wobble or tip. It’s clumsy. Don’t try to force a light to go where it doesn’t want to go. If the angle is too steep or the ceiling is too high, stop fighting the room. Just grab a second light, a cheap reflector, or a piece of white foam core and move on. The room always wins if you try to outsmart it with bad geometry.
Final Thoughts
At the end of the day, don’t overthink the physics of it. If you spend twenty minutes trying to calculate the exact angle of reflection, you’ve already lost the light and the momentum of the shoot. Sometimes you just have to aim the strobe, take a breath, and hope the surface isn’t that hideous shade of eggshell yellow that turns everyone’s skin into a mess. It’s a bit like a parkour ceiling wall run; it’s about instinct and knowing exactly where your contact point is going to be.
If the first shot looks like a disaster, don’t panic. Adjust your position, move the stand, or just accept that this specific room is going to fight you. I’ve spent more time staring at ceiling tiles than I care to admit, trying to make sense of why the light is falling flat. Just remember that the gear is secondary to the environment. If the bounce isn’t working, stop fighting the room and change your approach. Sometimes the best shot comes from the compromise you didn’t want to make.
Five ways to stop the ceiling from ruining your shot
- Check the color of the ceiling before you even plug in your lights. If you’re in a room with those cheap, nicotine-stained office tiles or a bright yellow ceiling, you aren’t bouncing “white” light; you’re bouncing a sickly, jaundice-colored glow onto your subject’s face. If the color is bad, you’ll have to fight it in post, which is a headache you don’t need when you’re already running late.
- Watch your distance. If you’re standing too close to the subject and the ceiling is too high, the light is going to lose its punch and turn into a muddy, directionless soup. You want enough distance so the light actually has room to spread, but not so much that the fall-off makes your subject look like they’re sitting in a cave.
- Don’t just aim up and pray; aim at a specific spot. If you just point your flash at the ceiling generally, you’re going to get weird, unpredictable shadows. Pick a corner or a specific flat area to target. It gives you a sense of where the “virtual” light source is coming from, which helps you predict where the shadows will fall on the subject’s nose and chin.
- Mind the “clutter” on the ceiling. I’ve walked into studios that looked great until I looked up and saw a forest of black acoustic foam, hanging lights, and HVAC vents. If the ceiling isn’t a flat, uniform surface, your bounce is going to be broken and messy. If you see a bunch of texture up there, stop trying to be clever with a bounce and just pull out a modifier instead.
- Use your hands to judge the angle. Before you commit to a position, look at where the light is actually hitting. If you notice the light is hitting the subject’s forehead too hard, tilt your flash slightly more toward a side wall to “cross-bounce.” It’s a quick way to add a tiny bit of dimension so they don’t look like a flat, two-dimensional cardboard cutout.
The Ceiling as a Modifier
Look, you aren’t “lighting the subject” when you bounce off the ceiling; you’re lighting the room and hoping the subject is lucky enough to catch the leftovers. It’s a compromise between physics and a deadline, and if the ceiling is dark or textured, you’re going to have to stop pretending it’s a softbox and start treating it like the obstacle it actually is.
Iwona Krawczyk
The Last Word on Ceiling Bounces
At the end of the day, bouncing light off a ceiling is a game of managing expectations and physics. You’ve checked the color of the tiles, you’ve accounted for the height of the room, and you’ve probably realized that your expensive softbox is currently useless because the client’s office is too cramped for anything else. Just remember: watch your angles, keep an eye on the fall-off, and don’t assume that because the light looks soft in your head, it will look soft on the sensor. It’s about making a calculated compromise between the light you want and the room you actually have.
If you walk away with nothing else, remember that the most important tool isn’t the strobe or the modifier—it’s your ability to adapt when the environment fights you. There will be days when the ceiling is too dark, too textured, or just plain too low to do anything useful, and that’s fine. Don’t let a bad room make you feel like a bad photographer. Sometimes, the best portraits come from the moments where we stop fighting the space and start working with the mess. Just keep shooting, keep adjusting, and for heaven’s sake, keep your eyes on the subject, not just the gear.
