
I spent three years assisting in a studio where we had enough gear to light a small stadium, yet we still ended up with portraits where the subject looked like a shapeless, dark mass. It’s a ridiculous cycle: you buy the most expensive strobe on the market, you follow a tutorial that promises “cinematic magic,” and yet you still can’t figure out how to light hair without it looking either like a greasy blob or a glowing, unnatural halo. Most tutorials treat hair like an afterthought, a technicality to be solved with a preset, but they ignore the reality that hair is a moving, reflective, and deeply temperamental surface that reacts to every single light source in the room.
I’m not going to give you a list of expensive modifiers you don’t need or tell you to buy a specific lens to fix a lighting problem. Instead, I want to talk about the actual geometry of the light—the specific distances, the angles, and the necessary compromises you have to make when the client’s hair is behaving like a disaster. This is about using what you have to create separation and texture, even when the room is working against you.
The Room the Light and How to Light Hair Correctly
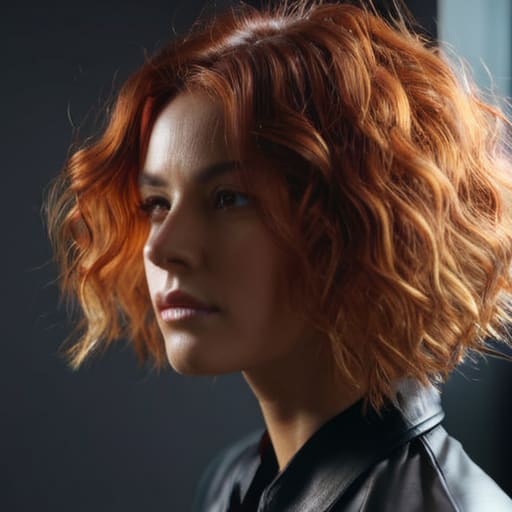
The first thing you need to accept is that you aren’t just lighting a person; you are fighting the architecture of the room. If you’re working in a studio with high ceilings and massive windows, that ambient light is going to wash out every bit of nuance you’re trying to build. I’ve spent more time than I’d like to admit moving a single reflector just to stop a subject’s hair from looking like a flat, dark mass. When you’re dealing with clients who have spent hundreds on achieving natural hair dimension, you cannot afford to let the background light swallow their hard work.
To actually see the texture, you need a dedicated source—usually a small strip box or a rim light positioned slightly behind and to the side of the head. This isn’t about flooding the area; it’s about finding that thin line of separation. If you’re photographing someone with a subtle balayage vs highlights transition, you need that light to graze the strands at an angle. If the light hits them head-on, the color looks muddy. You want the light to catch the edges, creating that separation between the subject and the shadows.
Chasing Hair Color Dimension Techniques in Difficult Lighting
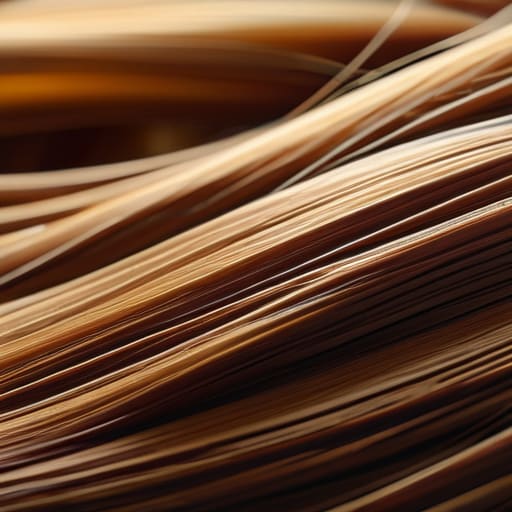
When you’re dealing with a subject who has spent six hours at the salon, the last thing you want is to flatten that expensive work. If you’re working with a client who has gone for a high-contrast look—think heavy balayage vs highlights—the danger is that your key light will wash out the transition between the dark roots and the lightened ends. You end up with a block of color rather than a texture. To fix this, I usually reach for a small, feathered strip box placed just behind the subject. It’s not about flooding the whole head; it’s about catching just enough of those edges to prove the color is actually there.
Achieving natural hair dimension in a studio setting is really a game of managing hair color saturation and tone. If the light is too soft, the hair looks like a solid, matte shape. If it’s too harsh, you get specular highlights that look like grease. I’ve learned that a subtle rim light, placed slightly higher than eye level, is the only way to truly separate the strands. You aren’t just lighting a person; you are carving out the shape of the hair so the viewer can actually see the movement.
Balayage vs Highlights When the Subject Refuses to Cooperate
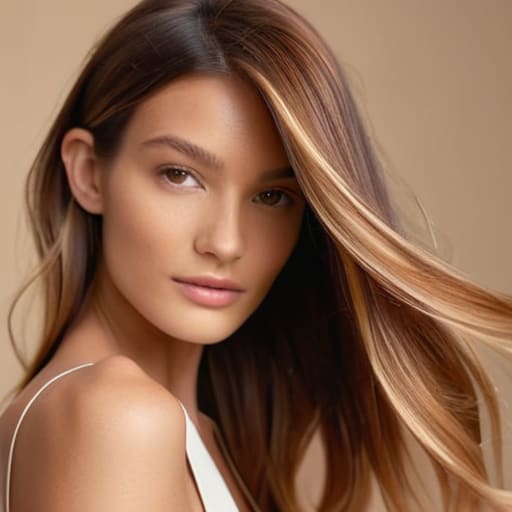
Then there is the client who arrives with a brand-new hair appointment and a sudden, crushing insecurity about it. I’ve sat in studios where the subject is convinced their hair looks “patchy” because they can’t see the work in the mirror. Usually, they are caught in the middle of the balayage vs highlights debate, and as a photographer, you have to decide which one you are actually tasked with showing off. If it’s a soft balayage, your job is to avoid harsh, direct light that flattens those hand-painted transitions into a single, muddy block of color. You need a soft, wrap-around light—think a large octabox positioned slightly behind the subject—to catch the gradient without blowing out the expensive work.
If they’ve gone for high-contrast highlights instead, the game changes. You aren’t looking for a soft blend; you’re looking for the pop. This is where you use a smaller modifier, maybe a beauty dish or a strip box, to create those sharp specular highlights that define the individual strands. It’s a delicate balance of achieving natural hair dimension while making sure the light doesn’t make the hair look like plastic. When the subject is staring at you, terrified that their hair looks “too blonde” or “too dark,” you have to be the one to tell them exactly how the light is hitting it.
Achieving Natural Hair Dimension Despite a Stubborn Environment
When you’re stuck in a studio with a window that only gives you one direction of light, or a client who insists on a harsh overhead office light, you have to stop looking for the perfect setup and start looking for the gaps. Achieving natural hair dimension in these scenarios isn’t about adding more gear; it’s about how you position your single source to catch the texture. If you’re dealing with a subject who has very dark hair, that light is going to soak up every bit of energy you throw at it. You can’t just blast it with a flash and expect it to pop.
Instead, try moving your modifier—even a simple small reflector or a piece of white foam core—to catch the light at a grazing angle. This is where the real hair color blending methods come into play. You aren’t just lighting a head; you are trying to map the movement of the strands. If you don’t find that specific angle where the light skims the surface, you’ll end up with a flat, dark shape that looks more like a helmet than a person.
Mastering Hair Color Blending Methods When Time Is Running Out
When the client is checking their watch and you’ve realized you’re behind schedule, the temptation is to go for high-contrast, “safe” lighting to hide the lack of detail. Resist that. When you are rushing, you can’t rely on complex setups to reveal the work; you have to lean into your hair color blending methods by being smarter about your light placement. If you don’t have time to move the heavy modifiers, grab a small silver reflector or even a piece of white foam core. Position it low, almost under the chin, to bounce a bit of spill back up into the mid-lengths. It’s a quick fix to ensure the transition between tones doesn’t just look like a muddy stripe in the middle of the frame.
The real danger when the clock is ticking is losing the hair color saturation and tone that makes the portrait pop. If you’re working with a subject who has complex color work, a single, flat light source will turn their expensive salon visit into a flat, monochromatic mess. Instead of trying to re-light the whole room, just nudge your key light a few inches to the side. Creating a slight angle helps catch those micro-highlights that define the texture, giving you that dimension without needing a second assistant to hold a hair light.
Managing Hair Color Saturation and Tone in Imperfect Spaces
The problem with shooting in a rented studio or a client’s home office is that you rarely own the color of the walls. If you’re working with a subject who has warm, copper tones and you’re standing in a room with beige walls and warm overhead LEDs, you aren’t just photographing hair; you’re photographing a soup of orange light. This is where hair color saturation and tone go to die. I’ve spent more time than I care to admit trying to counteract a room that’s fighting my color accuracy, often having to lean harder on my white balance settings than I’d like to admit.
When the environment is working against you, you can’t rely on the “natural” look promised in the brief. You have to be aggressive. I usually grab a small 5-in-1 reflector—the silver side, used sparingly—to kick a bit of clean light back into those mid-tones, or I’ll pull my key light further away to soften the impact of the ambient spill. It’s about managing the bounce before it ruins the nuance of the client’s expensive color job. If you don’t control the reflected light from the floor or the walls, you’re just guessing.
Five things I’ve learned when the hair just won't cooperate
- Stop relying on your key light to do everything. If you want that rim of light that actually separates a dark head of hair from a dark background, you need a dedicated hair light or a strip box placed about 45 degrees behind the subject. If you try to squeeze it all out of your main light, you’ll end up with a flat, muddy mess.
- Watch out for the “halo effect” from windows. If you’re shooting in a studio with massive windows, that backlight can be so aggressive it blows out the texture of the hair entirely. You can’t control the sun, but you can control your flags. Use a black foam core board to cut the spill if the hair starts looking like a glowing white cloud.
- Distance is your best friend or your worst enemy. If you’re using a small modifier like a beauty dish to get some punch, move it back. If you get too close, the light fall-off is so aggressive that the top of the head is bright and the ends are pitch black, which looks more like a mistake than a stylistic choice.
- Be honest about the hair’s texture. Fine, straight hair needs a much more subtle touch than thick, curly hair. For fine hair, I usually dial back the intensity of my rim light; otherwise, it looks like there’s static electricity running through the subject. For curls, you actually need that extra bit of direction to catch the edges of the ringlets.
- Check your white balance against the hair color, not just the skin. I’ve seen so many shoots where the skin looks perfect, but the hair looks like a brassy, orange disaster because the light source was warmer than expected. If you’re working with cool-toned blondes, you have to be much more aggressive with your Kelvin settings or you’ll spend the whole session fighting a losing battle with post-production.
## The Rim Light Trap
You can spend three hours chasing the perfect hair light, but if you haven’t accounted for the way that backlight turns a person into a silhouette or makes their hair look like a glowing halo of nothingness, you haven’t actually lit the subject—you’ve just lit the air around them.
Iwona Krawczyk
The Reality of the Result
At the end of the day, lighting hair isn’t about finding some magical, perfect setting on a strobe; it’s about managing the mess. You’ve spent the last few sections learning how to fight the shadows, how to find dimension in a room that wants everything to look flat, and how to keep your cool when the client’s highlights aren’t behaving under your key light. Whether you’re using a rim light to separate a dark mane from a dark background or trying to salvage some texture when the sun is bleeding through a window, remember that the goal is intentionality. If you know why you’re moving that modifier three inches to the left, you aren’t just guessing anymore—you’re controlling the narrative of the portrait.
Don’t let the technical hurdles make you lose sight of the person in front of your lens. I’ve spent years thinking a better lens would solve my problems, only to realize that the best shot usually happens when I stop fighting the environment and start working with the reality of it. There will always be a window in the wrong place or a hair color that refuses to pop, but that’s where the actual craft lives. Stop worrying about the gear and start looking at how the light actually hits the surface. If you can master the way light dances across a single strand of hair, you can master anything.
