
I once spent forty-five minutes in a drafty living room in North London, watching a client try to “fix” a chaotic group shot by buying a third strobe and a massive softbox, only to realize the problem wasn’t the light—it was the fact that the teenage son was hiding behind a floor lamp and the grandmother was squinting because the sun was hitting the window at a brutal angle. Everyone thinks learning how to photograph a family group is about mastering complex lighting setups or owning a lens that costs more than my first car, but that’s a lie. The real work happens in the uncomfortable gaps between the technical settings: managing the toddler who just discovered gravity, the uncle who refuses to stand closer to the group, and the sheer, overwhelming energy of six people trying to look “natural” at the exact same time.
I’m not here to give you a lecture on aperture math or gear lists. This is about the actual logistics of keeping your sanity when the room starts falling apart. I’m going to tell you how I manage the spatial geometry of a crowded sofa, how I use a single light to keep the chaos contained, and most importantly, how to handle the human element when the session goes sideways. This is the practical, unvarnished truth of the job.
It Is Never the Lens How to Photograph a Family Group
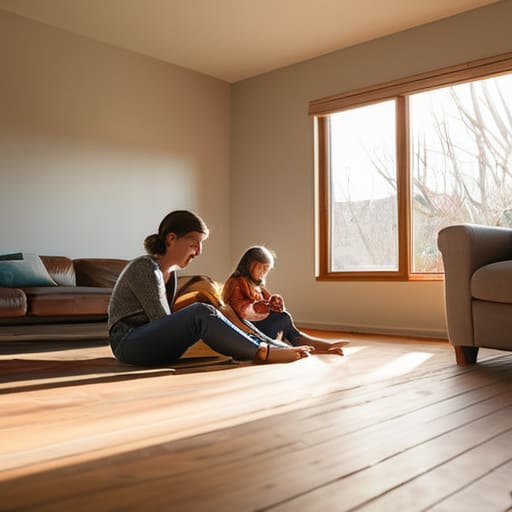
I’ve seen people walk into a shoot clutching a three-thousand-dollar prime lens like it’s a holy relic, convinced that the glass will somehow magically fix a chaotic room. It won’t. You can have the sharpest optics on the planet, but they won’t stop a six-year-old from hiding behind a sofa or help you when the sun is hitting the window at an angle that turns everyone’s eyes into dark pits. When I’m tackling composition for family portraits, I’m not thinking about focal length; I’m thinking about the physical geometry of the bodies in front of me and how much floor space I actually have to work with.
The real work is in the logistics. If you’re struggling with the sheer scale of the crowd, stop obsessing over your gear and start looking at your lighting for group photography. A single, large softbox placed about six feet back and slightly above eye level does more for a messy group than any expensive lens ever could. You need to create a pocket of light that is wide enough to catch the outliers without losing the people in the center to a muddy shadow. The lens is just a tool; the room is your actual subject.
The Chaos of Coordination Managing Children During Photo Shoots
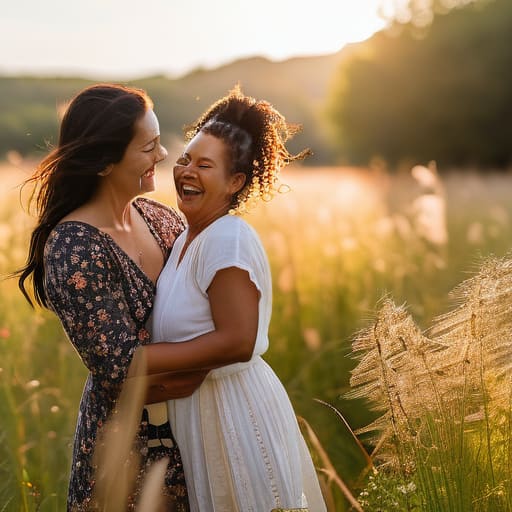
The moment a child enters the frame, your carefully planned composition goes out the window. You can have the perfect lighting for group photography set up—soft, directional, and flattering—but it doesn’t matter if a four-year-old is currently trying to eat a blade of grass or hide behind a parent’s leg. My rule is to stop fighting the movement. If you try to force a toddler into a rigid pose, you’ll just end up with a gallery of tearful, red-faced portraits. Instead, I focus on managing children during photo shoots by treating them like tiny, unpredictable directors. I give them a “job”—hold this toy, look at that bird, or squeeze Mommy—to keep their hands busy.
The real trick to managing the chaos is speed. You have about a three-second window between a child being cooperative and them deciding they are done with the entire concept of photography. I keep my settings ready, usually prioritizing a slightly deeper depth of field for portraits so I don’t have to worry if one kid leans forward while another stays back. If you spend ten minutes fussing with the tripod, you’ve already lost them.
Fighting the Room Mastering Lighting for Group Photography
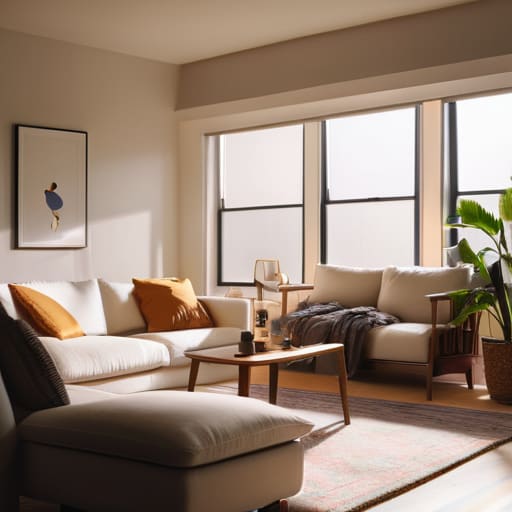
Forget everything you saw in those textbook diagrams showing a perfectly balanced, three-point setup. When you’re dealing with a crowd, the room is usually working against you. You’ll walk into a living room and realize the window is casting a harsh, diagonal shadow across the grandmother’s face, or a ceiling fan is creating a rhythmic strobe effect that’s driving you mad. My rule of thumb for lighting for group photography is to stop chasing perfection and start chasing consistency. I’d much rather use one large, diffused source—like a big octabox positioned slightly off-center—than try to juggle four different lights while people are actively moving around.
The biggest trap is the depth of field. You’ll be tempted to shoot wide open to get that creamy background, but if you do, the person in the second row is going to be a blurry mess. You have to find the sweet spot where everyone’s eyes are sharp. This usually means stopping down to at least f/5.6 or f/8, which requires you to be much more intentional about where you place your light to ensure it actually reaches the back of the group.
Beyond the Stiff Pose Posing Techniques for Large Groups
Once you’ve stopped the screaming and the light isn’t fighting you anymore, you’re left with the hardest part: the actual arrangement. Most people default to the “school photo” line—everyone standing shoulder to shoulder like they’re waiting for a bus. It’s boring, and it’s a lie. To get actual composition for family portraits that feels alive, you have to break the horizontal plane. I always tell my assistants to look for triangles. If you have a group of six, don’t line them up; get some sitting on the floor, some on stools, and some standing. It creates levels that lead the eye around the frame rather than just scanning across it like a spreadsheet.
When I’m working with larger clusters, I use specific posing techniques for large groups to avoid that “wall of heads” effect. I’ll have people overlap slightly—a hand on a shoulder, a lean into a sibling. It creates a sense of connection that a gap of six inches between bodies completely kills. Just watch your depth of field for portraits here; if you’re shooting wide open to get that creamy background, the person in the third row is going to be a soft-focus blur. I usually stop down to at least f/5.6 or f/8 to ensure everyone’s eyes are actually sharp.
Visual Noise Coordinating Family Outfits and Composition for Portraits
The biggest mistake people make is thinking that “matching” means everyone wearing identical white t-shirts and denim. It looks like a high school yearbook from 2004, and it’s visually exhausting. When I’m coordinating family outfits, I tell my clients to think in palettes, not uniforms. Pick a handful of tones—maybe some muted olives, creams, and a deep navy—and let them find their own textures. You want them to look like they belong in the same story, not like they’re part of a cult. If one kid shows up in a neon superhero shirt, no amount of clever composition is going to save the frame.
Then there’s the issue of the background. You can have perfect lighting for group photography, but if the family is standing in front of a busy, patterned wallpaper or a cluttered bookshelf, the eye doesn’t know where to land. I always look for negative space to let the subjects breathe. When you’re working on the composition for family portraits, treat the people like shapes. If the clothing is too loud or the background is too busy, you end up with a visual mess that feels claustrophobic rather than connected.
The Technical Distraction Depth of Field for Portraits and Reality
Here is where the “bokeh obsession” usually kills a shoot. I see so many beginners walk into a room with a wide-open aperture, desperate to melt the background into a creamy blur, only to realize they’ve accidentally decapitated the person in the second row. When you are working with depth of field for portraits in a group setting, physics is your primary antagonist. If you’re shooting a line of five people and you’re wide open at f/1.8, you might get the grandmother’s eyes sharp, but the teenager behind her is going to look like a smudge of charcoal.
The compromise is almost always a narrower aperture—think f/5.6 or f/8—depending on how much physical depth you’re dealing with. You have to stop thinking about the “dreamy look” and start thinking about the plane of focus. If the family is staggered, you need to pull that depth of field out to encompass everyone. It’s a trade-off: you lose that expensive-looking blur, but you gain a photo where everyone is actually in focus, which is the only way to avoid a very awkward conversation with a client later.
The Survival Guide: Five Things to Do Before You Press the Shutter
- Check the “Hand Problem” early. Before you even worry about the lighting, ask the adults what they do with their hands when they’re nervous. If they start fidgeting with their rings or tucking them into pockets, you know you’re going to spend half the shoot fixing awkward silhouettes instead of actually shooting.
- The “One Light” Rule for Chaos. When you have a group of six or more, don’t try to be a lighting architect with four different modifiers. Use one large, soft source—a 5-foot octabox is your best friend here—placed slightly off-center. It’s easier to control one light when a toddler is running through your shadows.
- Build in a “Buffer Zone” for the schedule. If a client tells you they have a forty-minute window for a family portrait, assume you actually have twenty-five. The rest of that time will be swallowed by a kid refusing to put on shoes or a teenager deciding they’ve had enough of being perceived.
- Watch the eye levels, not just the faces. In a large group, people tend to stack themselves like cordwood. I always look for ways to break the horizontal line—get one person on a stool, another sitting on the floor, and someone else leaning. If everyone’s eyes are on the same plane, the photo looks like a school yearbook from 1994.
- Prioritize the “Micro-Moment” over the “Perfect Pose.” I’ve learned that the shot where everyone is looking at the lens is usually the most strained. Sometimes, the best shot in the whole session is the three seconds after the “formal” photo is done, when the tension breaks and the family actually looks like they like each other.
The Real Math of a Group Shot
You can spend three hours obsessing over your aperture and your light placement, but if you haven’t figured out how to get the teenager to stop looking at their feet and the toddler to stop hiding behind their mother’s legs, you aren’t taking a portrait—you’re just documenting a standoff.
Iwona Krawczyk
The Reality of the Final Frame
At the end of the day, a successful group shot isn’t about achieving a flawless, magazine-ready symmetry where everyone’s hair is perfectly in place. It’s about the fact that you managed to control the lighting enough to see their eyes, coordinated the outfits so the composition didn’t look like a color riot, and—most importantly—you kept your cool when the toddler decided to bolt for the door. You’ve dealt with the depth of field, you’ve wrestled with the room, and you’ve navigated the unpredictable human element that no amount of gear can fix. If you can master the logistics of the chaos, you’ve already done the hardest part of the job.
When you finally sit down to look through your files, don’t get hung up on the one person who blinked or the slightly messy background you couldn’t quite hide. Look for the moment where the tension broke, where the family actually looked like they belonged to one another. That’s the bit that matters. We spend so much time worrying about the technical perfection of the frame that we forget the goal is to capture a moment in time that will eventually become a memory. Stop chasing the perfect pose and start looking for the truth of the room; that is where the real photography happens.
