
I once spent forty minutes in a freezing studio, sweating through my shirt while trying to troubleshoot a third strobe that had decided to die mid-session, all because I thought having a “complete” setup meant having every gadget on the market. The truth is, most beginners think they need a mountain of gear to look professional, but they end up with a disorganized mess of expensive lights they don’t actually know how to control. If you want to stop panicking when a client changes their mind or a window blinds you, you need to learn how to build a lighting kit in stages instead of buying a warehouse of gear on day one.
In this notebook, I’m skipping the sales pitch and the gear-lust. I’m going to show you exactly which pieces are worth your hard-earned money and, more importantly, which ones are just expensive clutter. We’ll talk about starting with one reliable light and a decent modifier, moving into secondary fills, and eventually building an arsenal that can actually handle the chaos of a real shoot. This isn’t about having the most gear; it’s about having the right gear for the room you’re actually standing in.
Guide Overview
Tools & Supplies
- Screwdriver Set for securing components
- Wire Strippers for preparing connections
- Measuring Tape for spacing lights
- LED Light Strips (5-10 meters)
- Power Adapters (2-3 units)
- Mounting Clips (1 pack)
- Dimmer Controllers (1-2 units)
- Extension Cables (3-5 units)
Step-by-Step Instructions
- 1. Start with a single, reliable strobe and a way to stand it up. I don’t care if it’s a second-hand Godox or a used Profoto; just get one light that you can trust to fire every single time. Pair it with a sturdy light stand—and I mean actually sturdy, not the kind that wobbles if someone breathes too hard in the studio. This is your foundation. If you can’t make a compelling portrait with one light and a bit of shadow, more gear isn’t going to save you.
- 2. Buy one large modifier that can do the heavy lifting. For me, that’s a 36-inch or 48-inch octa or a large white umbrella. You want something that creates a soft, wrap-around light that hides the fact that your subject is currently panicking about their hands. A large modifier is much more forgiving in a bad room than a small, harsh one, and it’s the easiest way to make a mediocre space look intentional.
- 3. Get a reflector, specifically a 5-in-1 kit. This is the cheapest insurance policy you will ever buy. When you’re working with a single light, you’ll inevitably find yourself in a situation where the shadows are too deep or the subject’s far side looks like a black hole. Instead of running back to your gear bag for a second light, just bounce some light back with a silver or white disc. It’s fast, it’s silent, and it doesn’t require an extra power outlet.
- 4. Add a second light once you start feeling limited by the “one-light look.” This is where you move from simple portraits into more complex setups, like adding a hair light or a subtle background light. Don’t just buy any old light; make sure it’s compatible with your first one so you aren’t fighting with different trigger settings mid-shoot. At this stage, you’re starting to build control over the environment, rather than just reacting to it.
- 5. Invest in a dedicated modifier for that second light, something smaller and more directional like a strip box. While your first light is doing the “pretty” work, the strip box is for adding shape or separating the subject from a dark background. This is the point where your kit stops being a collection of tools and starts becoming a professional system that can handle different types of commissions.
- 6. Finally, get a way to control the light that’s already in the room. I’m talking about flags, black foam core, or even just some heavy fabric. Most people forget that the biggest enemy in a studio isn’t the lack of light, but the light you didn’t ask for spilling from a window or a doorway. Being able to “cut” the light is what separates a snapshot from a composed portrait.
Understanding How to Build a Lighting Kit in Stages
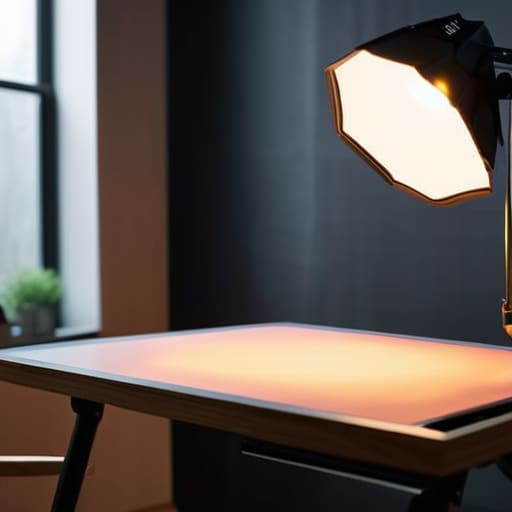
The biggest mistake I see is the “all-or-nothing” mentality. People think they need a warehouse full of strobes to be a professional, but that’s just a fast way to go broke and end up with gear you don’t actually know how to use. Instead, think about incremental studio equipment upgrades as a way to solve specific problems you encounter in the field. If you’re shooting a corporate team in a cramped office, you don’t need a massive softbox; you need something small and punchy. If you’re doing an author portrait in a dim library, you need something that can fight the ambient light.
When you’re deciding what to buy next, focus on the hierarchy of needs. Always prioritize your key light vs fill light priority; you can make a mediocre light look intentional with a good modifier, but you can’t fix a lack of direction. Don’t chase the latest high-speed sync tech until you’ve mastered how a single light interacts with a window or a single reflector. Build your kit to react to the chaos, not to match a catalog.
Key Things to Know
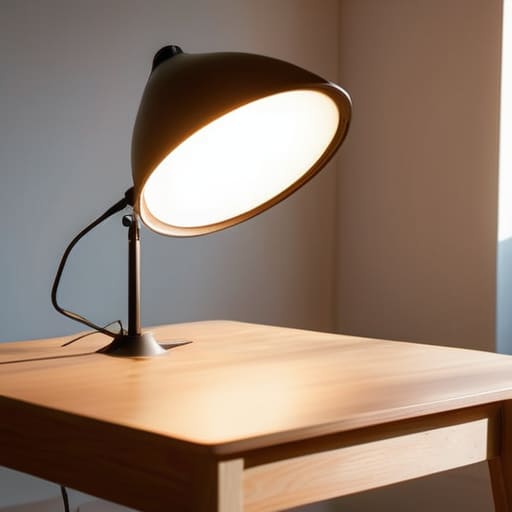
Before you start spending money, you need to accept a hard truth: most of your gear will eventually end up gathering dust in a corner because you bought it for a scenario that never actually happens. When I was assisting, I saw people drop thousands on a massive five-light setup only to realize they were shooting in tiny, cramped offices where they couldn’t even extend a light stand. Instead of chasing every shiny new strobe, focus on key light vs fill light priority. If you can’t make one light look beautiful and intentional, adding a third or fourth won’t save a bad portrait; it’ll just make the room more crowded and the setup more stressful.
Think of your kit as a living thing that grows only when it’s forced to. I’m a big believer in incremental studio equipment upgrades because they force you to solve problems with what you actually have on hand. If you can’t make a single light work with a cheap white foam board, you aren’t ready for a high-end softbox. Build your kit around versatility and portability, not just sheer power. You want gear that survives a frantic commute and works in a room with bad windows.
Practical Tips and Steps
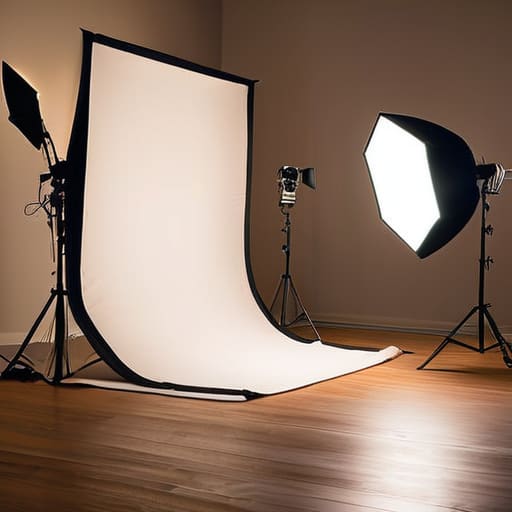
When you’re actually standing in a room that’s too small or too bright, you realize that your gear list is less about a dream studio and more about survival. My first rule of thumb is to prioritize your key light vs fill light priority above everything else. If you only have the budget for one strobe and one modifier, buy the best one you can afford. A single, high-quality light with a decent softbox will get you through a portrait session, whereas two cheap, flickering lights will just make you want to pack up and go home.
As you move through your incremental studio equipment upgrades, don’t just buy more lights; buy better control. A cheap light with a massive, unmanageable umbrella is a nightmare in a cramped apartment. Instead, look for modifiers that let you shape the light. I’ve spent many shoots fighting with light spilling onto a white wall I didn’t want hit, so investing in grids or snoots is often more valuable than adding a third or fourth lamp. Focus on the tools that help you manage the chaos, not just tools that add more brightness.
Five rules for not drowning in gear you don't actually need
- Buy for the light you need, not the light you wish you had. If you’re mostly doing headshots in a cramped office, don’t drop two grand on a massive softbox that requires a ceiling height of ten feet. Start with a single, reliable strobe and a modifier that actually fits in your car.
- Modifiers are where the real character lives. A single light is just a bright spot; a light with a decent 36-inch octabox is a portrait. Prioritize a good softbox over a second light source every single time. You can fix a lack of light with a reflector, but you can’t fix a light that’s too harsh and “small” with a second strobe.
- Don’t ignore the “unseen” kit. I’ve seen people with five thousand pounds of lighting gear trip over a single loose power cable or realize they forgot a sandbag to stop their stand from toppling onto a client. Your kit isn’t just lights; it’s the gaffer tape, the heavy-duty extension leads, and the sandbags that keep the chaos at bay.
- Test your new additions in your kitchen, not on the shoot. When you buy a new modifier or a different trigger, don’t wait until you’re standing in a client’s living room with a ticking clock to figure out how it works. Mess around with it at home where you can fail privately.
- Resist the urge to “upgrade” every time you see a shiny new YouTube review. If your current setup is getting the job done, stay there. Build your kit based on the specific problems you are actually encountering in your shoots—like a lack of rim light or a need for more fill—rather than chasing a spec sheet.
The Trap of the Perfect Kit
Stop trying to buy a studio in a box before you’ve even learned how to fight a single window. Buy one good light, one modifier that actually works, and a heavy-duty stand; everything else is just expensive clutter until you’ve felt the frustration of a client changing their mind ten minutes before the shoot ends.
Iwona Krawczyk
Stop Chasing the Perfect Kit
At the end of the day, building your kit isn’t about checking off a list of expensive gear until your bank account hits zero. It’s about recognizing that a single, reliable light and a decent modifier will get you through ninety percent of the shoots you actually land. You don’t need a warehouse of strobes to make a professional portrait; you need to understand how light behaves in a cramped room and how to control it once it’s there. Focus on the essentials—the light, the stand, and the modifier—and let the rest of the kit grow only when the work demands it. Everything else is just expensive clutter until you have a specific problem that only that extra piece of gear can solve.
Don’t let the polished setups you see on Instagram make you feel like you’re failing because your kit is small. Most of those massive productions are hiding a mountain of logistics and a crew of ten people to manage the chaos. Your goal is to become the person who can walk into a messy studio, find the one window that works, and make something beautiful with minimal interference. Trust your eyes more than your gear list. The best gear you will ever own is your ability to see the light and react when the client inevitably changes their mind five minutes before the shutter clicks.
