
I remember a shoot for a high-end jewelry client where I spent forty minutes sweating under a studio light, trying to coax a decent shot out of a glass display case that was acting like a giant, uncooperative mirror. I had the best lens money could buy, but I was basically just photographing my own frustrated reflection. It’s one of those moments where you realize that knowing how to use a polariser isn’t some academic theory you learn in a textbook; it’s the difference between a professional portfolio and a collection of expensive mistakes. Most tutorials make it sound like you just screw it on and magic happens, but they never mention the light loss or the way it can turn a beautiful sky into something looking unnervingly fake if you aren’t careful.
I’m not here to give you a lecture on the physics of light waves or sell you on a specific brand. Instead, I want to talk about the actual, messy reality of using one when you’re on a deadline and the glare is ruining your subject’s eyes. I’ll show you the specific angles that actually work and the compromises you have to make when the sun isn’t where you want it to be. This is about practical control, not gear worship.
Understanding How to Use a Polariser
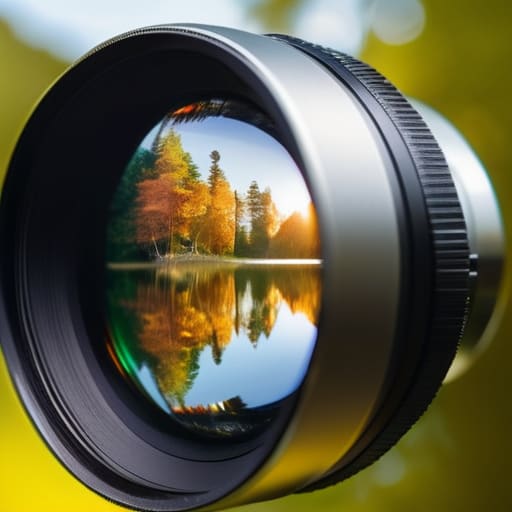
First things first: stop worrying about the difference between a circular polarizer vs linear polarizer. Unless you’re shooting with some very specific, old-school vintage glass that requires a polarizing filter to fix the light field, just get a CPL. It’s the standard for a reason. The trick isn’t just screwing it on and hoping for the best; it’s about understanding that you are essentially managing how light bounces off surfaces.
When I’m out in the field, I’m rarely looking for “perfect” shots; I’m looking for control. If you’re trying to manage a reflection on a window or you’re reducing glare on water surfaces to see what’s actually beneath, you have to remember that the effect is entirely dependent on your position. This is where people trip up—they forget about the polarizing filter angle of incidence. If you are looking directly at a reflection at a 90-degree angle, the filter won’t do a damn thing. You need to shift your body, change your perspective, and watch how that light behaves as you move. It’s a physical part of the process, not a set-and-forget setting.
Key Things to Know
First off, don’t go hunting for a linear polarizer unless you’re working with very specific, old-school gear; for almost everything we do today, you want a circular polarizer. It’s designed to handle the light waves in a way that doesn’t mess up your autofocus or your metering, which is a headache you don’t need when a client is already checking their watch. Just remember that this isn’t a “set it and forget it” tool. You have to physically rotate the ring to find the sweet spot where the reflections actually vanish.
The physics of it can be a pain, though. You’ll notice that the effectiveness changes based on your polarizing filter angle of incidence—basically, how much you’re tilting the lens relative to the sun. If you’re trying to achieve that deep, moody look by enhancing blue sky saturation, don’t stand directly under the sun. You’ll get the best results when the sun is roughly at a 90-degree angle to your subject. It’s a bit of a dance, but once you find that angle, the sky turns from a washed-out grey to something actually worth shooting.
Practical Tips and Steps
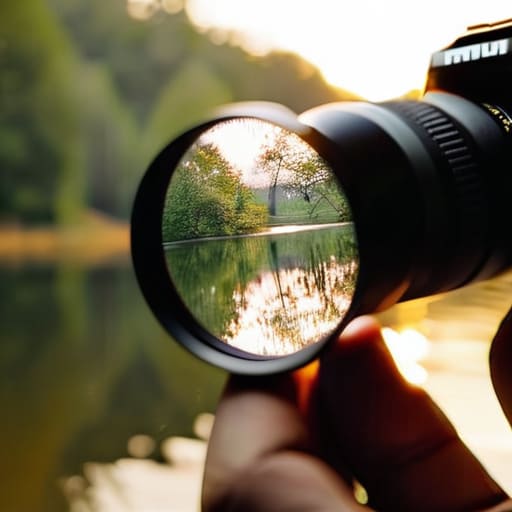
First, don’t just screw it on and hope for the best. I’ve seen too many assistants panic when a shot looks muddy because they didn’t realize the filter was slightly crooked. When you’re doing your lens filter application tips, check the threading carefully. Once it’s on, you need to rotate it while looking through the viewfinder. It’s a tactile process. If you’re working outdoors, watch how the light hits the subject; you’re looking for that sweet spot where the reflections vanish.
If you’re shooting near a lake or a pool, you’ll find that reducing glare on water surfaces is all about finding the right angle. If you’re pointing the lens directly at the water at a 90-degree angle, the polarizer won’t do much of anything. You have to tilt your perspective. It’s all about that polarizing filter angle of incidence. If you get it right, the water goes from a blinding white sheet to something deep and transparent. If you get it wrong, you’ve just wasted ten minutes and a perfectly good frame. Keep it simple: rotate, observe, and adjust until the glare dies down.
Common Mistakes to Avoid
The biggest mistake I see—and I’ve made it myself when I was still just carrying bags for other people—is treating the filter like a “set it and forget it” tool. You can’t just screw it on and assume the magic is happening. If you’re standing too close to your subject or shooting at a direct 90-degree angle to a window, you’re going to see almost zero effect. You have to respect the polarizing filter angle of incidence; the sweet spot is usually somewhere between 30 and 45 degrees. If you’re off, you’re just adding glass between you and the sensor for no reason.
Another trap is the “more is better” fallacy. I’ve seen people try to use a polarizer to fix a shot that is fundamentally broken by bad lighting. A polarizer is great for reducing glare on water surfaces or pulling some depth out of a washed-out sky, but it won’t save you from a subject who is squinting because your key light is too harsh. It’s a tool for control, not a cure for poor setup. Don’t let it become a crutch for lazy lighting.
Final Thoughts
At the end of the day, don’t let the gear intimidate you. A polarizer isn’t some high-tech solution that solves a bad setup; it’s just a tool to help you manage the chaos of a real-world environment. Whether you’re out in the field enhancing blue sky saturation or stuck in a studio trying to tame a stray reflection on a client’s glasses, the goal is control. If you find yourself struggling with the math of the polarizing filter angle of incidence, just remember: it’s a physical relationship between your lens and the light. If it isn’t working, move your body, not just the dial.
I’ve spent enough years assisting to know that sometimes the best “technique” is simply realizing when the filter is fighting you rather than helping you. Don’t get caught in a loop trying to force a shot that the physics of the room won’t allow. Keep your kit simple, know your limits, and trust your eyes more than the glass. If the glare is winning, adjust your position or change your light. The gear is there to serve the image, not the other way around.
Five ways to stop fighting your reflections
- Watch your angle. A polarizer isn’t a magic wand you just screw on and forget; it’s a tool that relies on physics. If you’re shooting something directly in front of you at a 90-degree angle, like a flat window, the filter won’t do much. You need that slight angle—usually between 15 and 40 degrees—to actually see the magic happen.
- Mind the sensor. If you’re working with a wide-angle lens for a tight interior shot, be careful. You’ll often see a weird, dark “blob” in the middle of your frame because the polarization isn’t hitting the sensor evenly across that wide field of view. If that happens, you either need to crop in or switch to a longer lens.
- Don’t kill your light entirely. I’ve seen assistants panic when they realize the polarizer is eating a stop or even a stop and a half of light. If you’re in a dim studio or a moody corner of a cafe, you need to compensate with your aperture or ISO before you even click the shutter, otherwise, you’re just shooting into a dark mess.
- Test the skin, not just the glass. In portraiture, we use them to kill the shine on foreheads and noses, but don’t go overboard. If you crank the rotation too far, you can make a person look unnaturally matte, like they’ve been dusted with flour. It’s a balancing act between “healthy glow” and “dead skin.”
- Check your LCD immediately. Because you’re rotating a physical piece of glass, the effect can change drastically as you move. Don’t trust your eyes through the viewfinder alone; look at the screen, rotate the ring, and make sure the glare is actually gone before you commit to the shot.
The Reality of the Glass
A polarizer isn’t a magic wand that fixes a bad setup; it’s a tool for managing the chaos of the room. You don’t use it to make a photo look ‘perfect,’ you use it when the glare on a subject’s forehead or the reflection in a window is telling a different story than the one you’re trying to shoot.
Iwona Krawczyk
The Reality of the Gear
At the end of the day, a polarizer is just another tool in the bag, not a fix for poor composition or bad lighting. We’ve talked about the physics of it—how you have to respect the angle of the sun and why you can’t just screw it on and expect miracles—but the real takeaway is about control. It’s about knowing when the glare on a client’s forehead or the reflection in a window is going to ruin the mood you’ve spent forty minutes building. If you remember to check your angles, watch out for those weird color shifts in wide shots, and most importantly, test the effect before you start clicking away, you’ll save yourself a massive headache during the edit.
Don’t let the technicalities intimidate you into thinking you need a perfect setup every time. Most of the time, you’ll be fighting the room, the weather, or a subject who is convinced they look terrible because of a stray reflection. Use the polarizer to strip away the noise so you can actually see the person in front of you. Photography is often just a series of small, calculated compromises, and mastering this one little piece of glass is a huge step toward making those compromises work for you rather than against you. Now, go out and see what you can actually capture when the glare finally backs off.
