
I once spent three hours in a cramped hotel room in Brussels, sweating through my shirt because I’d brought a heavy tripod and three different lighting modifiers for a portrait session that ended up being shot entirely in natural light. I had followed every “pro” checklist online, yet I was staring at a disorganized mess of cables while my client waited, looking increasingly annoyed. The truth is, most tutorials on how to pack a bag for a travel shoot are written by people who have never actually had to haul eighty pounds of gear up three flights of stairs in a rainstorm. They focus on the gear you might need, rather than the gear that actually saves your life when the schedule falls apart.
I’m not here to give you a shopping list of expensive glass or the latest high-tech Pelican cases. Instead, I want to talk about the logistics of survival. This notebook is about the practical, slightly messy reality of deciding what stays in the bag and what gets left behind. I’ll show you how I curate my kit to prioritize speed, weight, and—most importantly—the ability to actually function when things go sideways.
The Weight of Reality How to Pack a Bag for a Travel Shoot
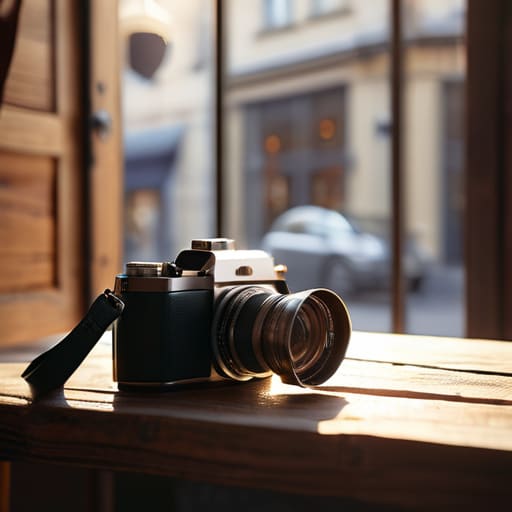
Here is the reality: your back doesn’t care about your aesthetic. I’ve spent years lugging heavy Pelican cases through cobblestone streets in Europe, thinking I needed every modifier in the studio, only to realize I was just punishing my spine for no reason. When you’re building a minimalist photography packing list, you have to be ruthless. If a piece of kit only serves a “maybe” scenario, leave it in the studio. I’ve learned that a single, versatile prime lens and one reliable strobe are worth more than a bag full of specialized junk that makes you too exhausted to actually direct your subject.
You also need to think about how you actually move. Good camera bag weight distribution is the difference between a productive day and a day spent nursing a pinched nerve. Don’t just throw everything into a cavernous backpack; use padded dividers to keep the heavy bodies close to your center of gravity. Most importantly, prioritize protecting camera equipment during transit by using hard shells for the sensitive stuff, even if it adds a few grams. If you’re constantly shifting heavy lenses around to find a spare battery, you’ve already lost the momentum of the shoot.
The Minimalist Photography Packing List for the Unpredictable
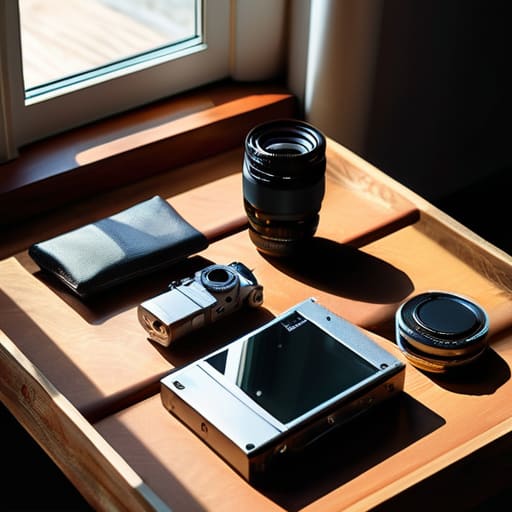
When I’m building a minimalist photography packing list, I stop thinking about what I might want to shoot and start thinking about what I actually can carry without wanting to quit halfway through the terminal. I’ve learned the hard way that a heavy bag isn’t a sign of a prepared professional; it’s a sign of someone who hasn’t decided what their style is yet. For a portrait session on the move, I stick to my primary body, two lenses—one prime for that shallow depth, one zoom for when the client starts pacing—and enough batteries to feel safe. If I can’t reach it in under ten seconds while standing up, it shouldn’t be in my main compartment.
The real trick to protecting camera equipment during transit isn’t just about the padding; it’s about the logic of the layout. I use small, dedicated pouches rather than one giant, cavernous bag where everything migrates to the bottom like sediment. This isn’t just about being tidy; it’s about sanity. When you’re in a cramped hotel room or a windy park, you don’t want to be digging through a black hole for a single SD card. Pack for the reality of the friction, not the dream of the perfect shot.
Smart Camera Gear Organization Tips for When Chaos Strikes
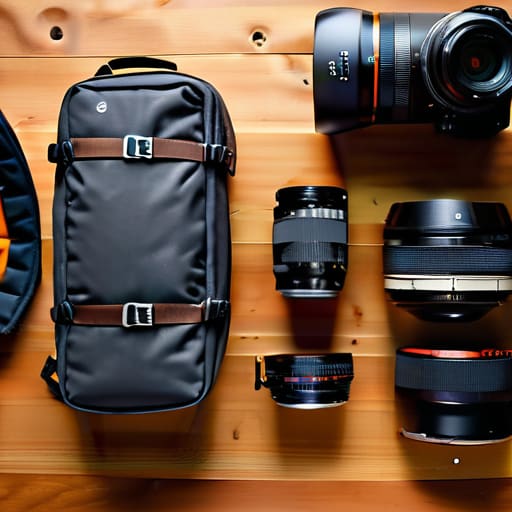
Don’t just throw everything into a cavernous backpack and hope for the best; that’s a recipe for a broken lens and a sore spine. I’ve learned the hard way that camera bag weight distribution is the difference between a productive day and a day spent nursing a lower back spasm. Keep your heaviest bodies and glass close to your spine, centered in the bag. If you’re reaching for a lens at the bottom of a pile of cables and half-eaten granola bars, you’ve already lost the momentum of the shoot.
I’m a big believer in the “tech pouch” method. Instead of letting your SD cards, spare batteries, and tiny adapters wander into the dark corners of your bag, get them into dedicated, transparent pouches. It makes your essential photography travel checklist much easier to run through visually. If you can see your gear at a glance, you aren’t frantic. When the client changes the brief or the light dies ten minutes earlier than expected, you need to be able to grab your backup without performing an archaeological dig in your own luggage.
Managing Camera Bag Weight Distribution for Long Hard Days
If you’ve ever spent three hours trekking through a cobblestone alleyway only to realize your shoulder is screaming at you, you’ve learned the hard way that physics doesn’t care about your gear list. Most people make the mistake of shoving their heaviest bodies—the lenses and the camera housings—right against the back panel or, worse, letting them sag toward the bottom. You need to prioritize camera bag weight distribution by keeping the heaviest items as close to your spine as possible. If the weight is pulling you backward, you’re going to burn out before you even find the light.
I always treat my bag like a Tetris game where the stakes are my own lower back. Heavy glass goes in the middle, close to the center of gravity, while your lighter accessories and your essential photography travel checklist items—like extra batteries or memory cards—can live in the outer pockets. Don’t forget that your backup gear for location shoots shouldn’t be an afterthought tossed into a side pouch; if it’s heavy, it needs a dedicated, centered home. A balanced bag makes a long day feel like a walk in the park rather than a slow descent into physical misery.
Protecting Camera Equipment During Transit From the Unforeseen
I’ve learned the hard way that a padded compartment in a fancy bag is no substitute for actual common sense. You can have the most expensive camera bag in the world, but if you’re tossing it into the footwell of a rental car or shoving it under a mountain of laundry in a hostel, you’re asking for a cracked sensor. When it comes to protecting camera equipment during transit, I don’t trust anything that isn’t physically separated. I use individual neoprene wraps for my lenses—they take up more room than a dedicated organizer, but they stop the “clink-clink” sound of gear colliding every time you hit a pothole.
If you are working with a minimalist photography packing list, you might be tempted to cram everything into one tight space to save weight. Don’t. If you’re traveling via public transport or navigating cobblestone streets, your bag is going to be bumped, dropped, or squeezed. Always keep your most vital backup gear for location shoots in a separate, small pouch that stays on your person, not in the main hold. If the big bag gets lost or left on a train, you at least have the essentials to keep working.
Essential Photography Travel Checklist and Your Crucial Backup Gear
I’ve learned the hard way that a checklist isn’t just a suggestion; it’s your only defense against a total meltdown at 6:00 AM in a terminal. When I build my essential photography travel checklist, I don’t just list the bodies and lenses. I list the things that actually stop the shoot: the SD cards that need formatting, the specific dongle for that one client’s laptop, and enough spare batteries to survive a flight delay. If it isn’t on the list, it doesn’t exist.
Then there is the matter of your safety net. I never leave for a commission without a dedicated kit of backup gear for location shoots. This doesn’t mean carrying a second of everything—that’s a recipe for a slipped disc—but it means having the critical redundancies. If you’re shooting a portrait session, that means a secondary light source or at least a reliable reflector, and if your primary lens fails, you need a single, versatile backup that can handle the light. It’s about calculated redundancy, not hoarding.
Five Rules for Not Regretting Your Gear Choices at 2 AM
- Stop packing “just in case” lenses. If you haven’t shot with that 70-200mm in three months, it isn’t coming on this trip. Every ounce of gear you carry that isn’t a primary tool is just a physical weight on your shoulders and a mental drain when you’re trying to navigate a train station.
- The “First In, Last Out” rule is non-negotiable. Your most essential kit—the body, the main lens, and one spare battery—needs to be in a small, accessible pouch or a top compartment. If you have to unpack your entire bag in a cramped airport terminal just to grab a battery, you’ve already lost the battle.
- Pack your chargers like they’re the most expensive thing you own. Don’t just throw them in a side pocket; wrap them in a microfiber cloth or a dedicated tech pouch. There is nothing more soul-crushing than arriving at a beautiful location only to find a bent pin or a frayed cable in the bottom of your bag.
- Carry a “sanity kit” that has nothing to do with optics. I’m talking about extra SD cards (more than you think), a high-capacity power bank, and a physical notebook. When your phone dies and your digital workflow hits a snag, that paper and pencil are the only things that will keep you from spiraling.
- Test your bag’s weight distribution before you leave the house. Don’t wait until you’re three miles into a cobblestone street in a foreign city to realize your shoulder strap is digging into your collarbone. Pack it exactly how you intend to shoot, walk around the block, and if it feels like a chore, take something out.
The Myth of the Perfect Kit
Stop packing for the dream shoot you’ve rehearsed in your head and start packing for the reality of a cramped train, a client who’s running forty minutes late, and a sudden downpour that turns your gear bag into a sponge. If your kit only works when everything goes according to plan, you aren’t prepared; you’re just lucky.
Iwona Krawczyk
The Final Check
At the end of the day, packing isn’t about achieving some aesthetic, minimalist dream you saw on a curated Instagram feed; it’s about mitigating disaster. You’ve thought about the weight distribution so your spine doesn’t give out by noon, you’ve organized your cables so you aren’t fishing for a charger in a dark hotel room, and you’ve prioritized the backups that actually matter. If you’ve done this right, your bag is a tool, not a burden. You aren’t just carrying glass and sensors; you’re carrying the preparedness required to actually do the job when the light is fleeting and the client is already looking at their watch.
Once the zippers are shut and the bag is on your shoulder, take a breath. The gear is ready, the redundancies are in place, and the heavy lifting of logistics is done. Now comes the part that no checklist can prepare you for: the actual shoot. Whether the room is too small, the subject is fidgety, or the weather turns, remember that the gear is just the baseline. You have the tools to handle the chaos, so stop worrying about the bag and start looking for the story. Go out there and shoot.
