
I remember a shoot for a corporate team in a courtyard that was supposed to be “architectural and airy,” but instead, it was just a grey, soaking mess. I stood there, clutching a lens that was costing more than my monthly rent, watching a single droplet crawl toward the mount while my client looked at me like I was the one who had personally summoned the clouds. Everyone tells you that you need a specialized, thousand-dollar weather-sealed system or a heavy-duty tactical backpack to survive the weather, but honestly, knowing how to protect gear in rain is rarely about the gear itself. It’s about the panic that sets in when you realize your expensive kit is suddenly a very heavy, very useless paperweight.
I’m not here to sell you on a specific brand of waterproof housing or some overpriced gadget that promises miracles. Instead, I want to talk about the messy, practical reality of staying operational when the sky falls. I’ll tell you about the cheap, imperfect workarounds that actually work, the way I manage my workflow when I can’t see my own hands, and how to make decisions when the schedule is collapsing. This isn’t a gear review; it’s a survival guide for the unpredictable variables that actually happen on set.
The Sky Isnt the Enemy the Preparation Is
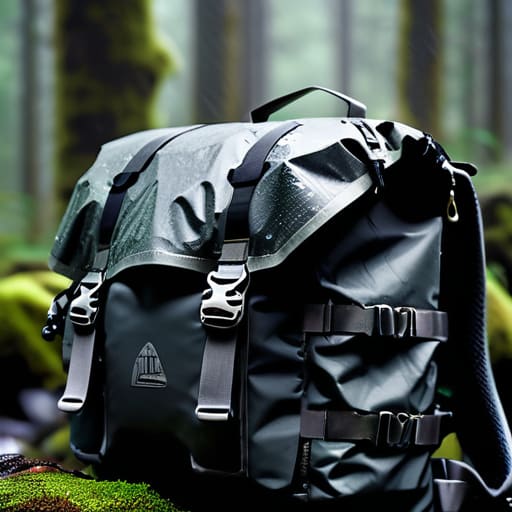
The sky isn’t the enemy, the preparation is.
If you wait until the first heavy droplet hits your sensor to start worrying, you’ve already lost the battle. I’ve spent enough mornings scrambling under a cramped awning, trying to shove a lens back into a bag while my client watches with that specific kind of “is this professional?” look. Realistically, emergency rain protection for photography isn’t just about a cheap plastic poncho; it’s about having a system that doesn’t require a frantic ritual every time the clouds turn grey. I keep a dedicated, heavy-duty shell for my main kit, but the real work happens before I even leave the studio.
The danger isn’t just the downpour; it’s the invisible aftermath. Even if you manage to keep the chassis dry, you’re fighting a losing battle against condensation. I’ve learned the hard way that pulling a cold camera into a warm car is a recipe for internal fogging. I always pack a handful of silica gel desiccant for gear in my side pockets, not because I’m paranoid, but because preventing moisture damage in electronics is much easier than trying to fix a shorted circuit board in a hotel room.
How to Protect Gear in Rain When Everything Goes Wrong
When the clouds break and you realize you’re standing in a downpour without a dedicated rain cover, you have to stop thinking like a technician and start thinking like a scavenger. Forget the high-end gear lists for a second; in the moment, you need emergency rain protection for photography that actually works. I’ve spent many a shoot improvising with heavy-duty bin liners and gaffer tape. It looks ridiculous, and your client might give you a side-eye, but a plastic bag cinched tight around the lens barrel is infinitely better than watching condensation bloom inside your glass.
The real danger isn’t just the splash; it’s the slow, creeping humidity that follows the storm. Even if you manage to keep the body dry, you’re fighting a losing battle against internal moisture. Once you get back to the studio or the car, don’t just toss everything in a pile. I always keep a handful of silica gel desiccants tucked into my kit for exactly this reason. You need to pull that dampness out of the electronics immediately, or you’ll be paying for a sensor cleaning that should have been avoidable.
Finding Waterproof Camera Bag Solutions for Unpredictable Days
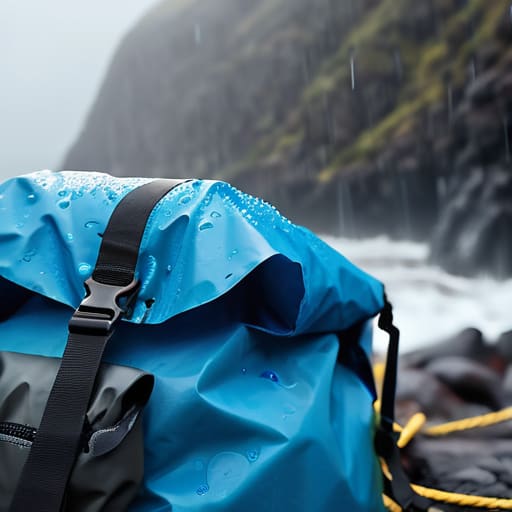
I used to think a “weather-sealed” bag was a magic shield, but after a particularly miserable shoot in a coastal drizzle, I realized that most gear bags are more like heavy canvas sponges. They might repel a few droplets, but they aren’t true waterproof camera bag solutions. If you’re relying on a standard padded backpack, you’re essentially gambling. I’ve learned to keep a heavy-duty dry bag—the kind sailors use—tucked at the bottom of my kit. It’s clunky and it ruins the silhouette of your bag, but when the wind is whipping rain sideways, it’s the only thing that actually keeps the moisture out of your sensor.
Once you’re back in the studio or the car, the battle isn’t over. The real danger is the condensation that forms when you move from the cold, damp air into a warm room. This is where preventing moisture damage in electronics becomes a game of patience. I keep a handful of large silica gel desiccants in every hard case I own. If a lens feels even slightly clammy, I don’t just wipe it; I seal it in a dry bag with those packets and wait. It’s tedious, but it beats the alternative of finding internal fogging the next morning.
Weatherproofing Outdoor Equipment Before the First Drop Falls
I’ve learned the hard way that once the clouds turn that specific shade of bruised purple, you’re already behind. Real weatherproofing outdoor equipment starts long before you’re scrambling for a plastic sheet. I always keep a handful of silica gel desiccant packs tucked into my lens pouches. It sounds like overkill until you’re moving from a humid, air-conditioned studio into a damp, coastal afternoon; that sudden temperature shift is what actually kills you, causing internal fogging that no amount of wiping will fix.
Don’t just rely on the “weather-sealed” badge on your lens, either. Those seals are designed for a light mist, not a deluge, and they certainly don’t account for the moisture that creeps in through your fingertips. I make it a habit to wrap my most expensive glass in individual, airtight dry bags inside my kit. It’s about preventing moisture damage in electronics at the source rather than playing damage control later. If you wait until you’re soaked to start thinking about protection, you’ve already lost the battle against the humidity.
Emergency Rain Protection for Photography When Time Runs Out
When you’re halfway through a shoot and the sky turns that bruised, heavy shade of grey, you don’t have time to hunt for a specialized rain cover you forgot to pack. This is the moment where you stop being a photographer and start being a frantic logistics manager. If you don’t have a dedicated cover, reach for the heavy-duty black trash bags from your kit or even a clean plastic tablecloth from a nearby cafe. It’s not pretty, and it’s certainly not professional-looking, but wrapping your body and your sensor in thick plastic is the only way to handle emergency rain protection for photography when the clouds finally break.
Once you’ve scrambled for cover, the real battle begins: the moisture that’s already seeped into the crevices. Even if you managed some quick weatherproofing, the humidity spike can be brutal. I always keep a handful of silica gel desiccant for gear tucked into the bottom of my most-used pouches. As soon as you get back to the studio or the car, strip the gear down and let it breathe. Don’t just shove everything back into a closed bag; if you trap that damp air inside, you’re just inviting mold to move in and make itself at home.
Preventing Moisture Damage in Electronics and Protecting Sensitive Lenses
Once you’ve managed to keep the cameras dry during the shoot, the real battle begins when you get back to the studio or your car. It’s easy to think the danger is over because the rain has stopped, but the humidity trapped inside your gear is a silent killer. I’ve seen more fungus bloom inside a prime lens because someone shoved a damp body into a closed case than I have from actual submersion. You need to focus on preventing moisture damage in electronics by giving everything air to breathe. Never, under any circumstances, seal a wet camera into a tight, airtight bag immediately; you’re essentially creating a terrarium for mold.
Instead, I keep a dedicated, dry bin in my workspace filled with several large silica gel desiccant packs for gear. As soon as I’m back, the gear goes into the bin, not the bag. If you’re working with high-end glass, protecting sensitive lenses from humidity means more than just a wipe with a microfiber cloth; it means controlled drying. I always strip the lens from the body if I can, letting the mount air out, and then let the desiccant do the heavy lifting overnight.
Five things I actually do when the clouds turn that specific shade of bruised purple
- Forget the fancy “weather-sealed” marketing for a second; if you’re shooting in a downpour, the seal is going to fail eventually. I always keep a stack of clean, lint-free microfiber cloths in a dry bag—not in my pocket, but in a dedicated, zipped compartment—because the biggest risk isn’t the internals frying, it’s the lens element becoming a blurry mess of droplets that makes the whole shoot look amateur.
- Don’t trust a single plastic cover. I use a heavy-duty trash bag and a few thick rubber bands to wrap the camera body if I’m stuck between locations; it looks ridiculous and I’d never do it for a client, but when you’re sprinting from the car to a doorway, it’s the only way to ensure the moisture doesn’t find the dial crevices.
- The real danger happens when you get back to the studio or the car. Never, ever put a damp camera straight into a padded, airtight gear bag. You’ll create a micro-greenhouse of humidity that’ll rot your sensor faster than the rain ever could; instead, leave the gear out on a towel in a ventilated space to breathe.
- If you’re using an external flash, treat it like it’s made of sugar. I’ve seen people get brave with “weather-resistant” speedlights, but once that moisture gets into the battery compartment, the connection becomes erratic and you’ll spend half your session fighting a light that won’t fire. Keep the flashes tucked under a jacket or inside a bag until the exact second you need them.
- Use silica gel packets like they’re gold. I keep a handful of the large, rechargeable ones in my dry box and I toss a couple into my camera bag every single morning; they are the only thing standing between my lenses and the creeping condensation that happens when you move from a cold, rainy street into a warm, heated building.
## The real cost of a damp sensor
“You can buy the most expensive weather-sealed body on the market, but that won’t save you when you’re rushing a client into a taxi while your lens is dripping and your bag is soaking through; true protection isn’t a spec sheet, it’s having the right plastic covers and a dry towel ready before the first cloud even turns grey.”
Iwona Krawczyk
The gear is safe, now what?
At the end of the day, protecting your kit isn’t about owning a magical, waterproof camera body; it’s about the boring, unglamorous logistics of being prepared. It’s the extra bag of silica gel tucked into your corner, the rain cover you actually practiced opening once, and the decision to pack your lenses in a way that doesn’t involve a frantic scramble when the clouds turn grey. If you’ve managed to shield your electronics from the moisture and found a way to keep your sensor dry, you’ve already won half the battle. The goal is to ensure that when the weather turns, you aren’t fighting your equipment, but instead managing the environment so you can actually get back to the work.
I’ve spent enough years assisting to know that the most beautiful shots often happen when the light is moody and the conditions are slightly miserable. Don’t let the threat of a downpour keep you from the best light of the week. Once you have your protective layers in place and your bags zipped tight, stop worrying about the hardware and start looking at the frame. The rain might change your schedule and it will certainly mess with your hair, but it shouldn’t stop the shoot. The best way to protect your craft is to stay calm enough to see the shot through the mist.
