
I was halfway through a corporate headshot session—the kind where the CEO is already checking their watch every thirty seconds—when I heard that sickening, slow creak of a C-stand beginning to tilt. It wasn’t the light that was the problem, or even the heavy softbox; it was the fact that I’d been too rushed to figure out how to sandbag a stand properly and had just tossed a half-empty bag of sand onto the wrong leg. For a split second, I thought my career was going to end with a shattered strobe and a very expensive lawsuit.
This isn’t a lecture on physics or a manual for professional grip technicians; it’s a guide for the rest of us who are actually doing the work. I’m going to show you the specific, messy reality of weight distribution, why putting the bag on the wrong side is a recipe for disaster, and how to secure your gear so you can actually focus on your subject instead of watching your equipment like a hawk. We’re going to talk about the small, unglamorous habits that keep your lights upright and your sanity intact when the room gets crowded.
Guide Overview
Tools & Supplies
- Scale (to ensure even weight distribution)
- Level (to check stand stability)
- Sandbags (2-4 depending on stand size)
- Sand or gravel (enough to fill bags)
Step-by-Step Instructions
- 1. First, look at the stand you’re actually using. If it’s one of those cheap, lightweight aluminum ones you bought on sale because you were starting out, it’s going to be a nightmare. Check the legs and make sure they are fully extended before you even think about touching a sandbag. A half-collapsed leg is just a pivot point for a disaster waiting to happen.
- 2. Identify where the weight needs to go. This is the part people mess up by being lazy: you don’t just throw the bag on top of the center column. You need to place the sandbag on the lowest possible leg of the stand. If you place the weight too high up, you’re actually raising the center of gravity and making the whole rig more likely to tip over when someone bumps it.
- 3. Position the bag so it’s pulling the stand down and away from the direction of the light. If your light is hanging out over a client’s shoulder, the weight needs to be on the leg that is furthest from the light, effectively anchoring the stand against the leverage of the boom arm. If you put the bag on the leg closest to the light, you’re basically inviting a catastrophe.
- 4. Check your bag for leaks before you lift it. I’ve seen enough spilled sand on a client’s expensive rug to last a lifetime. If you’re using old, crusty bags, give them a quick squeeze. If they feel thin or look like they’re about to give up, swap them out. A heavy light is one thing; a heavy light plus a pile of grit in your gear bag is a much worse problem.
- 5. Don’t overstuff them. There is a temptation to grab the biggest, heaviest bag you can find to “be safe,” but a bag that is too heavy can actually crush the tripod legs or cause the stand to buckle under its own weight. You want enough weight to create tension, not enough to turn your light stand into a piece of scrap metal.
- 6. Once the bag is down, give the stand a firm, physical nudge. I’m talking a real, intentional shake. If it wobbles or feels “floaty,” the sandbag isn’t doing its job or it’s positioned incorrectly. You want that stand to feel like it’s part of the floor. If it doesn’t feel solid now, it definitely won’t feel solid when the client starts moving around or the wind picks up near a window.
Understanding How to Sandbag a Stand Properly
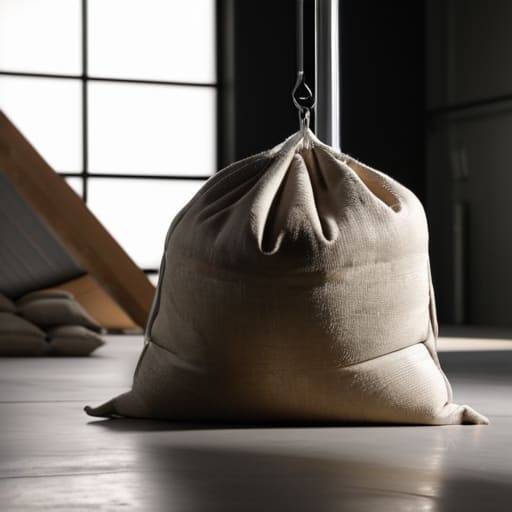
The thing people forget is that gravity doesn’t care about your hourly rate. You can have the most expensive strobe in the world, but if you’ve extended a C-stand to its full height with a heavy softbox on the end, you’ve essentially built a lever designed to pull itself over. Most beginners make the mistake of thinking a single bag on one leg is enough. It isn’t. Real lighting stand weight distribution is about understanding where the center of gravity is actually shifting. If you’re working with a heavy modifier, you need to be thinking about the physics of the reach, not just slapping a weight on the base and hoping for the best.
I’ve seen too many shoots grind to a halt because a light caught a stray breeze or a client bumped a stand while trying to find their seat. When it comes to preventing equipment tip over, the rule of thumb is to place the sandbag on the leg that is extending toward the weight, not the one directly under the center. It feels counterintuitive, but it’s the only way to actually anchor the tension. Don’t just drape them over the poles like an afterthought; wrap them tight and low.
Key Things to Know
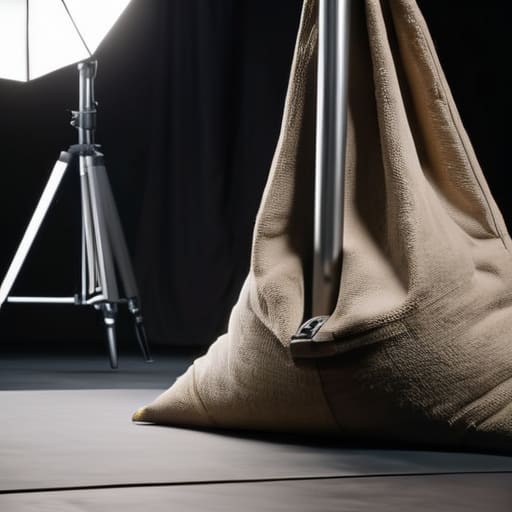
First, let’s talk about the physics of it, because gravity doesn’t care about your budget. When you’re extending a boom arm or even just pushing a heavy softbox to its limit, you aren’t just dealing with weight; you’re dealing with leverage. Most people think they’re safe if the bag is just “on the stand,” but if you aren’t mindful of lighting stand weight distribution, you’re essentially building a lever that wants to snap. Always place the bag on the tallest leg of the stand, specifically on the side that is leaning away from the light’s center of gravity. If you put the weight on the wrong leg, you’re actually helping the stand tip over faster.
Also, please, stop using your camera bag as a substitute. I know it’s tempting when you’re rushing to set up a corporate headshot, but a leather tote isn’t a professional sandbag. Real sandbags are designed to contour to the legs, which is vital for preventing equipment tip over when a client accidentally bumps a cable or a tripod leg. It’s about creating a low, wide center of gravity that can absorb a bit of a shock without the whole rig coming down on someone’s head.
Practical Tips and Steps
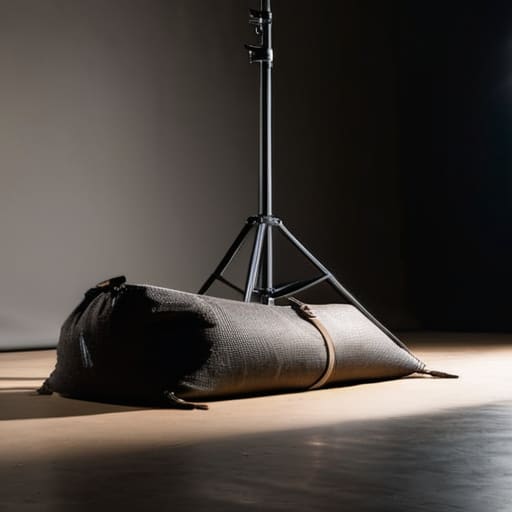
Don’t just drop the bag and walk away. I’ve seen too many assistants—and let’s be honest, myself included back in the day—just toss a sandbag onto the base of a stand and call it a day. If you want actual lighting stand weight distribution that works, you need to place the bag on the leg that is extending towards the weight of the modifier. If you’re using a heavy Octabox, the weight is pulling the stand in one direction; you need the sandbag on the opposite side to act as a counterweight, not just sitting in the middle of the tripod legs like an afterthought.
Also, please, watch your feet. When you’re working in a cramped studio or a client’s living room, you’re constantly navigating around cables and gear. I make it a rule to never leave a bag partially hanging off a leg. If it’s not flat on the floor, it’s a trip hazard, and a tripped-over stand is a broken light. Proper sandbag placement for light stands isn’t just about physics; it’s about making sure the room stays functional while you’re trying to actually do the work.
Five ways to keep your gear from becoming a lawsuit
- Always, always, always place the weight on the tallest leg of the stand—the one extending towards the load. If you put the sandbag on the short leg, you aren’t stabilizing the light; you’re just creating a pivot point for the whole thing to tip over.
- Don’t get lazy with the weight. A half-empty sandbag is just a suggestion of stability, not actual stability. If you’re using a heavy modifier like a 5-foot octabox, that bag needs to be substantial. I’ve seen too many “lightweight” setups turn into a heap of broken glass because someone thought a small bag was “enough.”
- Watch your feet. When you’re dragging a heavy stand into position, the sandbag becomes a tripping hazard for you and your subject. I always make sure the bag is tucked close to the base of the stand, not trailing out into the walking path where a nervous client is bound to stumble.
- Check your bag for leaks before you even unpack it. There is nothing quite as soul-crushing as being mid-shoot, trying to secure a C-stand, and realizing your sandbag is slowly bleeding grit all over a client’s expensive hardwood floor. If it’s dusty or leaking, find a different one.
- Remember that sandbags aren’t a substitute for good placement. If you find yourself needing three sandbags just to keep a stand upright, your geometry is wrong. You’re probably trying to cantilever a light too far out. Fix the stand position first, then use the bag to lock it in.
The Cost of Being Lazy
“You can spend forty minutes obsessing over the light fall-off on a subject’s cheekbones, but all that technical precision means absolutely nothing if a heavy modifier topples over and crushes a client’s foot because you thought a sandbag was ‘too much effort’ for a ten-minute setup.”
Iwona Krawczyk
The Last Line of Defense
At the end of the day, sandbagging isn’t some tedious chore to tick off a list; it is the difference between a professional session and a total catastrophe. Remember that you aren’t just weighing down a piece of metal; you are securing your lighting geometry, protecting your expensive modifiers, and—most importantly—making sure a heavy light doesn’t end up on your client’s foot. Always place the weight on the tallest leg of the stand, keep the bags low to the ground, and never, ever assume a stand is stable just because it feels heavy. It only takes one clumsy assistant or one sudden gust of wind from an open studio door to turn a controlled environment into a expensive disaster.
I know it feels like extra work when you’re already running behind or trying to manage a subject who is already fidgeting with their hands. But trust me, the five seconds you spend securing your gear is much better than the twenty minutes you’ll spend apologizing to a client or explaining a broken strobe to your insurance company. Real professionalism isn’t about having the most expensive sensor; it’s about having the discipline to manage the room. Get the basics right, secure your stands, and then you can actually focus on the art instead of worrying about whether your equipment is about to tip over.
