
I once spent forty minutes in a cramped, windowless office trying to explain to a client why her expensive strobe wasn’t “working,” only to realize the problem was the beige wall absorbing every ounce of life in the room. We didn’t need a new light; we needed to bounce what we already had. Most gear guides make you feel like you need a massive kit of specialized tools to solve basic problems, but honestly, learning how to choose a reflector is less about matching a spec sheet and more about understanding how to fight the room you’ve been handed. You don’t need a magic wand; you just need to know which piece of silver or white plastic is going to actually save the shot when the natural light disappears.
I’m not here to sell you on the latest high-end accessory or tell you that gold reflectors make everything look “magical.” I want to talk about the practical reality of using them when you’re sweating in a tight corner or dealing with a subject who is already losing their confidence. This is my guide on how to choose a reflector based on the actual compromises you’ll make on set, from the harshness of the bounce to the specific way it fills a shadow without making your subject look like they’re glowing in the dark.
The Room Is Against You Why You Need a Reflector
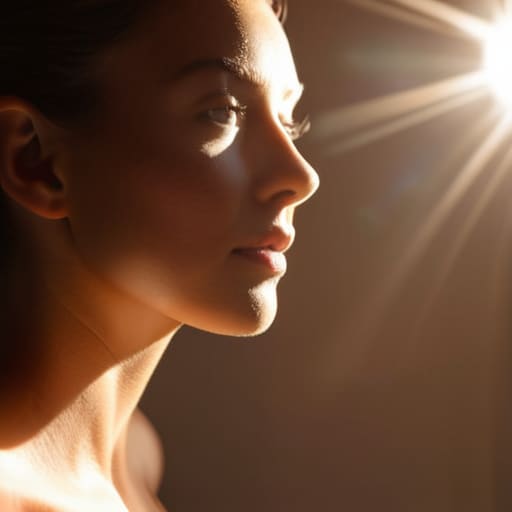
The problem with most “studio” setups is that they aren’t studios; they are rented spare bedrooms with beige walls and a single, aggressive window. You show up with your expensive strobes, only to realize the light is hitting your subject’s face like a hammer, creating shadows that look more like bruises than professional depth. This is where you realize that your photography lighting equipment is only as good as your ability to manipulate the environment. If the room is swallowing your light or throwing ugly, high-contrast shadows across a client’s nose, you aren’t looking for a new flash—you’re looking for a way to fight back.
A reflector is essentially your first line of defense against a hostile room. It’s the most underrated tool for managing diffuse vs direct light because it allows you to fill in those dark, awkward gaps without dragging a second heavy light stand into a cramped corner. Whether you’re trying to bounce a sliver of sunlight into a subject’s eyes or soften a harsh overhead lamp, you need something that can move as fast as the light changes. You aren’t just adding light; you’re reclaiming the space you’ve been given.
Beyond the Gear How to Choose a Reflector for Chaos
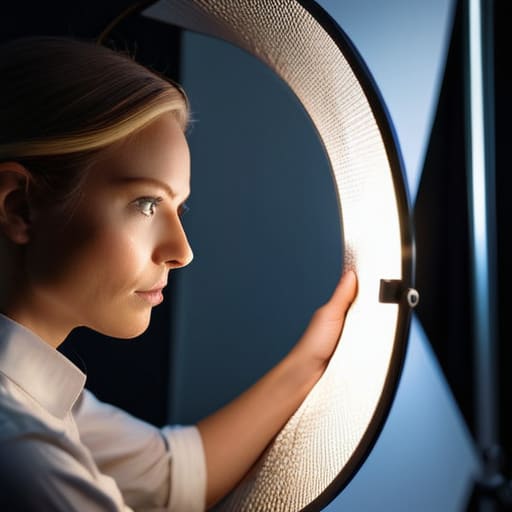
Stop looking at the spec sheet for a second and look at the person in front of you. If they’re shrinking into their shoulders because the shadows under their eyes are too deep, you don’t need a new strobe; you need to bounce something. When I’m working a tight corporate shoot in a room with zero natural light, I’m not looking for more power, I’m looking for control. This is where the 5-in-1 reflector benefits actually show up in the real world. It’s not about having a bag full of expensive glass; it’s about having that one circular tool that can pivot from a harsh, high-contrast setup to something much softer in ten seconds flat.
You have to decide quickly: are you trying to mimic the sun or hide from it? If you’re fighting a single, aggressive window, you’ll likely want to lean into diffuse vs direct light to keep the skin tones from looking like textured leather. I usually grab the white side for a subtle lift, but if the client looks washed out and sickly in a dim office, that’s when I’ll cheat a little with the silver side to add some much-needed punch back into the eyes.
Silver vs Gold Reflector Effect Chasing the Wrong Mood
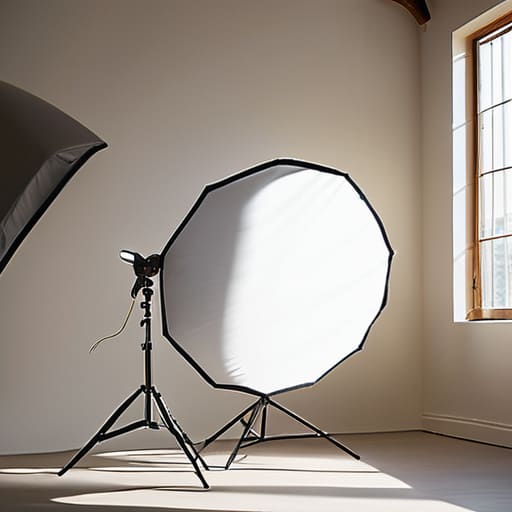
I’ve seen so many beginners walk into a shoot thinking a gold reflector is a “cheat code” for a warm, sun-kissed glow. It isn’t. In reality, if you’re working in a small studio with a single window, a gold surface often just makes your subject look like they have a mild case of jaundice. It’s a heavy-handed way to add warmth, and it rarely integrates naturally with the rest of your photography lighting equipment. If the light is already warm, gold just pushes it into the realm of the artificial.
Silver, on the other hand, is the workhorse for when you’re actually fighting the environment. It’s aggressive. It’s high-contrast. When you’re dealing with a subject in deep shadow and you need to kick some light back into their eyes without adding a massive footprint of illumination, silver is your best friend. The silver vs gold reflector effect really comes down to intent: silver is for specular punch and reclaiming detail, while gold is a gamble on mood that usually ends in a heavy edit. Use silver when you need to fight the room; use gold only if you’re already certain the light is too cold.
Diffuse vs Direct Light Managing the Unpredictable Window
If you’re shooting near a window, you’re essentially at the mercy of the sky. One minute you have a soft, creamy glow, and the next, a cloud moves and suddenly you’re dealing with harsh, high-contrast shadows that make your subject look like they’ve been interrogated. This is where understanding diffuse vs direct light becomes less of a theory and more of a survival tactic. If the sun is hitting your subject directly, you aren’t just looking for a bounce; you’re looking for a way to soften the blow.
I usually reach for the translucent panel on my 5-in-1 reflector to act as a makeshift scrim. It’s not as sophisticated as a professional silk, but it works. By placing the diffuser between the window and the person, you turn that aggressive, directional beam into something manageable. If the light is already soft but just a bit too weak to define a jawline, I’ll flip the reflector to the white side to kick a little bit of that soft light back into the shadows. It’s about controlling the chaos the window is throwing at you.
The 5 in 1 Reflector Benefits Survival in Every Studio Lighting Setup
If you’re setting up a studio lighting setup for beginners, my first piece of advice is to stop buying single-purpose tools and start buying versatility. This is exactly why the 5-in-1 reflector is the only thing in my kit that I actually trust when a shoot starts spiraling. It’s not about having the most expensive photography lighting equipment; it’s about having the ability to pivot when the sun suddenly disappears behind a cloud or the client decides they want a “warmer, more approachable” look halfway through the session.
The real 5-in-1 reflector benefits show up in the chaos of the transition. You have your white side for that clean, subtle fill that doesn’t look like you’ve dumped a bucket of light on their face, and then you have the black side for when the room is just too bright and you need to kill the bounce coming off a white wall. It’s these portable lighting modifiers that bridge the gap between a disaster and a usable shot. Whether you are wrestling with diffuse vs direct light from a window or trying to salvage a shadow that’s gone too deep, having all those options tucked into one circular frame is the closest thing to a safety net you’ll get.
Portable Lighting Modifiers Saving the Shoot When Time Runs Out
When the schedule starts slipping—and it always does—you don’t have time to rebuild a complex studio lighting setup for beginners from scratch. You need something that lives in the backseat of your car. This is where portable lighting modifiers become your best friend. I’ve been in situations where the client arrives twenty minutes late, the sun has moved three feet to the left, and the only thing standing between a usable portrait and a total disaster is a collapsible softbox or a sturdy bounce board.
Don’t mistake these for toys; they are your emergency kit. While we talked about the 5-in-1 reflector benefits earlier, sometimes you need something with more structure to actually shape the light. If you’re fighting a harsh, single source, a small, handheld diffuser can bridge the gap between diffuse vs direct light faster than you can reset a heavy umbrella. It’s about having a tool that responds to the chaos of the moment rather than adding to it. If you can’t deploy it in under sixty seconds, it’s probably just more weight you don’t need.
The Notebook Summary: My Rules for Not Getting Caught Out
- Don’t buy the cheapest 5-in-1 you find on a budget site. If the silver side is crimped or the tension is weak, it’ll flop mid-shoot, and you’ll spend ten minutes fighting a piece of bent aluminum instead of talking to your subject.
- Match the surface to the skin, not the gear. If you’re working with a client who is already self-conscious about their complexion, skip the silver entirely; it’s too aggressive. Go for the white side to keep the light soft and forgiving.
- Size matters more than you think. A small, handheld reflector is great for a quick fill in a tight corner, but if you’re trying to bounce light into a subject’s eyes from two meters away, a tiny disc is just going to leave them in the dark.
- Check the “black” side before you leave the house. A true black flag/reflector is the only thing that can actually kill spill in a room with too many white walls, and if the fabric is thin or grayish, it’s useless for creating contrast.
- Always prioritize portability over perfection. I’ve learned that a reflector that actually fits in my kit bag is infinitely more useful than a massive, professional-grade panel that I end up leaving in the car because it’s too heavy to carry through a crowded studio.
The Real Reason You’re Carrying It
Stop looking for the “perfect” reflector in a catalog; look at the room you’re standing in. You don’t choose a reflector based on its specs, you choose it based on how much of a fight you’re prepared to have with the shadows that the architecture is forcing on you.
Iwona Krawczyk
Don't Let the Gear Win
At the end of the day, choosing a reflector isn’t about collecting every shiny surface available on the market; it’s about anticipating where the light is going to fail you. Whether you’re grabbing a silver disc to punch some life back into a flat, shadowless face in a dim office, or using a white diffuser to stop a harsh afternoon sun from turning your subject into a squinting mess, the goal is the same: control the chaos. Remember that a 5-in-1 is your best friend for versatility, but knowing when to ditch the gold for something more natural is what actually separates a frantic shoot from a professional one. The reflector is your fallback plan, and in this job, you need a good fallback plan.
When you finally get through the setup, the lighting is dialed, and the client stops worrying about what to do with their hands, try to remember that the tool is just a way to bridge the gap between a bad room and a good portrait. You aren’t just bouncing light; you’re managing the environment so the person in front of your lens can actually feel comfortable. Don’t get so caught up in the technicalities of bounce angles and specular highlights that you forget the human element. Once you master the light, you can finally get back to the part that actually matters: capturing the person.
