
I was halfway through a corporate headshot session in a basement studio when the main power tripped, plunging the room into a thick, suffocating darkness. My client, a man who had already spent twenty minutes asking what he should do with his hands, looked like he was about to have a panic attack. In that moment, I didn’t need a $2,000 Profoto strobe or a complex light meter; I just needed to know how to light with a torch without making him look like a character in a low-budget horror film. Most people think a flashlight is just a tool for finding your way to the car, but if you understand the physics of a small, concentrated beam, it becomes a surprisingly surgical instrument for adding catchlights or dramatic rim light when the gear fails you.
This isn’t a lecture on the technical specs of LED lumens or battery life. Instead, I’m going to show you the actual mechanics of using a handheld light to shape a face, the specific distances you need to keep to avoid harsh shadows, and how to use a piece of white card to soften the blow. We are going to talk about the compromises you’ll have to make when the light is small and the room is working against you.
Guide Overview
Tools & Supplies
- Torch/Lighter (for ignition)
- Safety Gloves (to protect hands)
- Torch/Flashlight (1 unit)
- Batteries (1 set)
Step-by-Step Instructions
- 1. First, stop looking for the “perfect” setting and find your hardest light source. Most people grab a cheap plastic torch from a kitchen drawer, which is fine, but you need to know exactly how narrow that beam is. Before you even bring the subject into the frame, point it at a white wall to see how the light falls off. If the center is a tiny, blinding dot and the edges are pitch black, you aren’t looking at a light source; you’re looking at a laser pointer.
- 2. You need to create a makeshift modifier immediately, or you’ll end up with shadows that look like a crime scene. Since you don’t have a softbox, grab a piece of white tissue paper or even a thin white t-shirt. Hold it a few inches in front of the lens of the torch. It won’t make it a Profoto softbox, but it will smear the light just enough to stop it from looking like a interrogation lamp.
- 3. Position yourself at a distance that feels slightly awkward. If you stand too close, the light will be too intense and the fall-off too rapid, leaving the subject’s nose bright and their ears in total darkness. I usually aim for about two to three meters away. This gives you enough room to move the light slightly to the side, creating a subtle Rembrandt triangle on the cheek rather than a flat, unflattering blast of light directly to the face.
- 4. Don’t just hold the torch in your hand like you’re searching for lost keys. Your hands will shake, and if your hands shake, the light jitters in the frame, which looks amateurish even if the exposure is correct. Use a small tripod if you have one, or better yet, wedge the torch into a pile of books or a heavy bag on the floor. You want a stable, fixed point so you can focus on the subject instead of your own trembling grip.
- 5. Watch the eyes, not the skin. In low light, the camera is going to struggle, and you’ll be tempted to crank the ISO until the image looks like it’s made of sand. Instead, adjust the angle of the torch until you see a tiny, sharp catchlight in the subject’s pupils. If the eyes are dead and dark, the portrait is dead, no matter how “moody” you think the shadows are.
- 6. Finally, check your background for “accidental” highlights. When you’re working with a single, directional torch, it’s incredibly easy to accidentally illuminate a stray piece of trash or a bright exit sign behind the subject. You want the light to stay on the person. If something in the background is catching that narrow beam, move the torch a few inches to the left or right until the background drops back into the darkness where it belongs.
Understanding How to Light With a Torch
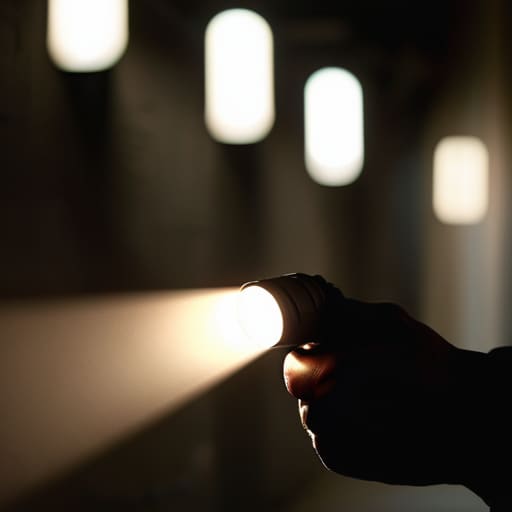
Before you start clicking, you have to understand that a torch isn’t a studio strobe; it’s a blunt instrument. When I’m stuck in a dark corner of a venue with nothing but a flashlight, I’m not looking for “perfect” light—I’m looking for directional intent. A standard torch produces a harsh, central hot spot that can make a subject look like they’re being interrogated by the police. To fix this, don’t point it directly at the face. Bounce it off a white wall or even the subject’s own palm to soften the falloff. It’s less about high-end gear and more about emergency lighting methods used to salvage a shot when the power fails or the venue’s mood lighting is absolute garbage.
You also need to watch the beam width. Most cheap torches have a narrow, punishing throw. If you want to wrap that light around a jawline, you’ll need to find something to diffuse it—a piece of frosted plastic or even a thin white cloth works in a pinch. It’s not quite the same as primitive fire lighting techniques where you’re just trying to see your hands, but the principle of managing a single, volatile light source remains the same. You aren’t aiming for a masterpiece; you’re aiming for control over the chaos.
Key Things to Know
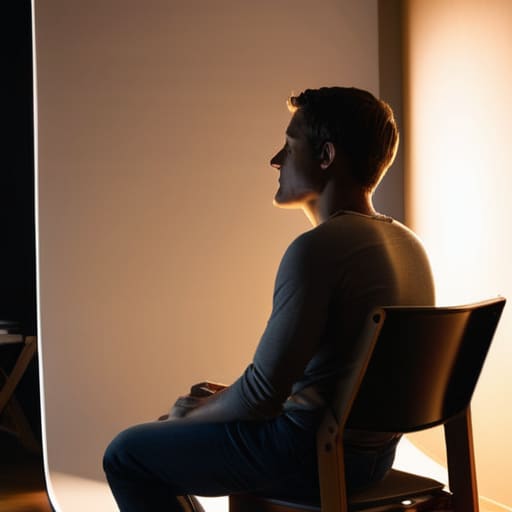
First, let’s talk about the physics of the thing. A torch isn’t a softbox; it’s a laser-focused beam of chaos. Because the light is so concentrated, you’re going to get harsh, unforgiving shadows that can make even a seasoned CEO look like a villain in a noir film. My rule of thumb is to never point it directly at the face unless you’re going for a very specific, high-contrast dramatic effect. Instead, bounce it off a white wall or even a piece of foam core. You aren’t looking for a sustained light source DIY approach here—you’re looking to mimic a window.
Second, watch your color temperature. Most cheap torches lean heavily into a sickly, blue-ish tint that makes skin look like marble. If you’re caught in a pinch using emergency lighting methods like this, you’ll spend twice as much time in post-production trying to fix the white balance. I’ve learned the hard way that it’s better to overexpose slightly to compensate for the poor color rendering. It’s much easier to pull detail out of a bright shadow than it is to fix a face that looks like it’s been lit by a police siren.
Practical Tips and Steps
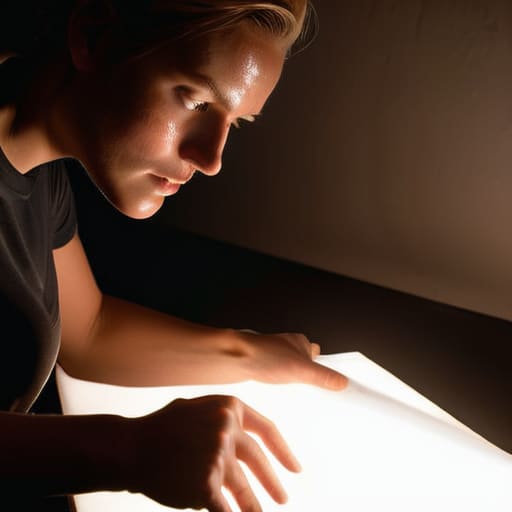
First, stop thinking about this as a cinematic lighting setup and start thinking about it as a way to salvage a shoot that’s gone sideways. If you’re stuck in a basement studio with a blown fuse, don’t panic. Grab a piece of white foam core or even a discarded piece of cardboard and hold it just in front of the lens of your torch. This turns a harsh, punishing beam into something resembling a softbox. It’s one of those emergency lighting methods that actually works when you’re staring at a subject who is already losing confidence because the lights went out.
Secondly, watch your shadows. A single torch is unforgiving; it will carve deep, ugly lines under the eyes if you hold it too low. I usually aim for a high angle, about forty-five degrees, but I keep the light source moving slightly to avoid that “interrogation room” look. If the beam is still too narrow, try diffusing it through a thin white cloth—just make sure it’s secure. It’s not about being perfect; it’s about managing the chaos so you can actually get the shot before the client loses their patience.
Five ways to stop fighting your flashlight
- Watch the spill. A torch isn’t a softbox; it’s a laser beam of light that wants to hit everything in the room except your subject. If you aren’t using a piece of white card or even your own hand to flag the light, you’re going to end up with a background that looks like a crime scene.
- Distance is your only real modifier. If the light is too harsh, don’t look for a diffuser; just move. Step back three feet and let the inverse square law do the heavy lifting for you. It’s less predictable than a Profoto, but it works if you stop fighting the physics.
- Mind the catchlights. People get so obsessed with the main beam that they forget the eyes. If you’re holding the torch too far to the side, you’ll get a dramatic look, but you’ll also get “dead eyes.” Angle it just enough to catch a tiny glint of light in the pupil, or they’ll look like they’ve seen a ghost.
- Don’t forget the color temperature mismatch. If you’re shooting a client under warm tungsten office lights but using a cool LED torch, the skin tones are going to look like bruised fruit in post. Try to match the “vibe” of the room’s existing light, even if it means your torch looks a bit yellow.
- Use your subject as a reflector. If you’re working in a tight corner and the torch is creating shadows that are too aggressive, have the subject wear something light-colored—a white shirt or a pale sweater. It’ll bounce that harsh torchlight back up into the shadows of their chin and neck, saving you from a messy edit later.
The Gear Lie
Stop waiting for the perfect softbox to arrive in the mail; if you’re standing in a dim corner with a client who’s losing patience, a $20 torch and a bit of grit will save your shoot far faster than a thousand-dollar strobe ever could.
Iwona Krawczyk
The Reality of the Situation
At the end of the day, using a torch isn’t about finding the perfect cinematic glow; it’s about damage control. You’ve learned that you need to watch your distance to avoid blowing out the skin tones, use your hands or a piece of white card to diffuse that harsh, unforgiving beam, and most importantly, keep an eye on the catchlights so your subject doesn’t look like they’re being interrogated by the police. It’s a messy, improvised way to work, but it beats staring at a dark room wondering why your expensive strobe won’t trigger. If you can master the intentionality of the beam, you can salvage almost any lighting disaster.
Don’t let the lack of a full kit make you feel like a fraud. Some of my best portraits—the ones that actually feel human and grounded—were born from the absolute chaos of a location that refused to cooperate. When the power fails or the sun sets two hours too early, don’t panic. Just grab whatever light you have, find the angle that works, and keep moving. The gear is just a tool, but your ability to see the light in a dark room is what actually makes you a photographer. Now, go out and see what you can find.
