
I spent eight years assisting photographers who treated every shoot like they were prepping for a NASA launch, lugging in three different strobe kits and a mountain of modifiers just to take a single corporate headshot. It’s a complete lie that more gear equals better results; in reality, that complexity is just a way to hide the fact that you don’t actually know how to control the light. If you’re staring at a client who is already checking their watch, you don’t need a masterclass in complex ratios—you need to know how to light for a fast setup that doesn’t fall apart the moment you move a stand.
I’m not going to give you a list of expensive gear to buy or some theoretical lecture on the physics of photons. Instead, I’m going to show you the unsexy, practical reality of what I actually do when I walk into a room with twenty minutes to spare. We’re going to talk about specific distances, the one modifier that actually survives a real workday, and how to make a single light source do the work of three. This is about efficiency without compromise.
The Room Is Working Against You How to Light for a Fast Setup
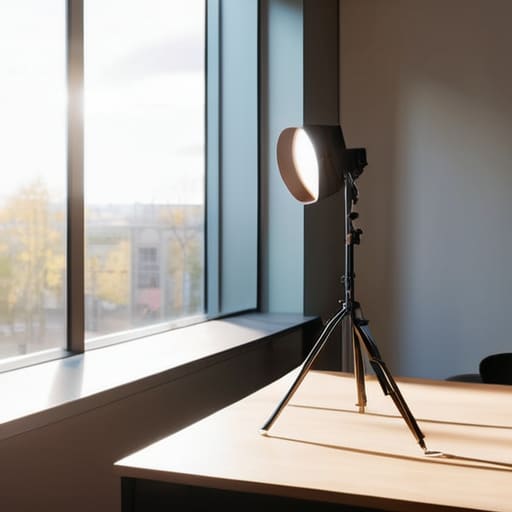
The first thing you’ll realize when you walk into a client’s office is that the architecture is never on your side. You’re fighting massive floor-to-ceiling windows that turn your subject into a silhouette, or a fluorescent ceiling that makes everyone look like they’ve been dead for three days. When you can’t control the environment, you have to stop trying to overpower it and start working around it. I’ve learned that a minimalist lighting kit is your best friend here; if you’re lugging three strobes and a heavy softbox through a crowded lobby, you’ve already lost the momentum of the shoot.
Instead of trying to build a complex, multi-point rig, lean into single light source techniques. I usually grab one large octa and place it about 45 degrees off-axis from the subject. It’s fast, it’s predictable, and it gives you a fallback when the sun decides to move behind a cloud mid-session. If you can nail that one light, you aren’t wasting twenty minutes chasing shadows or adjusting reflectors. You just set it, check the exposure, and actually get to the work.
Trusting a Minimalist Lighting Kit When Time Runs Out
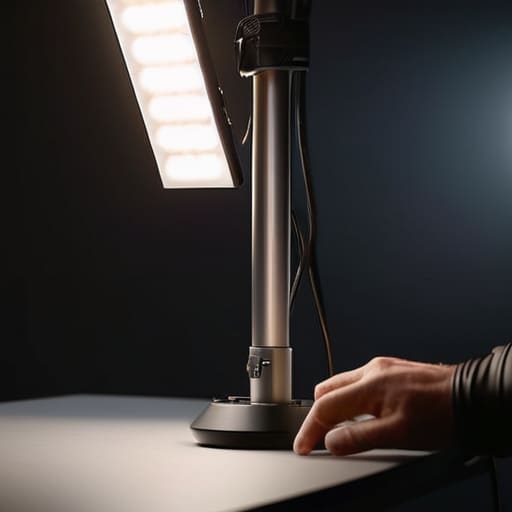
When you’re staring at a client who is already checking their watch, the instinct is to grab every strobe and softbox you own, hoping more gear equals more safety. It doesn’t. It just equals more cables to trip over and more time spent negotiating with a ceiling that’s too low for your heavy-duty C-stands. I’ve learned that a minimalist lighting kit is actually your best defense against a collapsing schedule. If you only have one light, you aren’t guessing; you are deciding.
I usually lean on a single, large octa with a grid. It’s predictable. You know exactly how it will fall on a face, and more importantly, you know how it will behave when the subject starts fidgeting. By mastering single light source techniques, you bypass the frantic “where does this rim light go?” phase of the shoot. You aren’t fighting the gear; you’re just managing the person in front of you. It’s about finding that one reliable setup that gives you consistent lighting results without needing a degree in electrical engineering to get it running.
The Beauty of Single Light Source Techniques in Chaos
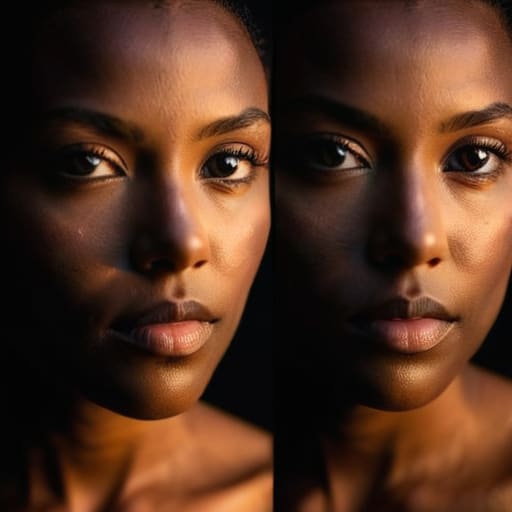
When you’re staring at a client who is already checking their watch, the temptation is to throw every strobe you own at the problem. Resist it. There is a specific kind of magic in single light source techniques that people tend to overlook in favor of complex, multi-point setups. When you strip the kit back to just one key light—say, a medium octa with a grid—you stop managing gear and start managing the person in front of you. You aren’t fighting with hair lights or rim lights that keep falling over because the floor is uneven; you are just focusing on the eyes and the shadow side of the face.
This isn’t about being cheap; it’s about an efficient studio workflow that prioritizes the subject over the technical gymnastics. If you can nail a look with one light and a reflector, you’ve won. It gives you the breathing room to actually talk to the client, figure out what they do with their hands when they’re nervous, and build enough rapport to get that genuine expression. In the chaos of a real shoot, simplicity is your best defense against a total collapse of the schedule.
Building an Efficient Studio Workflow for the Unpredictable
The secret to an efficient studio workflow isn’t a fancy booking system or a color-coded gear bag; it’s about how much you have to think once you’re actually standing in the room. I’ve learned the hard way that every time you move a stand or swap a modifier, you lose three minutes of momentum and ten percent of your client’s confidence. If you’re constantly hunting for a specific gel or a missing power cable, you’ve already lost the session. I try to prep my gear so that my minimalist lighting kit is essentially “plug and play.” I want to walk in, see the window, see the ceiling height, and know exactly which light is going where without having to consult a manual.
You also have to account for the human element. When you’re doing quick turnaround photography, the subject is watching your every move. If you look frantic, they’ll feel frantic. I aim for consistent lighting results by using a repeatable setup—usually a single large softbox on a heavy-duty stand—so that I can focus on the person instead of the gear. Once the light is set, the job becomes about the person, not the equipment.
Portable Lighting Solutions for When the Client Moves
There is nothing quite as soul-crushing as setting up a beautiful, controlled environment only for the client to realize they actually wanted the shots “in the context of the office” or “near the window.” Suddenly, your tripod is a tripping hazard and your heavy modifiers are useless. This is where your portable lighting solutions have to earn their keep. I stopped lugging around the heavy-duty light stands years ago; now, I rely on compact, battery-powered COB lights and a few high-quality reflectors. If you can’t pack your entire setup into a single rolling bag and move it across a room in under three minutes, you aren’t actually prepared for the chaos of a real commission.
When you’re forced into these transitional spaces, don’t try to recreate a studio. Instead, lean into single light source techniques that play well with the existing ambient light. I usually grab one small LED panel or a speedlight with a decent modifier and call it a day. The goal isn’t perfection; it’s about maintaining enough control to ensure consistent lighting results without fighting the architecture of a room that wasn’t built for photography. Keep it light, keep it fast, and don’t let the change in scenery derail your momentum.
Chasing Consistent Lighting Results Amidst the Daily Madness
The real headache isn’t just getting the lights on; it’s making sure they look the same at 10:00 AM as they do at 3:00 PM when the sun has moved three inches across the studio floor. I’ve spent too many shoots fighting with window light that decided to turn my moody portrait into a high-key mess halfway through the session. If you want consistent lighting results without losing your mind, you have to stop relying on the environment to cooperate. I’ve learned to treat the room like it’s actively trying to sabotage me. This usually means pulling the heavy blackout blinds and leaning entirely on my own gear, regardless of how much natural light is pouring in through the glass.
Consistency is a byproduct of a predictable system, not luck. When I’m working on a tight schedule, I don’t experiment with new modifiers mid-shoot. I stick to my minimalist lighting kit—the same strobe, the same silver reflector, the same distance from the subject—because I already know exactly how that light will fall. If you’re constantly tweaking your setup to chase a new look, you’re just inviting chaos. Pick a reliable configuration, lock it in, and stop letting the shifting afternoon sun dictate your creative decisions.
Five ways to stop fighting your gear and start shooting
- Stop overthinking the light ratio. When you’re running behind, ditch the three-point setup and just grab one large octa or a deep parabolic softbox. Position it about 45 degrees to the side and slightly above the subject’s eye line. It gives you enough shape to look professional without the thirty minutes of tweaking hair lights and fill flashes.
- Tape your floor. I know, it sounds like a drill sergeant thing, but if you’re working in a client’s office or a rented studio, marking your light stand positions with gaffer tape saves you from the “where was that stand again?” dance every time a subject moves. You can reset a shot in seconds because you aren’t guessing the distance.
- Pre-set your power levels. Don’t walk into a room and start clicking through your flash settings like a madwoman. I keep a mental (or written) note of my “base” settings—say, 1/4 power through a medium modifier—so the moment the light hits the subject, you’re already in the ballpark. You can tweak from there, but you shouldn’t be starting from zero.
- Kill the ambient light before you try to shape it. If you’re in a room with weird, flickering overhead fluorescents or a window that’s fighting your strobe, don’t try to balance them. Close the blinds or turn off the lights. It is much faster to add light to a dark room than it is to fight a room that’s already decided what the color temperature is going to be.
- Simplify your modifiers. If you have a choice between a complex beauty dish with honeycombs and a standard white umbrella, take the umbrella. It’s more forgiving, it covers more area, and it doesn’t require you to spend ten minutes adjusting the angle just to avoid a harsh shadow on a subject’s nose. Speed is about making choices that are hard to mess up.
Stop chasing the perfect setup
If you’re spending forty minutes dialing in a three-light beauty setup only to realize the client has already checked their watch three times, you haven’t mastered lighting; you’ve just mastered procrastination. I’d rather have one light, a solid modifier, and a subject who actually feels comfortable, than a high-end rig and a room full of wasted time.
Iwona Krawczyk
The reality of the bag
At the end of the day, a fast setup isn’t about having a massive van full of gear or the latest high-speed sync technology. It’s about knowing your kit so well that you can build a usable scene in the time it takes your subject to find their seat. It’s about choosing that one reliable 36-inch octa, knowing exactly where your stand needs to sit to avoid a trip hazard, and accepting that perfection is the enemy of a finished invoice. We’ve talked about managing the room, trusting your single light, and keeping things portable, but the common thread is always the same: stop overcomplicating the physics and start prioritizing the momentum of the shoot.
When you finally pack your bags and head home, don’t dwell on the light you didn’t use or the modifier you thought might have worked better. The best photographers I know aren’t the ones with the most expensive light meters; they are the ones who can walk into a chaotic, windowless office and make something beautiful happen with nothing but a single strobe and a bit of intuition. The gear is just a tool to get you through the chaos. The real work—the part that actually matters—is how you hold the space for the person sitting in front of your lens. Now, go out there and just start shooting.
