
I was halfway through a corporate headshot session—the kind where the client is already sweating through their blazer—when I realized the soft, hazy glow on the subject’s eyes wasn’t some intentional, dreamy aesthetic. It was a fingerprint. I’d spent twenty minutes trying to figure out why my contrast felt flat, only to realize I’d been shooting through a smear of oil. Most people think you need a specialized, expensive kit to fix this, but the truth about how to clean a lens properly isn’t about the fancy chemicals; it’s about stopping the panic and knowing which tools actually touch the glass.
In this notebook, I’m skipping the lecture on optical physics and getting straight to the grit. I’ll show you exactly which cloths are worth the space in your bag and which ones are just expensive dust magnets, plus the specific sequence I use when I realize I’ve made a mess in the middle of a shoot. No fluff, no overpriced sprays—just the practical reality of keeping your glass clear so you can actually focus on the person in front of you.
Guide Overview
Tools & Supplies
- Air blower (to remove loose dust/grit)
- Soft lens brush (to sweep away particles)
- Microfiber cloth (for gentle wiping)
- Lens cleaning solution (1 small bottle)
- Microfiber cloths (2-3 cloths)
Step-by-Step Instructions
- 1. First, grab a high-quality blower—not your lungs, please. I’ve seen people try to blow dust off a lens with their mouth, and honestly, that’s just adding moisture and spit to the problem. Use the air puffer to knock off the loose grit and sand. If you don’t get the actual particles off first, you’re just going to rub them into the coating when you start wiping.
- 2. Once the big stuff is gone, get a clean microfibre cloth or, if you’re like me and actually care about your glass, a dedicated lens tissue. Don’t use your t-shirt; I don’t care how soft the cotton is, it’s full of microscopic debris that will eventually turn your expensive element into a scratched mess.
- 3. If there’s a stubborn fingerprint or a smudge from a nervous client who touched the glass, you’ll need a drop of lens cleaning fluid. Apply it to the cloth, never directly to the lens. If you spray the fluid onto the glass, it can seep into the barrel and ruin the internal electronics, which is a much more expensive problem than a smudge.
- 4. Now, wipe in small, controlled circles starting from the center and working your way out to the edges. Don’t press hard; you aren’t trying to scrub a kitchen floor. You want to be gentle but deliberate, moving the fluid and the grime toward the perimeter so you aren’t just redistributing the oil.
- 5. Check your work under a single, harsh light source—a desk lamp or even your phone torch works. If you see any streaks or a hazy film remaining, it’s usually because you didn’t use enough fluid or you’re using a cloth that has already reached its limit for holding dirt. Switch to a fresh part of the cloth and go again.
- 6. Finally, put the lens back in the bag or on the camera and get back to work. Don’t spend twenty minutes obsessing over a microscopic speck that won’t even show up in a portrait. The goal is to be clean enough to shoot, not to achieve laboratory-grade sterility.
Understanding How to Clean a Lens Properly
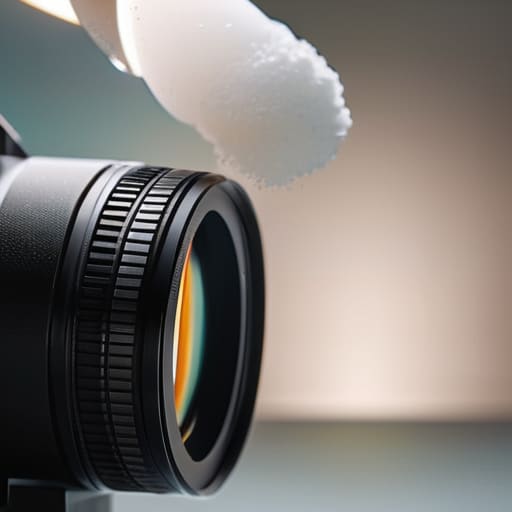
Before you even touch the glass, you need to understand that most damage happens during the “quick wipe” when you’re in a rush between setups. If you see a speck of grit and immediately go in with a cloth, you aren’t cleaning; you’re essentially using that grit as sandpaper. I’ve seen too many expensive elements ruined because someone skipped the air blower for photography step. Use the blower first to physically displace the loose particles. If you don’t move that grit away from the surface, you’re just rubbing it into the optical coating protection, and once that layer is compromised, you can’t fix it.
It’s also worth talking about your tools. If you’re using a rag you pulled out of your pocket, stop. Even a clean-looking microfiber can harbor microscopic debris from your bag or your hands. Proper microfiber cloth maintenance is non-negotiable; if it’s been sitting in your kit for six months, it’s probably a magnet for dust. Wash them separately, avoid fabric softener like the plague, and treat them with the same respect you give your sensor.
Key Things to Know
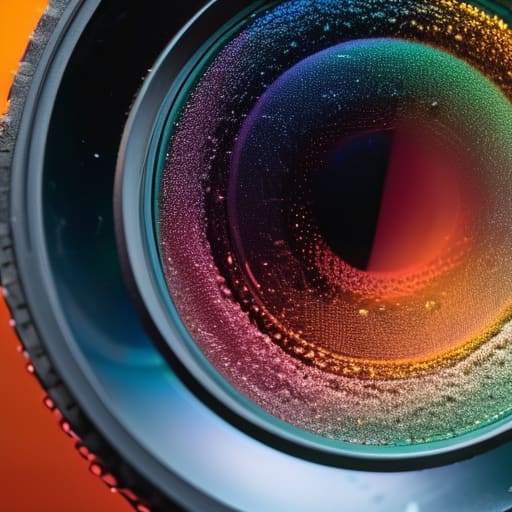
First, let’s talk about the stuff you probably have sitting in your bag right now. If you’re using a generic rag you found in your car, stop. You aren’t just wiping away fingerprints; you’re essentially sandpapering your glass. Most modern lenses have a delicate optical coating protection that is much thinner than you think. If you’re aggressive with a dirty cloth, you’ll leave micro-scratches that show up as weird flares when you’re trying to catch that perfect sunset light. I always tell my assistants: if it doesn’t come off with a gentle puff from an air blower for photography, do not—under any circumstances—start scrubbing.
Also, please pay attention to your cloth. I’ve seen people “clean” a lens with a microfiber cloth that has been sitting in a dusty kit bag for six months. At that point, you’re just moving grit around in circles. Real microfiber cloth maintenance means washing them regularly (no fabric softener!) or just having a dedicated, clean one for every single shoot. It’s a small habit, but it’s the difference between a sharp portrait and one that looks like it was shot through a greasy window.
Practical Tips and Steps
First, stop treating your cleaning cloth like a rag you found in the bottom of your gear bag. If you’re using a microfiber cloth that’s been sitting in a dusty kit for six months, you aren’t cleaning anything; you’re just buffing grit into the glass. I tell my assistants that microfiber cloth maintenance is just as important as the lens itself. Wash them by hand with a tiny bit of grease-cutting soap, air dry them, and for heaven’s sake, keep them in a sealed Ziploc bag when you aren’t using them.
When it comes to the actual process, please—I am begging you—get an air blower for photography before you even think about touching the glass with a cloth. Most of the time, you aren’t dealing with a smudge; you’re dealing with a tiny piece of grit that will act like sandpaper if you press down on it. Blow the loose particles away first. If you skip this and go straight to wiping, you aren’t just cleaning; you’re actively inviting scratches that no amount of professional polishing will ever fix.
Five things I’ve learned from scratching my own glass
- Stop using your T-shirt. I know it feels like common sense when you’re in a rush between clients, but even the softest cotton is basically sandpaper compared to optical glass once it’s picked up a microscopic bit of grit. You aren’t cleaning it; you’re etching it.
- Blow, don’t wipe. If you see a speck of dust, use a rocket blower first. If you go straight in with a microfiber cloth while there’s still a grain of sand on the element, you’re just dragging that grain in a circle across your coating. Blow the debris away before you even think about touching the glass.
- The “one-way” rule. When you finally do use a cloth, don’t scrub in circles like you’re polishing a silver spoon. Work from the center outward in gentle, sweeping motions. It keeps the residue from migrating back into the middle where it’ll catch the light and ruin your contrast.
- Check your lighting—and I don’t mean the studio lights. Take the lens to a window or use a dedicated flashlight to rake light across the surface at an angle. If you can’t see the smudge under a harsh, side-on light, it’s probably fine. If you can, you aren’t finished yet.
- Keep your kit organized so you aren’t hunting for a clean cloth mid-shoot. There is nothing more soul-crushing than realizing your only microfiber is currently covered in oil from your hands because you threw it in your bag without a case. Keep the clean stuff in a dedicated, sealed pouch.
The cost of a smudge
You can spend ten thousand pounds on a prime lens and a lighting setup that would make a Renaissance painter weep, but if you’re shooting through a thumbprint because you were too rushed to grab a blower, you’re just documenting your own lack of discipline.
Iwona Krawczyk
The bottom line
At the end of the day, cleaning your glass isn’t some high-level technical ritual; it’s just basic maintenance to stop you from looking like an amateur when the light finally hits the room correctly. Remember that the blower is your best friend, the microfiber cloth is for the stubborn stuff, and for heaven’s sake, stop using your t-shirt to wipe away a fingerprint. If you follow the sequence—air first, then the gentle wipe—you’ll avoid the micro-scratches that turn a sharp portrait into a blurry, hazy mess. It’s about being methodical so that when the client arrives and the schedule starts slipping, you aren’t fumbling around with a greasy piece of kit.
I know it feels like a chore, especially when you’re more focused on the lighting setup or whether the subject is actually going to cooperate with your directions. But there is a quiet, professional satisfaction in knowing your gear is ready for whatever the day throws at you. Once the glass is clear, you can stop worrying about the equipment and start focusing on the person sitting in front of you. After all, the gear is just the bridge between your eye and the subject; make sure that bridge isn’t covered in smudge marks.
