
I once spent forty minutes in a drafty, unheated studio trying to explain to a client why her portrait looked like it had been shot through a layer of Vaseline, only to realize the culprit wasn’t my lens or her lack of confidence—it was my cheap, spindly tripod that had been slowly sinking into the uneven floorboards. Most gear guides will try to sell you on carbon fiber weight ratios or ultra-precise ball heads as if those are the only things that matter. But if you’re actually out in the field, learning how to choose a tripod isn’t about reading spec sheets; it’s about realizing that a piece of equipment is only as good as its ability to stay absolutely still when the wind picks up or the client decides to shift their weight mid-pose.
I’m not here to help you spend your entire commission on a piece of kit that looks pretty in a gear bag but fails when the lighting gets difficult. Instead, I want to talk about the actual physics of the job: stability versus portability, the reality of leg locks in the rain, and why sometimes the most expensive option is a complete waste of money. This is the practical, unvarnished truth about finding a support system that won’t let you down when everything else in the room is falling apart.
The Unseen Stabilizer How to Choose a Tripod When Everything Else Fails
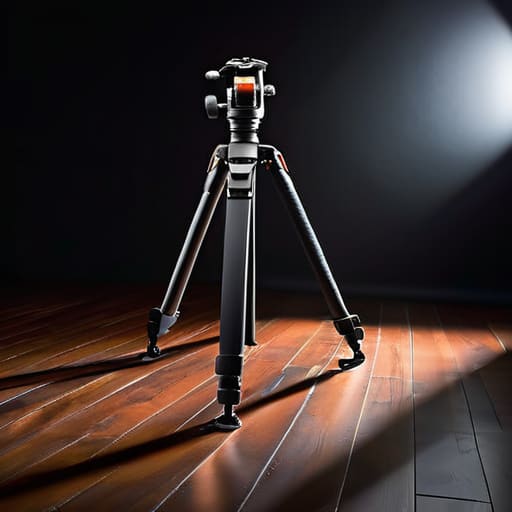
Look, I’ve spent enough time in drafty studios and awkward hotel rooms to know that a tripod isn’t just a piece of gear; it’s your only reliable teammate when the lighting is garbage and the client is breathing down your neck. Most people obsess over the sensor, but they forget about tripod payload capacity. If you’re shooting a heavy DSLR with a long prime lens and you pick a spindly thing meant for a mirrorless compact, you aren’t just risking a blurry shot—you’re risking a broken lens. I’ve seen it happen.
When you’re weighing up carbon fiber vs aluminum tripods, don’t just look at the price tag. Aluminum is cheaper and tougher if you’re prone to being reckless, but carbon fiber is what saves your back after six hours of standing on a cobblestone street. It absorbs the micro-vibrations that make your long exposures look like a mess. Just remember: a tripod that’s easy to carry but wobbles like a newborn deer is worse than no tripod at all. Choose the stability, even if it means a little more weight in your kit bag.
Weight vs Willpower the Carbon Fiber vs Aluminum Tripods Debate
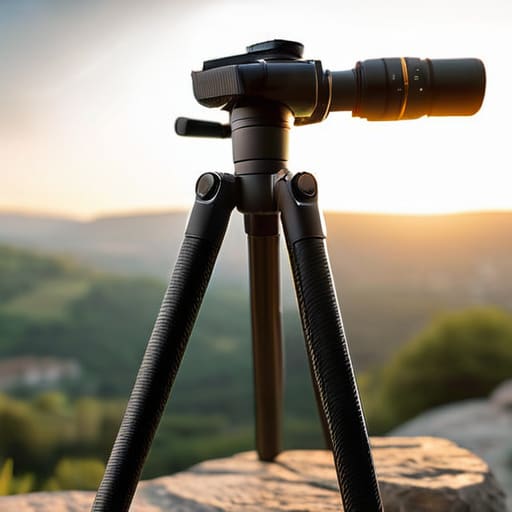
Here is the reality of the carbon fiber vs aluminum tripods debate: it usually comes down to whether you’d rather suffer in your shoulders or in your wallet. If you’re lugging a full kit—body, heavy glass, and a modifier—through a crowded city or up a flight of stairs to a client’s office, carbon fiber is a godsend. It absorbs micro-vibrations better, which is a lifesaver when you’re shooting long exposures in a drafty studio. But let’s be honest, travel tripod portability only matters if you can actually afford the gear that makes it portable.
Aluminum is the workhorse. It’s cheaper, it’s sturdy, and it doesn’t care if you leave it in a damp corner of a studio. The downside is the weight. If you’re constantly moving between setups, that extra pound feels like five by the end of a ten-hour day. Before you buy, stop looking at the shiny specs and check the tripod payload capacity against your heaviest lens. I’ve seen too many beginners buy a lightweight travel setup only to watch it wobble like a jelly mold the second they mount a professional zoom.
The Burden of Gear Calculating Your Real Tripod Payload Capacity
Here is the part where most people make a mistake that costs them a shoot: they look at the number on the box and assume it’s a guarantee. When a manufacturer lists a tripod payload capacity, they aren’t testing it with your heavy DSLR, a long telephoto lens, and a bulky external monitor for video. They are testing it in a vacuum. In reality, you need to account for the “drift”—that slow, agonizing sag that happens when you’re trying to nail a long exposure in a windy studio or a drafty hallway.
If you are running a heavy rig, I always tell my assistants to look for a capacity that is at least double what your actual gear weighs. If your setup is 3kg, don’t buy a tripod rated for 3kg; you’ll be fighting micro-vibrations for the rest of the afternoon. This becomes even more vital when you start considering different camera tripod head types. A heavy ball head adds its own weight to the equation, and if you’re using a gimbal for video work, that center of gravity shifts constantly. If the legs can’t handle the leverage, no amount of tightening the locks will save your shot.
Geometry of Stability Tripod Leg Sections Explained for Real Life
When you’re looking at a spec sheet, it’s easy to get seduced by the number of segments. More sections mean better travel tripod portability, which sounds great until you’re actually in the field. I’ve spent too many shoots trying to extend a four-section leg to its full height, only to realize that every time you extend a segment, you’re sacrificing rigidity. You end up with a spindly, vibrating mess that makes long exposures a nightmare. If you’re shooting a portrait in a dim studio, you want fewer, thicker sections. They feel substantial and they don’t wobble when the client walks past the light stand.
The trade-off is always about the math of physics versus the reality of your shoulder pain. A three-section setup is a tank, but it’s a tank you’ll hate carrying to a remote location. I usually tell my assistants that if they are choosing between a compact setup and a stable one, they should choose stability every single time. Once you start dealing with heavier lenses or different camera tripod head types, that extra bit of flex in a multi-section leg becomes a massive headache. It’s not just about height; it’s about how much the gear fights you when the wind picks up or the ground is uneven.
Finding Your Angle Navigating Different Camera Tripod Head Types
Once you’ve wrestled with the weight of the legs, you have to deal with the part that actually moves: the head. I’ve seen too many people spend a fortune on a high-end setup only to realize their head is fighting their workflow. If you’re shooting stills, a ball head is your best friend; it’s fast, intuitive, and lets you center your frame in seconds. But if you’re doing video work—even the short-form stuff I do—a ball head is a nightmare of jerky movements. You’ll want a fluid head, something that offers controlled, sweeping motion so you don’t look like you’re twitching every time you try to pan across a subject.
The real trap is ignoring how these camera tripod head types interact with your specific gear. A heavy DSLR with a long lens might feel stable on a small ball head, but the moment you try to tilt it, the whole thing will sag. You have to match the head’s movement to your intent. If you’re constantly adjusting for a client who won’t sit still, you need speed and precision, not a complicated mechanism that requires a manual to operate mid-shoot.
Portability and Compromise Travel Tripod Portability vs Monopod vs Tripod U
Here is the reality of the “travel” gear market: most of it is a lie. You see a compact, lightweight setup in a catalog and imagine yourself effortlessly trekking through a landscape, but you forget that a tiny footprint often means a tiny stability margin. When I’m shooting on location, I’m constantly weighing travel tripod portability against the very real possibility of a gust of wind turning my setup into a pile of expensive scrap. If you choose something too spindly just to save space in your bag, you’ll spend the whole shoot hovering over the camera, terrified to let go.
Then there is the eternal debate of monopod vs tripod use. I’ve had assistants ask why I bother lugging a full kit when a monopod is so much faster. The answer is always about the environment. If I’m working in a crowded street or a tight corner where I can’t spread legs without tripping a passerby, a monopod is a lifesaver. But the moment I need to frame a precise, long-exposure portrait or a steady video shot, that monopod becomes a liability. You aren’t just choosing a tool; you’re choosing which specific set of headaches you’re willing to deal with.
Five Things Your Gear Catalog Won't Tell You
- Test the leg locks in the dark. If you’re shooting a moody author portrait in a dimly lit studio or an evening wedding reception, you don’t want to be fumbling with tiny, stiff twist locks. I’ve seen too many shoots grind to a halt because an assistant couldn’t find the tension point on a leg in a dark room.
- Ignore the “maximum height” and look at your eye level. A tripod might claim to reach five feet, but once you put a heavy DSLR on top, you’re suddenly hunching over like a gargoyle. If you’re shooting a corporate team, you need to be able to look them in the eye, not down at their foreheads.
- Check the footprint of the legs. There is nothing worse than setting up a perfectly balanced tripod only to realize the legs are so wide they’re hitting the skirting board of the room or, worse, the client’s expensive velvet sofa. If you can’t tuck the legs in to save space, the tripod is useless in a tight studio.
- The “Spiked vs. Rubber” reality check. If you’re shooting on a polished studio floor, those metal spikes are a nightmare waiting to happen to a client’s hardwood. But if you’re out on a shoot in a damp park, rubber feet will slide like they’re on ice. Make sure your choice includes interchangeable feet or at least a way to adapt.
- Don’t forget the accessory peg. It’s a small, often overlooked piece of metal, but when you’re trying to do a long exposure and need to hang your heavy camera bag from the center column to add ballast, that little hook is the difference between a sharp image and a blurry mess.
The Real Test of a Tripod
“Don’t look at the spec sheet to see if it can hold your camera; look at your own back after forty minutes of hiking through a damp forest to find the right light. A tripod isn’t a piece of gear, it’s a physical commitment you make to every single shoot.”
Iwona Krawczyk
The Final Compromise
At the end of the day, choosing a tripod isn’t about finding the “best” piece of engineering on the market; it’s about deciding which specific headache you are willing to live with. You have to weigh the weight of aluminum against your own back, the stability of long leg sections against the wind in an open field, and the precision of a ball head against the speed of a video pan. If you overbuy on payload, you’re carrying dead weight; if you undershoot, you’re fighting a wobbling camera while your client stares at you, waiting for you to fix it. There is no perfect gear, only the right set of compromises for the specific work you do.
I’ve spent enough years on my knees on studio floors and damp grass to know that the best tripod is the one that stays out of your way. When the lighting is difficult, the room is cramped, or the subject is doing that thing where they won’t stop fidgeting with their hands, you don’t need a technical lecture—you need a stable foundation that lets you focus on the person in front of the lens. Stop obsessing over the specs in the manual and start thinking about the reality of your next shoot. Once your gear stops being a problem, you can finally get back to the part that actually matters: the image.
