
I remember sitting on a sticky studio floor three years ago, staring at a “mint condition” 50mm prime I’d picked up from a local forum. I’d checked the glass, sure, but I hadn’t checked the soul of the thing. The moment I mounted it, I realized the autofocus was hunting like a panicked subject, and the internal barrel was gritty with fine, abrasive dust that no air blower could touch. Everyone tells you to check for scratches or fungus, but they never tell you how to spot a lens that’s been treated like a piece of heavy machinery. Learning how to buy a used lens safely isn’t about reading a checklist of optical specs; it’s about developing a sixth sense for when a seller is hiding a mechanical nightmare behind a polished description.
I’m not here to give you a sanitized guide pulled from a manufacturer’s manual. I want to talk about the things that actually matter when you’re standing in a crowded coffee shop or a dim parking lot, staring at a piece of glass that might cost you a month’s rent. I’m going to show you the specific, tactile tests I use to ensure you aren’t just buying a pretty object, but a reliable tool that won’t fail you when the light is dying and the client is already losing patience. This is about buying with confidence, not just hope.
The Gear Is Rarely the Culprit How to Buy a Used Lens Safely
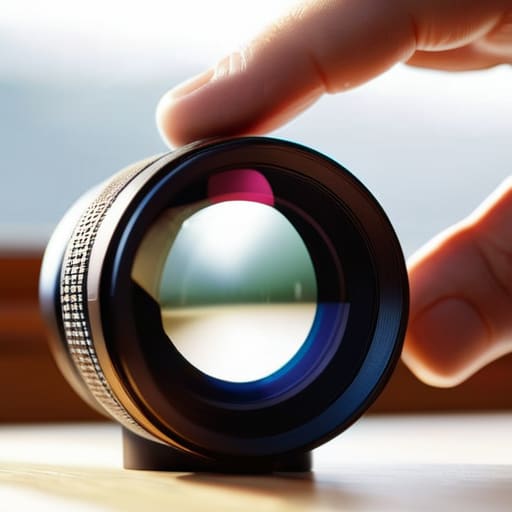
When you’re scrolling through a used camera gear marketplace, it’s easy to get seduced by a low price tag and a pristine-looking listing. But a lens can look perfect in a single, well-lit photo and still be a nightmare in the field. My rule is simple: if you can’t hold it, don’t buy it. If you are buying locally, meet in a bright space—ideally near a window—so you aren’t fighting shadows. You need to be checking lens glass for scratches not just on the surface, but by tilting the barrel to see how light hits the elements. You’re looking for that telltale milky sheen that signals identifying lens fungus and haze issues, which are much easier to fix when you know they’re there before you hand over your cash.
Once you have it in your hands, stop looking at the body and start looking at the mechanics. Mount it to your camera and go through the motions. Don’t just tap the shutter; spend ten minutes testing autofocus performance across different lighting conditions. If it hunts or makes a grinding sound, walk away. I also always check the aperture blades; if they look oily or don’t snap shut cleanly, that lens is a ticking time bomb for your next commission.
Navigating the Used Camera Gear Marketplace Safety Without Losing Sleep
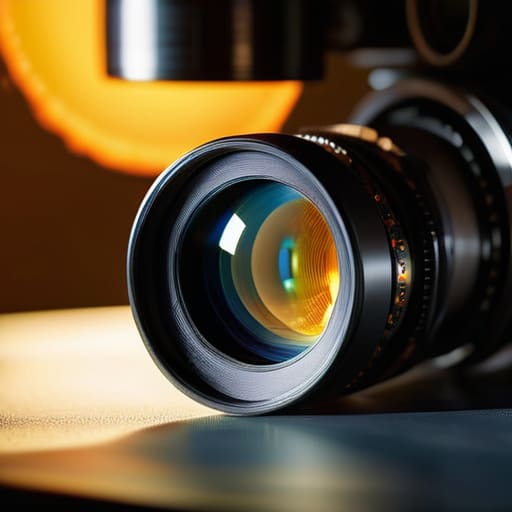
The anxiety of the “buy” button is real, especially when you’re staring at a listing that looks too good to be true. Whether you’re hunting on eBay or a specialized forum, the gold standard for used camera gear marketplace safety is simply never rushing. I’ve seen too many people get swept up in a “limited time” deal only to realize they’ve bought a piece of glass that’s more mold than optics. If you aren’t meeting in person, demand a video. Don’t just settle for a static shot of the front element; ask them to move the lens through its entire focal range under a bright lamp. This is the only way to be sure about identifying lens fungus and haze that might be hiding in the shadows of the barrel.
If you do manage to meet a seller for coffee, bring a high-powered flashlight. You aren’t just looking at the surface; you’re inspecting aperture blade condition to ensure they aren’t oily or sluggish. A lens can look pristine from the front, but if those blades don’t snap shut instantly, your bokeh is going to look like a disaster.
Beyond the Surface Identifying Lens Fungus and Haze Beforehand
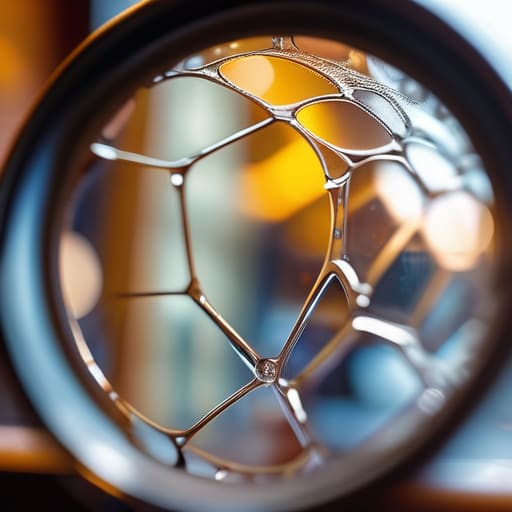
If you’re meeting someone in a coffee shop to swap gear, don’t just look at the lens from a distance. You need to hold it up to the light—ideally a bright window or a dedicated flashlight—and tilt it slowly. You aren’t just looking for obvious cracks; you are identifying lens fungus and haze that might be hiding in the shadows of the glass elements. Fungus looks like tiny, spiderweb-like structures etched into the internals, and once it’s there, it’s a permanent resident. Haze, on the other hand, is more subtle—a milky film that kills your contrast and turns your blacks into a muddy gray. If the glass looks “cloudy” under a direct light, walk away.
While you’re at it, don’t ignore the mechanical side. I always make a point of inspecting aperture blade condition by switching to manual mode and firing off a few shots at a narrow aperture. You want to see those blades snap shut quickly and cleanly, without any oily residue or sluggishness. If they look greasy or don’t close uniformly, that lens is a ticking time bomb for your workflow.
The Invisible Flaws Checking Lens Glass for Scratches and Debris
When you finally have the lens in your hands, don’t just stare at it from a distance like it’s a piece of art in a gallery. You need to get close—uncomfortably close. Grab a decent flashlight, something small that isn’t your phone, and tilt the glass against the light. You’re checking lens glass for scratches that might look invisible in a dim room but will turn into distracting flares the second you’re shooting a portrait under a midday sun. Look for those tiny, hairline nicks on the front element. A few micro-scratches on the outermost coating are usually fine, but if they’re deep enough to catch your fingernail, walk away.
Next, look inside the barrel. You aren’t just looking for dust; you’re looking for how much of it there is. A little bit of debris is inevitable in any piece of used equipment, but if it looks like a sandstorm is trapped between the elements, that’s a sign of poor sealing or a lens that’s been abused. While you’re at it, keep an eye on the iris. Inspecting aperture blade condition is vital; make sure the blades are clean, free of oil, and snap shut with a decisive, crisp sound rather than a sluggish, greasy movement.
Testing the Mechanics Inspecting Aperture Blade Condition and Autofocus Per
Once you’ve finished checking lens glass for scratches and made sure the internals aren’t a science experiment of fungus, you have to move to the parts that actually move. This is where most people get lazy, but it’s also where the most expensive headaches hide. I always start by inspecting aperture blade condition. Don’t just look at them; cycle through the aperture settings on your body. You’re looking for oil—tiny, greasy smears on the blades that make them sluggish. If those blades don’t snap shut with a clean, decisive click, you’re looking at a lens that will struggle with depth of field, and you’ll be the one paying the repair bill.
Next, you need to actually put the lens to work. Don’t just tap the focus ring and nod; you need to be testing autofocus performance in real-time. Mount it to your camera, find something with high contrast—a corner of a door frame or a textured brick wall—and let it hunt. It should lock on quickly and, more importantly, stay silent. If you hear a grinding sound like there’s sand in the gears, or if the motor hunts endlessly without ever finding its mark, walk away. A lens that can’t find focus is just an expensive paperweight.
The Paper Trail Verifying Lens Serial Numbers and Provenance
If you’re buying from a stranger on a forum or a local classified site, you aren’t just buying glass; you’re buying their history with it. I always tell my assistants that verifying lens serial numbers is about more than just spotting a fake. It’s about cross-referencing. If a seller claims a lens is a pristine, recent release but the serial number belongs to a batch from 2012, you’ve just walked into a trap. It sounds paranoid, but in the used camera gear marketplace, paranoia is just another word for being prepared.
Don’t stop at the number itself, either. Ask for the “why.” If they’ve been a professional for a decade, they should be able to tell you if that lens lived in a climate-controlled studio or if it was dragged through the mud in a rainforest. A lens that has spent its life in a damp environment might pass a cursory glance, but you’ll likely struggle with identifying lens fungus and haze once you actually get it under a bright light. A clear history is worth more than a low price tag.
The Five Things I Look For Before I Hand Over the Cash
- Bring your own body. Don’t just take the seller’s word that the autofocus is “snappy.” Mount your own camera, set it to a wide aperture, and hunt for focus in a dimly lit corner of the room. If it hunts or makes a grinding noise that sounds like a coffee grinder, walk away.
- The flashlight trick is non-negotiable. Even if the glass looks pristine under the shop lights, pull out a small LED torch and shine it through the elements from an angle. You’re looking for that internal “fog”—haze or tiny fungal spores that only show up when the light hits them sideways.
- Check the “feel” of the zoom and focus rings. They shouldn’t feel gritty or loose like a cheap toy. A good lens should have a consistent, hydraulic-like resistance. If you feel a slight “click” or a stumble while turning the ring, there’s likely something dying inside the barrel.
- Don’t ignore the mount. Take a close look at the metal where the lens meets the camera. If you see heavy scoring or deep scratches around the contact points, it means this lens has been shoved onto and off of bodies without any care. That kind of rough handling usually means the internal alignment is suspect, too.
- Negotiate with the reality of the risk. If you find a tiny bit of dust or a minor cosmetic scratch that doesn’t affect the image, don’t pretend it’s not there. Use it to bring the price down. You are the one taking on the risk of buying second-hand; the price should reflect that.
The Reality of the Second-Hand Deal
Don’t fall in love with a spec sheet or a pristine-looking listing; a lens can look perfect under a desk lamp and still fall apart the second you take it into a studio with real light. You aren’t just buying glass—you’re buying the previous owner’s habits, and sometimes those habits are exactly what’s going to ruin your shoot.
Iwona Krawczyk
The Final Check
At the end of the day, buying used is a game of managing risk rather than eliminating it. You’ve checked the glass for fungus, verified that the aperture blades aren’t oily, and confirmed the serial numbers actually match the listing. You’ve done the heavy lifting of looking past the polished marketing photos to see the real mechanical state of the glass. If you can get your hands on the lens, test the autofocus in a room with decent light, and verify the seller isn’t a ghost, you’ve already done more than most people. It’s about being relentlessly thorough because a cheap lens that fails mid-shoot is the most expensive mistake you can make.
Once the transaction is done and the lens is in your bag, stop worrying about the imperfections. Every piece of glass has a history, and a tiny, microscopic speck of dust won’t ruin a portrait if your lighting is right and your subject is engaged. Don’t let the fear of a “less-than-perfect” tool keep you from the work. The goal isn’t to build a museum of pristine optics; it’s to have a reliable partner that lets you focus on the person in front of you. Go out and shoot something meaningful—the lens is just the means to the end.
