
I remember a corporate headshot session three years ago where I spent forty minutes fighting a window that refused to stay dark. I had the best key light money could buy, but the light was leaking everywhere—hitting the white wall behind the subject, bouncing off a polished floor, and washing out the shadows I’d spent an hour trying to shape. You can buy every expensive flag and barn door in the catalog, but if you don’t actually understand how to control spill, you’re just throwing money at a problem that requires physics, not gear. It’s not about having a more expensive strobe; it’s about realizing that light is like water—if you don’t dam it up, it’s going to go exactly where you don’t want it to.
I’m not here to give you a lecture on the theoretical properties of photons or a list of “must-have” accessories that will just clutter your kit bag. Instead, I want to talk about the unsexy reality of managing light in a room that wasn’t built for photography. I’m going to show you exactly which modifiers I use to choke back that stray bounce and the specific distances I keep my flags to ensure the light stays exactly where it belongs. This is about practical control, not gear worship.
Understanding How to Control Spill

When people talk about “spill” in a studio, they’re usually talking about light, but if you’ve ever had a lukewarm latte migrate toward a rented Hasselblad, you know the physical kind is much more terrifying. To get a handle on this, you have to think about the environment as a series of potential accidents waiting to happen. Whether it’s light bouncing off a white wall where it shouldn’t be, or a literal liquid mess, the goal is the same: containment before the chaos spreads.
If we’re talking light, you control it with flags, black foam core, or by moving your subject three feet further from that annoying window. But if we’re talking about a literal mess—like a client knocking over a water glass mid-interview—you need to be ready. I don’t keep a medical kit in my bag, but I do keep a few absorbent materials for spills tucked in the corner of my gear case. You don’t need a full-blown industrial setup, but having a few clean microfiber cloths and some paper towels is part of your essential studio kit. It’s about being the person who fixes the problem before the client even realizes it’s a disaster.
Key Things to Know
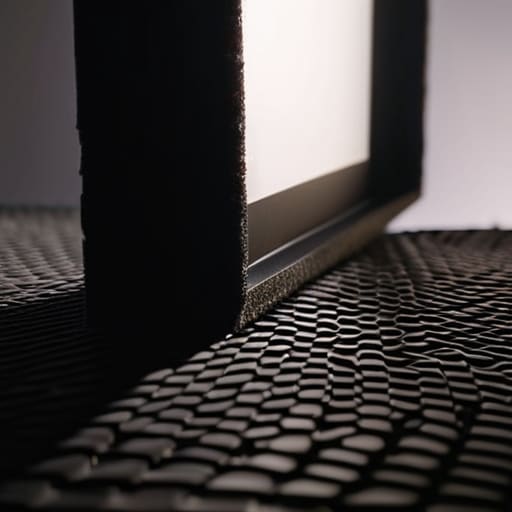
First, let’s get one thing straight: when I talk about “spill,” I’m usually talking about light, not a spilled latte—though both can ruin a morning. If you’re dealing with light bouncing off a white wall and washing out your subject’s shadows, you aren’t looking for a mop; you’re looking for flags. You need to understand that light is lazy; it goes wherever it can. To stop it, you need to be aggressive with your modifiers. I usually reach for a black V-flat or a piece of thick foam core to create a hard boundary. It’s about creating intentional darkness where the light wants to sneak in.
However, if you’re working in a multi-purpose studio space where people are actually drinking coffee or, god forbid, using liquid props, you need to treat the floor with more respect than your sensor. I keep a small stash of absorbent materials for spills tucked near the equipment cases, just in case. It sounds paranoid, but one rogue water bottle near a power strip turns a lighting issue into a literal disaster. Always have your spill kit essentials—even if that’s just a roll of heavy-duty paper towels and a dedicated “wet zone”—ready to go before the first model walks through the door.
Practical Tips and Steps
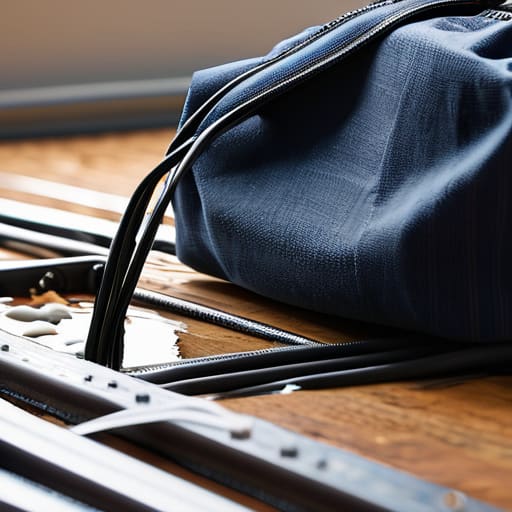
First, let’s talk about the physical reality of the studio floor. If a client brings a coffee or a water bottle too close to your power strips, you aren’t just looking at a mess; you’re looking at a potential short circuit. I always keep a small stash of absorbent materials for spills—nothing fancy, just some heavy-duty paper towels and a microfiber cloth—tucked away in my equipment bag. If a liquid hits the floor, don’t just wipe it and move on. You need to check the cables immediately.
When it comes to preventing liquid spills in the first place, I’ve learned to be a bit of a drill sergeant about the “no drinks near the gear” rule. I don’t make it a lecture, just a casual “Hey, let’s keep the caffeine on that side table so we don’t fry the strobe.” If you’re working in a space with more complex setups, like a rented studio with old flooring, having a basic set of spill kit essentials—even just a dedicated bucket and some sand or sawdust—can save you from a massive headache if something more serious happens. It’s about being ready for the chaos, not just the light.
Common Mistakes to Avoid
The biggest mistake I see is treating a spill like it’s a minor inconvenience you can mop up mid-session with a stray paper towel. If you’re working with anything more than water—like a client’s spilled espresso or, heaven forbid, a leaking prop—you can’t just wing it. People tend to ignore the immediate danger of a slip or the way liquid creeps toward expensive power strips. Don’t be that person. If you don’t have a mental checklist for preventing liquid spills from reaching your gear, you’re just playing with fire.
Another trap is thinking you can “fix it in post.” You can’t Photoshop a water stain out of a client’s silk blouse or a warped wooden floor. I’ve seen assistants try to hide a mess under a rug, only for the moisture to seep through and ruin the shot halfway through. You need to be proactive. Keep some absorbent materials for spills tucked away in a corner of the studio—not in a formal industrial manual, but just something practical like heavy-duty microfiber or even clean shop towels. If you wait until the floor is a lake, you’ve already lost the shoot.
Final Thoughts
At the end of the day, managing light spill is less about mastering the physics of photons and more about mastering your environment. You can own the most expensive modifiers on the market, but if you haven’t accounted for the white wall behind your subject or the window reflecting off that glass table, you’re just fighting a losing battle. It’s about the compromise between perfection and reality. Sometimes, you just have to accept a little bit of bounce to keep the mood from feeling clinical.
If you’re working in a space that isn’t a purpose-built studio—like a client’s office or a cramped hotel suite—you have to be even more vigilant. I’ve learned the hard way that being prepared means having your tools ready before the subject even walks through the door. While I’m usually more worried about light, I’ve realized that having a mental checklist for preventing liquid spills (like those rogue coffee cups near the power strips) is just as vital for a smooth session. Keep your gear dry, keep your flags close, and remember: if the light is behaving badly, it’s usually because you haven’t looked closely enough at the room.
Five ways I actually stop light from leaking where it shouldn't
- Get some flags. I don’t care if you think your light is “directional enough”—it isn’t. If you’ve got a silver reflector or a white wall catching your key light and washing out your shadows, slap a black foam core board or a dedicated flag right in the path. It’s much easier to block light than it is to try and “fix” a flat, washed-out face in Lightroom later.
- Watch your ceiling, especially in those rented office spaces. If you’re shooting a corporate headshot and the light is bouncing off a white ceiling and filling in your shadows, you’ve lost your shape. If you can’t move the light, use a black cloth or a flag held up high to create a “ceiling” of shadow. It’s a pain to rig, but it saves the portrait.
- Use grids if you aren’t already. If you’re using a softbox and the light is spilling onto the background when you want a moody, dark backdrop, stop squinting and just snap a honeycomb grid onto the modifier. It narrows the beam and keeps the light on the subject’s face instead of the wallpaper.
- Mind the windows. You can have the most expensive strobe setup in the world, but if there’s a massive window throwing blue, uncontrolled daylight onto the side of your subject’s face, your lighting ratio is going to be a nightmare. Close the blinds, use blackout fabric, or move the subject further from the glass. Don’t fight the sun; just shut it out.
- Don’t forget the “bounce” from the floor. If you’re shooting a seated portrait and the subject is wearing dark clothes but the floor is polished light wood, that floor is acting like a giant, unintentional reflector. If the light hitting their chin is too bright, throw a dark rug or even a piece of black cardboard under their feet to kill that upward bounce.
The Reality of Light
You can buy the most expensive strobe on the market, but it won’t save you if you’re fighting a window that’s washing out your shadows or a white wall that’s bouncing light exactly where you don’t want it. Controlling spill isn’t about more gear; it’s about being ruthless with your flags and knowing that sometimes, the best way to shape light is to simply block it.
Iwona Krawczyk
The Final Word on Light Control
At the end of the day, controlling spill isn’t about owning every single flag and negative fill in the catalog; it’s about being hyper-aware of the surfaces around you. Whether it’s a white wall bouncing light back into your subject’s shadows or a glass window ruining your contrast, you have to anticipate the bounce before you even turn your strobe on. Remember that a black foam core board tucked just out of frame is often more valuable than a second light source, and sometimes, the best way to fix a messy setup is to simply move the subject three feet to the left. It’s about managing the environment, not just the gear.
Don’t let a rogue reflection or a lack of flags make you feel like you’ve lost control of the session. Most of the time, those moments of frustration are just part of the dance between the room and the light. You’ll learn to see the light hitting the floor or the ceiling long before it hits your sensor, and that’s when you actually start becoming a photographer rather than just an operator. Keep your eyes moving, keep your modifiers ready, and remember that the best light is the one you actually have the power to shape.
