
I was sitting in a cramped studio in East London three years ago, staring at a monitor and feeling that familiar, sinking sense of dread. I had a client—a brilliant architect—who looked absolutely exhausted, and no matter how much I tweaked the exposure, her eyes just looked flat. I remember thinking about all those expensive tutorials online promising some magical, high-end retouching trick to fix the problem. But let’s be honest: if you’re looking for a complex post-production workflow on how to brighten eyes subtly, you’re probably overcomplicating things. Most of the time, the “sparkle” isn’t lost in the pixels; it was never captured because the light in the room was fighting you from the start.
I’m not here to sell you on a new plugin or a complicated layer masking technique that takes forty minutes per face. Instead, I want to talk about the actual mechanics of the setup—the small, physical adjustments that make a difference before you even hit the shutter. We’re going to look at how a simple reflector placement or a slight shift in your key light can do more than any digital brush ever could. This is about the practical reality of catching that catchlight without making your subject look like a character in a sci-fi film.
The Room the Light and How to Brighten Eyes Subtly
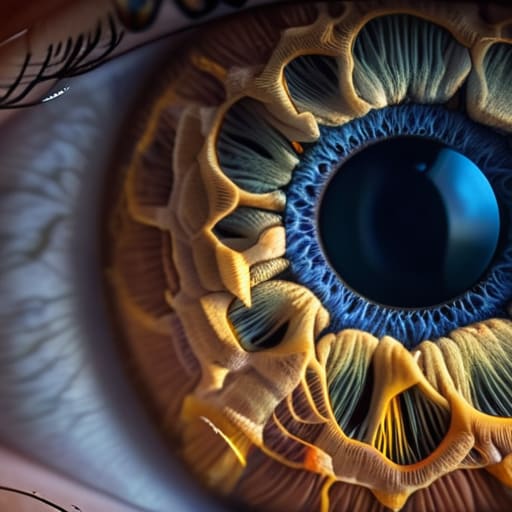
Most people think they need a ring light or a specialized macro lens to make eyes pop, but that’s usually a recipe for looking like a glazed donut. In reality, enhancing eye clarity through lighting is almost always a game of positioning. If you’re in a studio, stop looking at your settings and start looking at the catchlights. I usually grab a small 5-inch silver reflector or even just a piece of white foam core and hold it about 12 inches below the subject’s chin. You aren’t trying to flood the face; you’re just trying to bounce a tiny bit of life back into the iris.
If you’re working with natural light, the biggest mistake is letting the subject face a window directly. It flattens everything. Instead, have them turn forty-five degrees so the light skims the face. This creates a soft shadow that defines the socket, which actually makes the whites of the eyes look cleaner. If they look tired, don’t reach for a heavy concealer; instead, focus on improving eye appearance naturally by adjusting your key light height. A slightly higher angle helps prevent those heavy, dark bags from becoming the focal point of the portrait.
Enhancing Eye Clarity Through Lighting When the Subject Fades
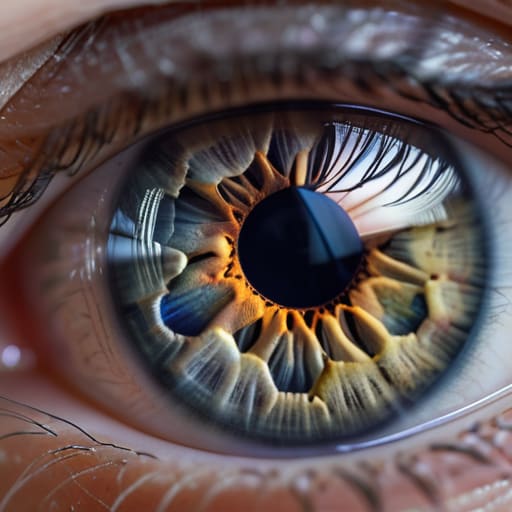
When the subject starts to look “flat”—that heavy, glazed-over look that happens around hour four of a shoot—you don’t reach for a more powerful strobe. You reach for a reflector or a smaller modifier. I’ve found that enhancing eye clarity through lighting is almost always about the catchlight. If the eyes look dull, it’s because there’s no reflection of the light source hitting the cornea. I usually grab a small silver reflector and hold it just below chin level, or I’ll move my key light a fraction of a degree higher. It’s a tiny adjustment, but it brings that spark back without making the whole face look washed out.
If you’re working with someone who is genuinely exhausted, you might need to look beyond the gear. Sometimes, improving eye appearance naturally means suggesting they take a five-minute break away from the studio lights to let their pupils settle. If they’ve been staring at a screen all day, they’ll have that tired, red-rimmed look that no amount of softbox tweaking can fix. In those cases, I’ll suggest a quick splash of cold water or a bit of moisturizing eye drops. It’s not “professional photography” in the way the textbooks describe it, but it’s what actually works when the person in front of you is fading.
Natural Eye Brightness Tips for the Uncooperative Subject
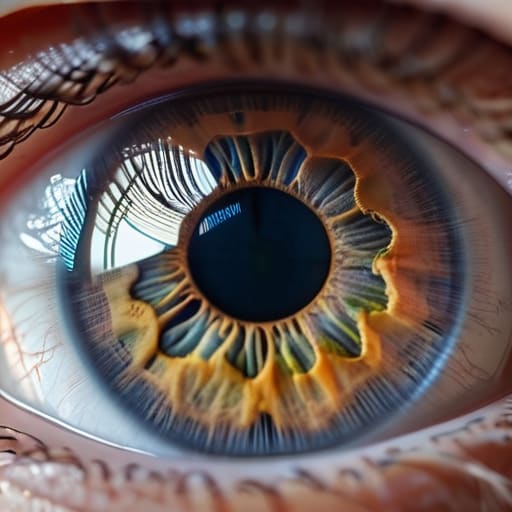
When a subject is staring at you with that glazed, “I’ve been here for three hours” look, you can’t just light your way out of it. Sometimes the fatigue is physical. I’ve learned that improving eye appearance naturally often starts with a quick break. If they’ve been staring at a laptop or a phone all morning, their eyes will look heavy and bloodshot. I’ll tell them to look at something far away for a minute or even just close their eyes to reset. It sounds like fluff, but it’s actually about reducing eye fatigue for clarity before you even touch the strobe.
If the break doesn’t work, we look at the face. I’m not a makeup artist, but a little bit of moisture goes a long way. I usually keep a basic kit for these moments—not for a full transformation, but for subtle makeup for eye enhancement. A tiny bit of clear balm on the eyelid or a touch of hydration can catch the light in a way that mimics health. It’s about that tiny specular highlight that makes them look present, rather than just being a person sitting in a chair.
Subtle Makeup for Eye Enhancement Without the Studio Artifice
I’ve seen enough “glam” shoots go sideways because the subject showed up looking like they were headed to a gala rather than a professional headshot. When we talk about subtle makeup for eye enhancement, I’m not talking about glitter or heavy liner; I’m talking about managing the physics of the face. If a client comes in with heavy, dark eyeshadow, they’ve essentially created a socket of shadow that no amount of bouncing light can truly fix without looking artificial. I usually suggest they stick to a bit of cream highlighter on the brow bone or a tiny dab of moisture on the lid—something that catches the light without looking like a costume.
The goal is improving eye appearance naturally, so if they are wearing makeup, tell them to keep the waterline clean. A bit of nude liner on the lower lash line can work wonders to counteract redness or fatigue, making the eyes look wider and more rested. It’s about reducing the visual noise around the eye so that when I finally get the light hitting that catchlight just right, the eye itself is the star, not the eyeliner.
Eye Color Enhancement Techniques Amidst a Changing Environment
When the sun starts dipping or the client moves from the window to the center of the room, you lose that catchlight that makes people look alive. This is where most people panic and reach for a heavy flash, but that just kills the mood. Instead, I lean into eye color enhancement techniques that rely on repositioning what you already have. If you’re working with blue or green eyes, even a tiny bit of reflected warmth from a nearby surface—a wooden table or a beige wall—can make the iris pop without it looking like a studio setup.
If the light turns flat and gray, you aren’t just fighting the atmosphere; you’re fighting the subject’s own exhaustion. I’ve found that improving eye appearance naturally often comes down to managing the micro-contrast. If they’ve been staring at a screen all morning, their eyes will look heavy. I don’t suggest a full makeover; I just ask them to blink a few times or look at something far away to help with reducing eye fatigue for clarity. It’s about resetting the physical state of the eye before you even think about adjusting your modifiers.
Reducing Eye Fatigue for Clarity Before the Client Quits
By the third hour of a corporate headshot session, or halfway through a wedding shoot I’m already regretting, the eyes start to lose it. It isn’t a technical failure of my gear; it’s just physical exhaustion. The subject’s blink rate slows, their gaze gets heavy, and suddenly that spark we had at 10:00 AM is gone. When you are looking for ways of improving eye appearance naturally, you have to realize that sometimes the best tool isn’t a reflector, but a five-minute break. If they look glassy or drained, stop shooting. Have them look away from the lights, maybe even close their eyes for a moment.
If a break isn’t an option because the client is checking their watch every thirty seconds, you have to pivot. I’ve found that reducing eye fatigue for clarity often comes down to managing the environment. If the studio lights are too aggressive, they’ll squint, which creates those tiny, stressful tension lines. Soften the modifier, move the light a few inches further away, or even just ask them to look at something in the distance to reset their focus. It’s about managing the person, not just the pixels.
The Quick Fixes: Small Adjustments Before You Reach for Photoshop
- Watch the catchlights. If the eyes look dead, it’s usually because the light source is too large or too far away. Move your key light just a few inches closer or tilt it slightly upward; you want that tiny, sharp glint of white in the pupil, not a massive, washed-out reflection that swallows the iris.
- Check the brow bone shadow. Sometimes “dull eyes” are actually just heavy shadows cast by a client’s brow. I usually grab a small 5-inch silver reflector or even a piece of white foam core and bounce a little bit of spill back up into the sockets. It’s a tiny tweak, but it brings the whole face back to life.
- Mind the moisture. If a subject has been sitting under hot studio lights for an hour, their eyes can look dry and glassy in all the wrong ways. Keep a bottle of saline drops in your kit. A single drop before the final set of portraits can make the sclera look much cleaner and more vibrant.
- Use the “Look Up” trick. When a subject is tired, they tend to drop their gaze, which hides the iris in shadow. Instead of telling them to “look at the lens,” ask them to look just slightly above the glass. It lifts the eyelids naturally and lets more light hit the colored part of the eye.
- Control the ambient bleed. If you’re shooting in a room with big windows and a softbox, the competing light sources can flatten the eyes. I’ll often use a black flag—or even just a dark jacket—to cut the light coming from one side, creating just enough contrast to make the eyes pop without making the portrait look dramatic or moody.
The Catchlight Trap
“Stop looking for a new lens or a more expensive strobe; you don’t need more light, you just need to move your single modifier three inches to the left so the catchlight actually hits the pupil instead of dying in the eyelid crease.”
Iwona Krawczyk
The Reality of the Final Frame
At the end of the day, brightening the eyes isn’t about some magical post-production trick or a high-end lens; it’s about managing the messiness of the actual shoot. We’ve talked about everything from the way a single reflector can fix a dull gaze to the way a tired subject needs a five-minute break before they can actually connect with the lens again. Whether you’re fighting a window that’s casting a weird shadow or trying to coax a bit of life back into someone who’s convinced they look terrible, remember that it usually comes down to controlling the environment and being observant enough to notice when the light isn’t doing its job. If the eyes look flat, don’t blame your sensor—look at your modifiers, look at the room, and look at the person in front of you.
When you finally get that shot where the eyes are sharp, clear, and actually telling a story, you’ll realize it wasn’t the gear that did it. It was your ability to navigate the chaos of the room and the temperament of the sitter. Photography is often just a series of small, technical compromises made in real-time to preserve a moment of genuine human presence. Don’t get too caught up in the pursuit of perfection; just aim for the light that makes them look like themselves. That is where the real work happens.
