
I spent years watching studio assistants lug around massive, five-foot octaboxes like they were sacred relics, convinced that a softer light was the only way to save a portrait. But if you’ve ever been stuck in a cramped rental apartment with peeling wallpaper and a client who’s already running twenty minutes late, you know that gear is often just dead weight. Most tutorials will tell you that a naked light source is a mistake, a recipe for harshness that you should avoid at all costs, but they never teach you how to use a bare bulb to actually lean into that drama. They ignore the fact that sometimes, the shadows are the only thing giving a face any real character.
I’m not here to give you a lecture on physics or a list of expensive modifiers you don’t need. Instead, I want to talk about the actual mechanics of controlling that light—the distance you need to keep to avoid looking like a crime scene photo, and how to position it so you don’t lose the subject entirely. This is about the messy, practical reality of making a single, unforgiving light source work for you, rather than against you.
Understanding How to Use a Bare Bulb
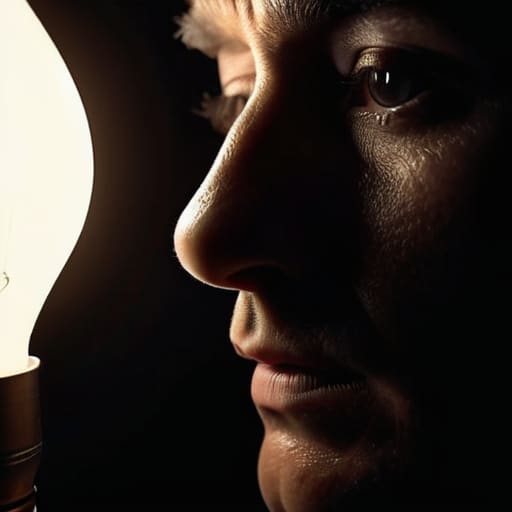
Before you even plug anything in, you have to accept that you’re losing the safety net. When you use a modifier—a softbox, a beauty dish, whatever—you’re essentially negotiating with the light, asking it to be polite. A bare bulb doesn’t negotiate. It is a pure point light source, meaning the light travels in straight, uncompromising lines from a single tiny point. There is no diffusion to wrap around a jawline or soften a nose. You are stepping directly into the realm of hard light vs soft light, and in this case, the hard light is going to win every single time.
Because the light isn’t being scattered, you’re going to see a massive amount of controlling light falloff. This is the part they don’t tell you in the manuals: the light hits the subject’s face with intensity, but it drops off into darkness almost immediately behind them. If you want to use this to your advantage, you have to stop fighting the shadows and start placing them. You aren’t just lighting a person; you are sculpting with darkness.
Key Things to Know
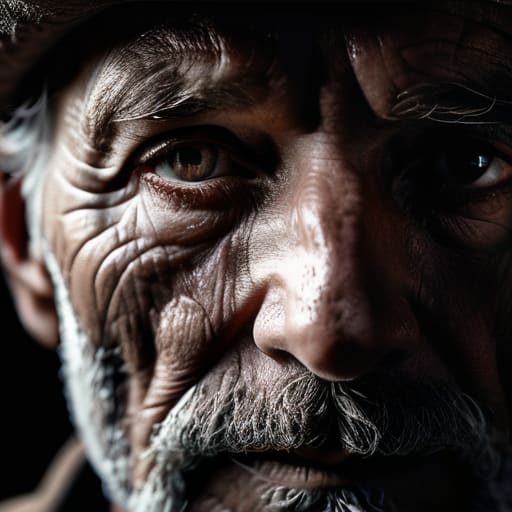
First, you have to accept that you are playing with fire—metaphorically and, if you’re using old-school tungsten, literally. A bare bulb is the ultimate point light source, meaning there is no diffusion to forgive your mistakes. Unlike a large octabox that wraps light around a face, a bare bulb creates a harsh, uncompromising edge. You aren’t just lighting a subject; you are carving them out of the darkness. This is the essence of creating dramatic shadows in photography, where the transition from light to dark isn’t a gentle gradient, but a sharp, sudden cliff.
Because the source is so small, you’ll notice the light falls off incredibly fast. This isn’t a bug; it’s a feature. If you move the bulb just six inches closer to your subject, the background will vanish into blackness. You have to be intentional about controlling light falloff to keep the focus on the eyes and not the peeling wallpaper behind them. It’s a high-stakes game of inches. If you want that gritty, cinematic look, stop trying to make the light “pretty” and start leaning into the high-contrast reality of what a single, naked filament can actually do.
Practical Tips and Steps
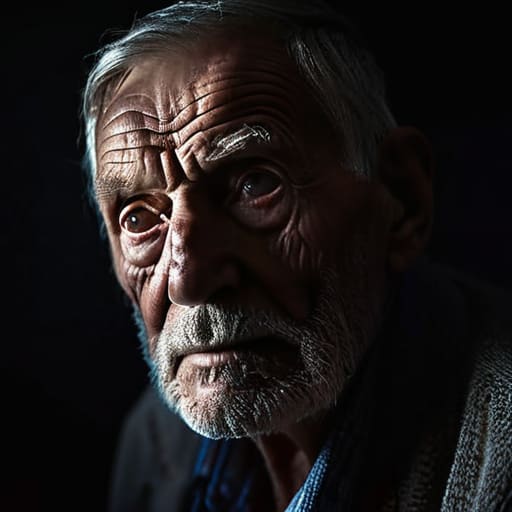
First, stop thinking about the bulb as a “light” and start thinking about it as a weapon. Because you’re dealing with a point light source characteristic, the light doesn’t wrap around a face; it hits it like a physical object. If you’re shooting a portrait and the shadows look too aggressive, don’t reach for a softbox immediately. Instead, try moving the light further away from the subject. Increasing that distance is the easiest way to manage controlling light falloff, making the transition from highlight to shadow feel a little less like a cliff edge and more like a slope.
When you’re actually setting up, I usually start with the subject’s eyes. Position the bulb at a 45-degree angle, slightly above eye level, to catch that essential spark. If you want to lean into high contrast lighting setups, bring the bulb closer and tighten the subject’s position. You’ll see the shadows deepen instantly. Just remember: once you commit to this look, you can’t really “fix” it in post. You have to manage the geometry of the room before you even think about pressing the shutter.
Common Mistakes to Avoid
The biggest mistake I see is treating a bare bulb like a standard softbox. People expect a gentle wrap, but you’re dealing with a point light source characteristics that won’t play nice if you aren’t ready. If you place it too close to the subject’s face without a plan, you aren’t just getting “mood”—you’re getting skin textures that look like a topographical map. You have to embrace the hard light vs soft light reality here; you can’t wish for softness that isn’t physically there.
Another trap is ignoring how the light interacts with the rest of the room. I’ve walked into studios where the subject is perfectly lit, but the light is spilling off a white wall behind them, killing all your intentionality. You’ll lose that ability to control light falloff, and suddenly your “dramatic” portrait looks like a flat, accidental snapshot. If you aren’t mindful of the background, you aren’t directing the light; you’re just letting it wander. Watch your edges, or the room will win.
Final Thoughts
At the end of the day, don’t let the fear of a “bad” light stop you from trying it. Most people spend their entire careers hiding behind massive octaboxes because they’re terrified of what happens when they lose that safety net. But there is a specific kind of honesty you get when you stop trying to smooth everything over. When you embrace the point light source characteristics of a single bulb, you aren’t just taking a picture; you’re making a decision about where the story lives and where the darkness begins.
It’s going to feel aggressive at first. You’ll likely struggle with controlling light falloff as you move the subject, and you’ll probably realize your room is much more reflective than you thought. That’s fine. That’s just the work. Whether you’re leaning into high contrast lighting setups for a moody author portrait or just trying to find a way to make a cramped office look intentional, remember that the light is just a tool. The real skill is knowing when to stop fighting the shadows and just let them be part of the frame.
Five ways to stop fighting the light and start using it
- Watch your distance like a hawk. A bare bulb is unforgiving; if you move it just twelve inches closer to a subject, you aren’t just adding light, you’re adding a massive, aggressive fall-off that can turn a face into a dramatic landscape or a total mess. Use a light meter or your eyes to find that sweet spot where the light hits without feeling like a spotlight in a police interrogation.
- Control the spill or lose your mind. When you ditch the softbox, that light goes everywhere—into the corners, onto the ceiling, and reflecting off that white wall the client insisted on keeping. If the room is too bright, grab a piece of black foam core (a flag, if you want to be professional about it) and physically block the light from hitting anything you don’t want illuminated.
- Embrace the harshness, don’t fight it. People will tell you bare bulbs are “bad” for portraits because they create hard shadows. They’re wrong. Hard shadows are a tool. If you’re shooting someone with strong features, let the bulb create those deep lines. Just don’t try to pretend it’s a soft, flattering beauty light; you’ll only end up frustrated with the results.
- Mind the catchlights. Because a bare bulb is a tiny, concentrated point of light, the reflection in your subject’s eyes is going to be a tiny white dot. It can look clinical or even a bit “dead” if it’s too small. Try angling the bulb slightly so the catchlight sits in the upper part of the iris, giving the eyes a bit of life before they start wondering what to do with their hands.
- Use the environment as your modifier. If the light is too aggressive, don’t reach for a softbox you don’t have—look at the room. Bounce the bulb off a matte surface or position it so it grazes a textured wall. Sometimes the best way to “soften” a bare bulb is to let it interact with the chaos of the space rather than trying to isolate it in a vacuum.
The Unfiltered Truth
Everyone spends thousands on diffusion and softboxes to hide the truth, but there is a specific, brutal honesty in a bare bulb that no silk can replicate; it doesn’t care about your insecurities, it just shows you exactly where the light ends and the room begins.
Iwona Krawczyk
The Bottom Line
At the end of the day, using a bare bulb isn’t about being a minimalist for the sake of an aesthetic; it’s about learning to respect the physics of a single, unforgiving point source. We’ve talked about managing those harsh fall-offs, the necessity of controlling the distance to prevent the light from swallowing your subject whole, and why you shouldn’t panic when the shadows look a bit too aggressive. Remember that the light is going to do exactly what it’s told, and if the room is fighting you, your job is to negotiate with the shadows rather than trying to overpower them with expensive gear you don’t actually need. It’s a lesson in intentionality over equipment, and once you stop hiding behind massive softboxes, you’ll start seeing the light for what it actually is.
Don’t let the fear of a “bad” photo keep you from experimenting with the raw stuff. Most of the time, when a shoot feels like it’s falling apart because the light is too hard or the client is getting restless, a single, honest light source can actually strip away the tension and get back to the truth of the person in front of you. Stop worrying about the perfect, wrap-around glow and start looking for the character in the contrast. The best portraits I’ve ever taken didn’t come from a perfectly diffused setup; they came from a moment where I stopped fighting the environment and decided to work with the chaos instead.
