
I remember a shoot three years ago—a garden party for a client who insisted on “natural vibes” despite the sun having vanished two hours prior. I was standing in a damp patch of grass, tripping over tangled extension cords and fighting a losing battle against a massive, expensive softbox that was doing absolutely nothing but catching every stray breeze. Everyone tells you that you need a massive kit of high-output strobes to master how to light at night outdoors, but honestly? Most of that gear is just extra weight that makes you look like a frantic technician instead of an artist. When the sun goes down, the physics of light don’t care about your budget; they only care about where you place your single, most reliable source.
I’m not here to sell you a lighting seminar or a list of expensive gadgets you’ll only use once. This is my notebook on the actual, messy reality of working in the dark. I’m going to tell you exactly which modifiers won’t blow away in a light wind, how to manage the unpredictable spill from a nearby window, and why a single LED panel often beats a three-light setup every single time. We’re going to focus on the practical side—the part where you actually get the shot without losing your mind.
The Sun Departs and the Real Chaos Begins
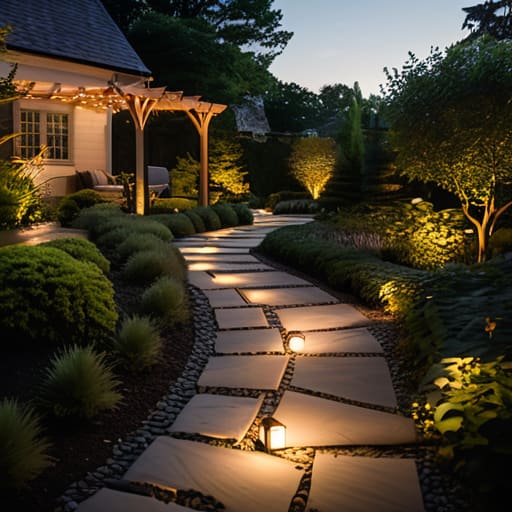
The moment the sun dips below the horizon, your professional-grade lighting kit suddenly feels like a collection of expensive paperweights if you haven’t planned for the environment. I’ve arrived at too many locations where the “scenic backyard” turned into a pitch-black void, and no amount of shutter speed can fix a lack of actual photons. You aren’t just fighting darkness; you’re fighting the fact that your subject is likely tripping over a rogue garden hose. If you’re working a garden party or an outdoor corporate event, you have to look at the existing pathway lighting for safety as your baseline. It’s not just about aesthetics; it’s about making sure your client doesn’t end up in the ER before you even get the first frame.
Once you’ve secured the floor, you have to deal with the “accidental” light. I once shot a portrait session where the only illumination came from some flickering solar powered garden lights tucked under a bush. It created these horrific, tiny points of light that did nothing for the face and everything for the shadows. You need to layer your light. Don’t try to overpower the night; instead, work with the ambient glow of whatever string lights or lanterns are already there, and use your gear to sculpt the subject out of the gloom.
How to Light at Night Outdoors When Everything Fails
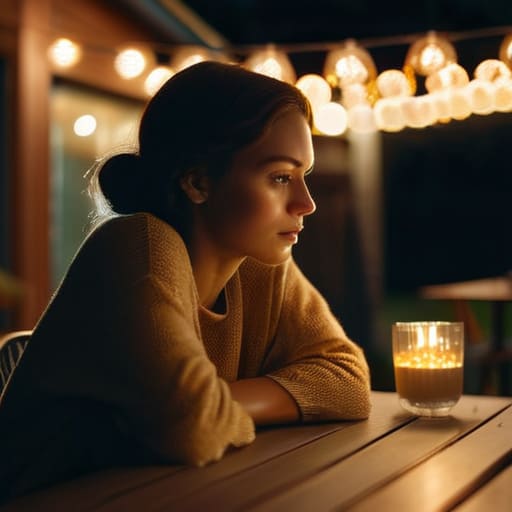
When the plan falls apart—and it will—you have to stop thinking like a photographer and start thinking like a scavenger. If you’ve arrived at a venue and realized the “ambient glow” promised by the client is actually just a single, flickering porch light, don’t panic. Look for whatever is already there. I’ve saved more shoots by leaning into existing string lights for patio ambiance than by trying to fight them with a massive softbox. If the lights are too warm or too dim, stop trying to overpower them. Instead, use them as a texture. Let them be the bokeh in the background and use a single, handheld LED panel at half power to just catch the eyes of your subject.
If you are working in a garden or a larger space, look for the practical stuff. I’ve often found that low voltage landscape lighting provides a much more reliable, consistent light source than some cheap, battery-operated gadget. If you’re stuck with nothing, find the nearest weatherproof outdoor lamp, bring it closer, and use a white napkin or a piece of tracing paper to soften the blow. It’s not elegant, but it’s better than a high-contrast mess that makes your subject look like they’re in a witness protection program.
Low Voltage Landscape Lighting and the Battle Against Darkness
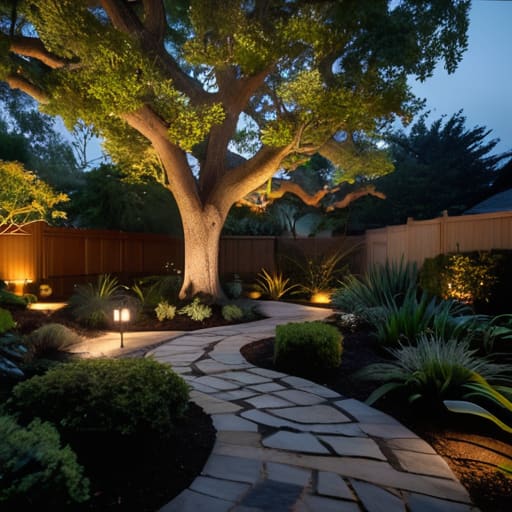
I’ve spent enough time on sets to know that when a client asks for “moody garden shots,” they usually mean they want a magical glow without the headache of a massive generator. This is where low voltage landscape lighting actually becomes a lifesaver rather than just a design choice. If you’re trying to light a path or a specific tree for a shoot, don’t rely on those cheap, flimsy solar powered garden lights you see in big-box stores; they flicker, they die by 9:00 PM, and they provide a light quality that looks like a dying flashlight.
Instead, think about the physics of the space. I prefer using small, wired transformers that allow you to control the intensity. You want enough pathway lighting for safety so your subject doesn’t trip over a root, but you don’t want it so bright that it flattens the shadows. I usually tuck a small, weatherproof outdoor lamp near the subject’s shoulder to create a subtle rim light. It’s about finding that sweet spot where the light feels like it belongs to the garden, rather than looking like you’ve just dropped a studio strobe into a bush.
String Lights for Patio Ambiance or Just Tangled Messes
Everyone thinks they’re a lighting designer the moment they buy a box of Edison bulbs from a hardware store. We’ve all seen it: the attempt at string lights for patio ambiance that ends up looking like a frantic spiderweb draped over a trellis. When I’m shooting a garden party, these are my best friends and my worst enemies. If they’re hung with intention, they create this beautiful, soft wrap around the subjects. But if they’re just tangled messes draped haphazardly, they create “micro-contrast” nightmares—tiny, harsh points of light that make your skin look like it’s covered in polka dots.
If you’re actually going to use them, stop treating them like an afterthought. Don’t just string them from Point A to Point B and call it a day. You need to consider the height and the actual spread of the light. I’ve seen people try to compensate for poor string light placement by throwing in a bunch of cheap solar powered garden lights along the edges, but it never works; the color temperatures clash so badly it looks like a fever dream. Aim for consistency, or don’t bother at all.
Solar Powered Garden Lights Promises vs the Harsh Reality
I’ve seen the marketing for solar powered garden lights—those glossy brochures promising a magical, effortless glow that just “appears” at dusk. In reality, they are often the most frustrating part of any outdoor setup. If you’re looking for reliable pathway lighting for safety, solar is rarely your best friend. The problem is physics: those tiny little panels need a direct, uninterrupted hit of UV light all day just to provide a pathetic, flickering amber glow for three hours at night. If your garden has any decent canopy or even a bit of shade from a porch, you might as well be decorating with expensive plastic pebbles.
When I’m on a shoot and need to actually see a subject’s feet or a path, I never rely on them. They lack the lumen punch required for anything beyond a vague suggestion of light. Most of these weatherproof outdoor lamps are designed for convenience, not for actual illumination. If you want a look that doesn’t feel like a low-budget horror movie, you have to accept that solar is a supplement, not a foundation. It’s fine for a decorative twinkle, but for actual work, it’s just a beautiful lie.
Pathway Lighting for Safety and Other Outdoor Landscape Lighting Ideas
If you’re looking for practical outdoor landscape lighting ideas, don’t start with the dramatic uplighting on the oak tree; start with the ground. I’ve seen too many shoots ruined because a client tripped over a rogue root in the dark. You need to prioritize pathway lighting for safety before you even think about the aesthetics. I usually suggest low-profile, weatherproof outdoor lamps tucked just slightly into the mulch. You want enough light to see the edge of the stone, but not so much that you’re creating a runway that looks like a landing strip for a Boeing 747.
The trick is the placement. If you place your lights too far apart, you get these weird, rhythmic pools of light and deep, scary shadows in between—it’s terrible for both safety and for anyone trying to film a video in that space. I prefer a staggered approach. Instead of a straight line of light, offset them slightly. It creates a much more natural, intentional flow that guides the eye without screaming for attention. It’s about subtlety, not a searchlight.
Five Things I’ve Learned When the Sun Goes Down and the Plan Falls Apart
- Stop chasing the “perfect” light and start looking for the practical one. If you’re shooting a garden party and the ambient light is a mess of competing string lights, don’t fight it with a massive strobe. Use a small, handheld LED panel with a diffusion sheet—something like a Lume Cube or a small Aputure—held about three feet from your subject. You aren’t trying to recreate daylight; you’re just trying to make sure your subject doesn’t look like a silhouette in a dark room.
- Watch your white balance like a hawk. Most outdoor “night” lighting is a nightmare of mixed temperatures: the sickly orange of old sodium streetlamps, the cool blue of moonlight, and the harsh white of a neighbor’s security light. Pick one and commit. I usually set my camera to a fixed Kelvin (around 3200K for that warm, evening feel) and refuse to let the auto-white balance dance around every time a car drives by.
- The “Shadow Problem” is real, so bring a reflector even if you think you don’t need it. If you’re using a single light source to illuminate a person against a dark background, you’re going to get deep, unflattering shadows under their eyes. A simple 5-in-1 reflector—just the silver or white side—held at waist height can bounce just enough of that light back up to soften the chin and eyes without making the whole scene look like a midday shoot.
- Mind the distance between your subject and the background. If your subject is standing right against a dark hedge, they’re going to look like a cutout. Move them at least six to ten feet away from whatever is behind them. This gives you space to actually light the background if you want depth, or at least creates a natural fall-off so the darkness feels intentional rather than accidental.
- Always carry more batteries than you think you need, and check them twice. Cold night air eats battery life for breakfast. I’ve been in a position where I thought I had a full charge on my speedlights, only to have them die ten minutes into a client’s outdoor cocktail hour because the temperature dropped. If you’re using continuous LED lights for video, bring a portable power station or a long extension cable; don’t rely on a single battery and a prayer.
The Illusion of the Perfect Night Shot
You can spend twenty thousand dollars on a body and a prime lens, but if you’re standing in a pitch-black garden relying on a single, flickering solar stake to do the work, you aren’t making art—you’re just documenting a struggle. Night photography isn’t about fighting the dark; it’s about realizing that once the sun goes down, your biggest enemy isn’t the ISO, it’s your own lack of a plan for the shadows.
Iwona Krawczyk
The Final Check Before You Pack Up
At the end of the day, lighting an outdoor space at night isn’t about buying the most expensive kit or following a perfect blueprint; it’s about managing the chaos of reality. We’ve talked about the massive gap between what solar lights promise and what they actually deliver, the mess of string lights, and the way low-voltage systems can either save a garden or leave it looking like a high-security prison. If you can balance the practical need for safety with a few well-placed, intentional light sources, you’ve already won half the battle. Just remember: it is almost always better to have too little light than to drown your subject in a sea of artificial glare.
When you finally step back and look at the space, stop thinking like a technician and start looking like a photographer. The goal isn’t to illuminate every single leaf and pebble; it’s to create a mood that feels intentional rather than accidental. Darkness is your friend—it’s the negative space that makes the light worth seeing. Don’t be afraid of the shadows, and don’t let a single failed bulb ruin your entire setup. The magic happens in the transition between what is lit and what is left to the imagination. Now, go out there, test your angles, and see what the dark is actually trying to tell you.
