
I once spent three hours in a rented studio in East London, surrounded by three expensive strobes, two softboxes, and a reflector that cost more than my first car, only to realize the lighting looked like a cheap department store catalog. We were chasing a “cinematic” look, but we were actually just chasing clutter. People will try to sell you a thousand-dollar lighting kit to solve a problem that a single source could handle in ten minutes, but they never tell you that knowing how to use one light well is actually about managing the shadows you can’t see. The gear isn’t the magic; it’s the ability to stop fighting the room and start working with what’s actually there.
I’m not going to give you a lecture on the physics of light or some theoretical diagram that only works in a perfect white box. Instead, I want to talk about the messy reality: how to position that single light when the client’s jacket is too shiny, how to use a simple foam board to save a face, and when to just accept a bit of grit in the shadows. This is about the practical compromises that make a portrait actually feel human.
The Lie of the Perfect Studio and How to Use One Light Well
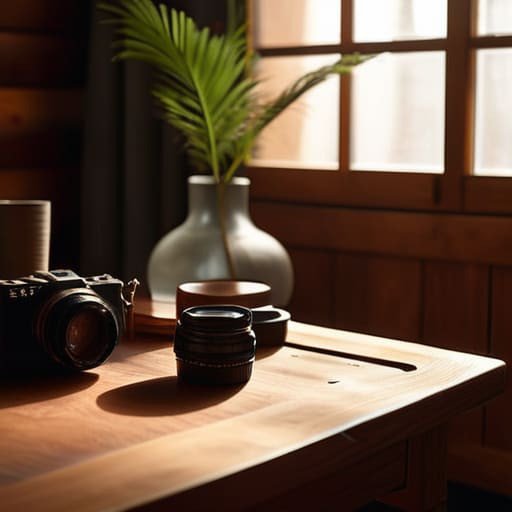
The lie we’re sold in every expensive masterclass is that you need a sprawling studio with a black velvet backdrop and a power grid to make something look professional. In reality, most of my commissions happen in drafty offices or living rooms where the windows are positioned exactly where I don’t want them. When you’re stuck with a single light source setup, you stop fighting the room and start working with its limitations. You realize that a cramped space isn’t a failure; it’s just a smaller playground.
Instead of panicking because you can’t fill the room with soft, even glow, lean into the darkness. I’ve found that controlling shadows with one light is actually much more intuitive than trying to balance four different strobes that are all fighting for dominance. If you have a decent modifier—even just a standard 36-inch beauty dish or a single large softbox—you can create depth that a multi-light setup often flattens out. It’s about intentionality over equipment. You aren’t trying to light the whole world; you are just trying to light the person in front of you.
Embracing the Single Light Source Setup When Space Fails You
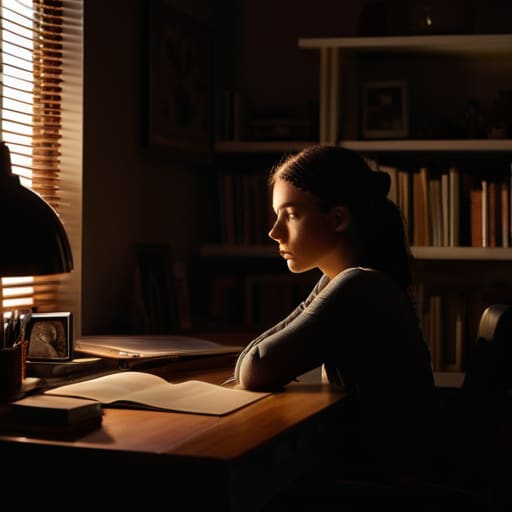
When you’re squeezed into a corner of a client’s office or a cramped spare bedroom, stop trying to pretend you have a professional studio. The mistake most people make is trying to fight the geometry of the room by adding more gear. Instead, lean into a single light source setup. If you only have one light, your primary job shifts from “creating light” to managing the darkness. You aren’t just illuminating a face; you are deciding exactly where the shadows fall to hide the fact that there’s a messy bookshelf or a distracting window just out of frame.
This is where your choice of modifier becomes your most important decision. If you’re working with a tight space, a large softbox might be physically impossible to position, so you end up reaching for a beauty dish or even just a simple silver reflector. It’s about controlling shadows with one light to create depth rather than flat, unflattering coverage. I’ve found that even a small, controlled light can feel incredibly intentional if you use it to sculpt the subject’s features rather than trying to wash out the entire room.
Cinematic Lighting Techniques for the Uncooperative Room
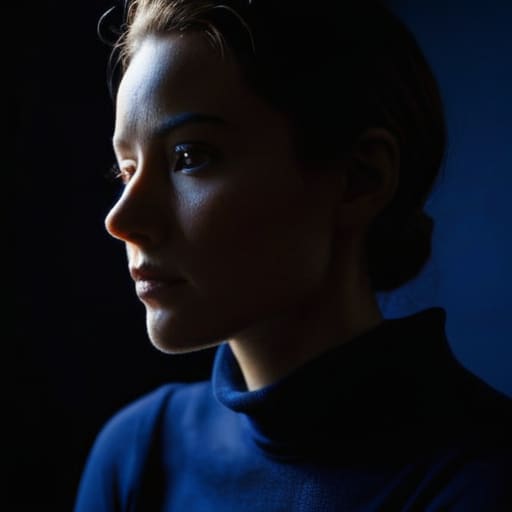
When you’re stuck in a room that feels more like a closet than a studio, you stop trying to fight the architecture and start using it. If you can’t bounce light off a white wall because the client’s office is painted a depressing shade of navy, you have to lean into the darkness. This is where cinematic lighting techniques actually become useful tools rather than just buzzwords. Instead of trying to flood the space, I focus on carving the subject out of the shadows. I’ll grab a medium grid—something that keeps the spill from hitting the back wall—and place it about four feet from the subject at a forty-five-degree angle.
It’s about controlling shadows with one light rather than trying to eliminate them. If the room is cramped, don’t fight the lack of depth; use a black foam core board on the opposite side to deepen the fall-off. It’s a messy, improvised way to work, but it turns a cramped corner into a deliberate, moody frame. When the space is working against you, minimalist lighting setups aren’t a stylistic choice—they’re a survival tactic.
Mastering Minimalist Lighting Setups Without the Gear Fatigue
There is a specific kind of exhaustion that sets in around hour four of a shoot when you’re wrestling with three stands, a softbox, a reflector, and a hair light that refuses to stay aimed correctly. We call it “gear fatigue,” but really, it’s just decision fatigue. When you commit to minimalist lighting setups, you aren’t just saving your back; you’re saving your brain. By stripping the kit down to a single strobe and one reliable modifier, you stop managing equipment and start actually looking at the person in front of you. You notice the way the light catches their eyes or how a shadow falls too harshly across a jawline, rather than worrying if a sandbag is about to slip.
The secret to making this work without looking “cheap” is all in the modifier use for single light setups. If you’re using a standard 36-inch octa, you’re playing with soft, forgiving light, which is great for a corporate headshot but lacks soul. If you want something with more grit, swap it for a silver beauty dish or even a simple snoot. It’s about controlling shadows with one light through positioning rather than adding more lamps. Move the stand six inches closer, tilt the axis, or use a black foam board to flag the spill. That’s where the real magic happens.
Controlling Shadows With One Light to Save the Frame
When you’re working with a single light source setup, you aren’t just “lighting a subject”—you are actively deciding what to hide. In a perfect world, we’d use flags and nets to sculpt every inch of the frame, but in the real world, you’re usually fighting a white wall that’s reflecting light exactly where you don’t want it. Instead of panicking about the lack of fill, I’ve learned to lean into the darkness. If the room is too bright or the background is cluttered, stop trying to illuminate everything. Move your subject further from the wall and use controlling shadows with one light to create a sense of depth that a multi-light rig would actually flatten out.
It’s about the geometry of the shadow. If you’re using a standard 36-inch beauty dish, the light is going to be relatively controlled, but it will still spill. I often find myself using a simple black foam board—something I keep in the back of my car just in case—to act as a makeshift flag. This kind of modifier use for single light is what separates a snapshot from a portrait. You aren’t just aiming a lamp at a face; you are carving a shape out of the gloom.
Light Shaping Tools Making Much Out of Very Little
When you’re working with a single light source setup, your modifiers aren’t just accessories; they are your only way to negotiate with the physics of the room. If you’re stuck in a cramped corner with nothing but a bare strobe, you aren’t a photographer—you’re just a person making things bright. To actually shape the light, you need to get aggressive with your light shaping tools. I’ve spent many a session realizing that a cheap piece of black foam core or even a heavy velvet curtain is worth more than a thousand-dollar softbox when you’re trying to prevent light from spilling onto a messy bookshelf in the background.
If you want to move toward more cinematic lighting techniques without a second lamp, you have to master the art of subtraction. Instead of trying to add light where you don’t want it, focus on controlling shadows with one light by using flags or even your own body to block the spill. I often find myself moving a medium silver reflector just to kick a tiny bit of bounce into a subject’s eyes because the primary light is too directional. It’s about the compromise: you use a small softbox to keep the light controlled, then use a black flag to carve the shape you actually want.
Five ways to stop fighting the room and start using that one light
- Use your subject as a reflector. If you’re stuck with one light and a dark, cavernous room, stop trying to fill the shadows with more gear you don’t have. Have the subject wear a white shirt or hold a piece of white foam core. It’s messy, and it’s not “pure” lighting, but it fills the shadows in the eyes without needing a second strobe.
- Distance is your only real dimmer. When you can’t adjust the power on a cheap light or a stubborn flash, move the stand. Moving a single softbox two feet closer to the subject will change the fall-off more effectively than any expensive gel or modifier ever could. Just watch out for the heat if you’re using continuous lights.
- The wall is your best friend. If the light is too harsh and you’ve run out of diffusion silk, turn the light around. Aim it at a white wall behind you. You’ll lose the directionality, sure, but you’ll get a soft, wrap-around glow that makes even the most nervous subject feel less like they’re under interrogation.
- Watch the floor. In small, cramped spaces, the floor is often a massive, unintended reflector. If you’re shooting a seated portrait and the light is bouncing off a polished wood floor into the subject’s chin, throw a black cloth or a piece of dark fabric on the ground. It’s a tiny fix that saves the entire contrast ratio.
- Manage the “nervous hands” with light placement. When I ask people what they do with their hands, they usually end up clutching their own lapels or hiding them in their pockets. If you’re working with one light, position it slightly higher and more to the side. This creates enough shadow depth to hide the tension in their grip while still catching the shape of their silhouette.
The Gear Trap
Stop looking at your gear list and start looking at the ceiling. You don’t need a second strobe to fix a bad room; you need to understand why that window is washing out your shadows and how to move your subject three inches to the left to make the single light you actually have work for you.
Iwona Krawczyk
The Reality of the Single Light
At the end of the day, mastering a single light source isn’t about having the most expensive modifiers or the largest studio space; it’s about knowing how to negotiate with the room you’ve been handed. We’ve talked about managing shadows, using flags to kill unwanted reflections, and why a single light well is often more reliable than a complex, three-point setup that falls apart the moment a client moves two inches to the left. If you can control the fall-off with a simple grid and understand how to position your subject relative to the window or the single lamp, you can shoot anywhere. It’s about making decisions based on what is actually there, rather than mourning the gear that isn’t.
Don’t let the lack of a massive kit make you feel like an amateur. Some of the most striking portraits I’ve ever taken—the ones that actually felt human—were born from the frustration of a cramped corner and a single, stubborn light source. When you strip away the clutter of multiple strobes and softboxes, you’re left with the only thing that actually matters: the relationship between the light and the person in front of you. Stop waiting for the perfect studio setup to arrive. The best work happens in the messy middle, where you learn to see the potential in a single beam of light and a subject who is finally starting to relax their hands.
