
I once spent forty minutes in a cramped studio hallway, frantically digging through a single, overstuffed backpack for a lens cap, while my subject sat there awkwardly, already deciding they hated how they looked. It wasn’t a gear failure; it was a logistics failure. Most tutorials on how to build a two bag system focus on the technical specs of the bags themselves, but they miss the point entirely. A bag isn’t just a container; it’s your survival kit for when the client changes the brief or the lighting turns out to be a disaster. If you’re still trying to shove your bodies, lenses, and modifiers into one massive, heavy cavern, you aren’t being efficient—you’re just setting yourself up for a meltdown.
In this notebook entry, I’m skipping the marketing fluff and telling you exactly how I split my kit to stay sane. I’ll show you how to divide your gear between a “working bag” for immediate access and a “support bag” for the heavy lifting, including the specific distances and weight distributions that actually work when you’re moving between locations. This isn’t about buying the most expensive nylon; it’s about building a workflow that lets you focus on the person in front of you instead of your own clutter.
Guide Overview
Tools & Supplies
- Sewing Machine (heavy-duty preferred for thick fabrics)
- Fabric Scissors (sharp blades for clean cuts)
- Seam Ripper (for correcting mistakes)
- Measuring Tape (for precise fabric dimensions)
- Chalk or Fabric Marker (for tracing patterns)
- Main Fabric (2-3 yards of Cordura or heavy canvas)
- Lining Fabric (1-2 yards of lightweight nylon)
- Zippers (2-3 heavy-duty YKK zippers)
- Webbing (5-10 feet of nylon webbing for straps)
- Thread (High-strength bonded nylon thread)
- Buckles (2-4 side-release plastic buckles)
Step-by-Step Instructions
- 1. First, you need to decide what actually stays on your person and what gets relegated to the “heavy lifting” bag. I split mine by frequency of touch. My primary bag—the one I wear across my chest or keep within arm’s reach—is exclusively for the body I’m currently using, maybe one backup, two lenses that I use 90% of the time, and my batteries. If I have to dig for it, it doesn’t belong in this bag.
- 2. Pick your “Active Bag” based on weight, not capacity. Don’t buy a massive, padded backpack that promises to hold everything in the world; you’ll end up carrying half the studio on your spine and your posture will suffer by the third hour. I prefer a small, weather-sealed sling or a compact messenger. It needs to be light enough that you forget it’s there until you actually need to swap a lens, but sturdy enough to take a bump against a studio doorframe.
- 3. Now, for the “Workhorse Bag,” and this is where most people mess up by being too precious. This bag is for the stuff that stays stationary: the tripod, the extra lighting modifiers, the heavy zoom lenses, and the “just in case” kit. I use a rugged, modular backpack with internal dividers that I can move around. This bag isn’t meant to be comfortable for long walks; it’s meant to be a mobile warehouse that stays tucked under the desk or in the corner of the room.
- 4. Organize your small tech using the “grab and go” rule. I don’t just throw SD cards and batteries into the bottom of a bag and hope for the best. I use small, transparent pouches for my cables and another for my media. When a client realizes they need a different file format or a memory card fails, you shouldn’t be rummaging through a dark abyss; you should be able to reach into a specific pouch and know exactly where the solution is.
- 5. Set up a dedicated “Charging Station” pouch within your Workhorse Bag. This is a non-negotiable for me. Instead of having chargers scattered across a client’s messy desk—which makes you look like an amateur—keep all your cables, wall plugs, and battery chargers in one single, organized kit. When the shoot ends, you pull out one pouch, and the chaos is contained.
- 6. Finally, test the transition. Before you head to a real commission, set up both bags in your living room and pretend you’re in the middle of a high-pressure shoot. See how long it takes you to move from your primary setup to grabbing a modifier from the workhorse. If you find yourself tripping over your own system, go back and simplify. The goal isn’t to have more gear; it’s to have less friction between your brain and the shot.
Understanding How to Build a Two Bag System
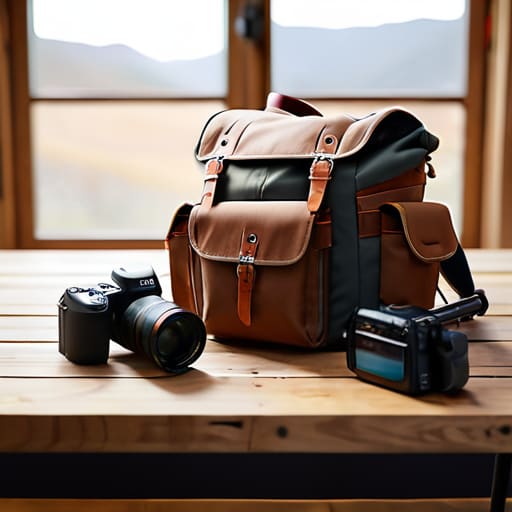
The mistake I see most often is treating your bags like two separate, disconnected silos. People pack their camera gear in one bag and their life in another, but they forget that a shoot is a living, breathing mess. To make this work, you need a modular packing strategy. This means your “active” bag—the one on your shoulder while you’re dodging clients or navigating a crowded studio—should contain everything you need to start shooting in under sixty seconds. If you have to dig through a secondary suitcase to find a spare battery or a lens cloth, you’ve already lost the momentum of the session.
It isn’t just about weight, though that’s a factor when you’re lugging kit through a train station. It’s about the mental load. When you settle the debate of daypack vs main luggage, you aren’t just choosing sizes; you are deciding how much chaos you are willing to carry on your person. I keep my main bag for the heavy modifiers and the stuff I only need once I’ve actually set up, while my smaller bag is my survival kit. If the client changes the location last minute, I only care about what’s in my hands.
Key Things to Know
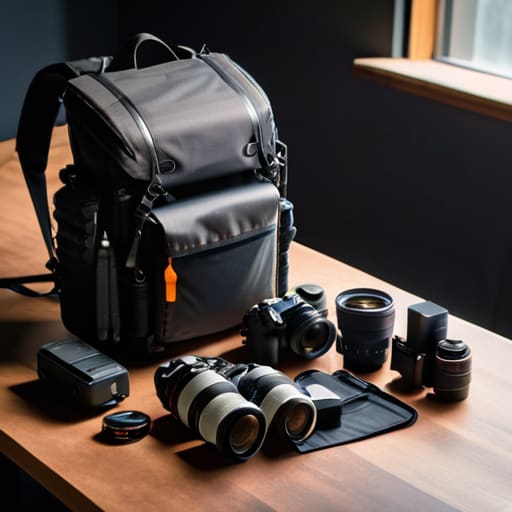
First, stop thinking about your gear in terms of “what I might need” and start thinking about it in terms of “what I need to touch every ten minutes.” If you’re constantly digging through a heavy backpack to find a single lens cap or a spare battery, your system has failed. A successful setup relies on a modular packing strategy where your high-frequency items—the stuff that lives in your hands—are physically separated from the “just in case” items. I keep my body, my primary lens, and my audio recorder in my small sling, while the heavy modifiers and extra bodies live in the main bag.
Second, don’t get caught in the trap of the daypack vs main luggage debate without a plan for the transition. The moment you arrive at a location, you shouldn’t be unpacking your entire life; you should be extracting a single, pre-organized kit. If your gear isn’t organized into discrete, grab-and-go units, you’ll spend the first forty minutes of a commission fighting your own bags instead of calming down your subject. Efficiency isn’t about having the lightest kit; it’s about minimizing the time between opening a bag and hitting the shutter.
Practical Tips and Steps
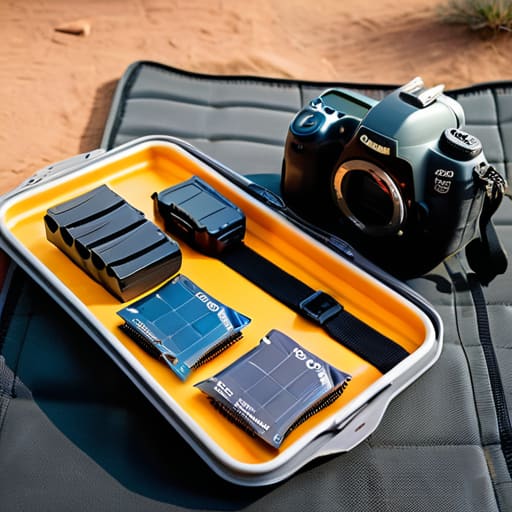
When you’re actually on location, the biggest mistake is treating your bags like static storage. I’ve learned the hard way that a rigid setup is the enemy of a chaotic shoot. Instead, adopt a modular packing strategy where everything—from your spare batteries to your lens wipes—is in a small, identifiable pouch. If you have to dig through a cavernous main bag to find a single SD card while a client is staring at you, you’ve already lost the momentum of the session.
I also tend to obsess over the daypack vs main luggage debate, but for me, it’s about the hand-off. Your main bag should be the “vault”—heavy, organized, and tucked away in the car or a corner of the studio. Your daypack is your “active kit,” containing only what you need for the next sixty minutes. This kind of efficient packing method means you aren’t lugging a 15kg beast across a studio floor just to change a lens. Keep the heavy lifting for the stationary gear and keep your hands free for the actual work.
Five ways to stop fighting your own equipment
- Don’t make your “active” bag a heavy beast. If you’re lugging a 15kg backpack around a studio trying to adjust a light or move a reflector, you’re going to be exhausted by the second client. Keep the primary bag light enough that you can actually move with it.
- The second bag is your “chaos kit.” It shouldn’t just be more lenses; it should be the stuff that saves the shoot when things go sideways—extra batteries, a roll of gaffer tape, your cleaning kit, and maybe a spare SD card you haven’t formatted yet.
- Test the weight distribution before you’re on a train or walking three blocks to a client’s office. A system that feels fine in your living room often feels like a punishment once you’ve been standing for four hours.
- Separate your “tech” from your “tools.” I keep my camera bodies and glass in one system, but my modifiers, cables, and grip gear go in the other. If you mix them, you’ll spend half the shoot digging through lens cloths just to find a charging cable.
- Accessibility beats organization every single time. I don’t care how neatly your gear is tucked into custom foam inserts if it takes you three minutes to get your main body out when the light is changing. If you can’t grab it in five seconds, it’s in the wrong bag.
The real reason for the split
A two-bag system isn’t about being organized for the sake of a tidy studio; it’s about making sure that when the client decides they want a completely different look ten minutes before we wrap, you aren’t digging through a mountain of glass and cables just to find a single prime lens.
Iwona Krawczyk
The Reality Check
At the end of the day, a two-bag system isn’t about being some high-tech gear nerd; it’s about creating a boundary between your tools and your sanity. You’ve learned that one bag holds the heavy, essential kit—the bodies, the primary lenses, the stuff that keeps the shoot alive—while the second bag is your buffer zone for the extras, the chargers, and the bits of kit you might need but shouldn’t be tripping over. By separating your “must-haves” from your “nice-to-haves,” you stop the frantic digging through a single, overstuffed backpack when a client suddenly asks for a wider lens or a different light modifier. It’s about minimizing the friction between you and the subject so you can actually focus on the person in front of the lens.
Don’t get too precious about the specific brands or the exact weight of the bags you choose. You will iterate on this. You will probably realize six months from now that you need a slightly larger pouch for your batteries or a different way to clip your remote. The goal isn’t to reach some perfectly optimized state of gear management, but to build a workflow that survives the chaos of a real working day. Once you stop fighting your equipment and start working with a system that makes sense for your hands, you’ll find you have a lot more energy left for the actual job: making something beautiful.
