
I once spent forty minutes trying to explain to a nervous author why I wasn’t using a tripod for his portrait, while he watched me struggle with a heavy setup in a studio that was basically a glorified broom closet. He thought I was being unprofessional; I was actually just trying to keep my footing on a floor that felt like it was made of grease. Most gear guides will tell you that a monopod is just a “lite” version of a tripod, but that’s a lie. Learning how to use a monopod isn’t about finding a middle ground between stability and mobility; it’s about managing the physical chaos of a shoot where you can’t afford to be anchored to the floor but can’t afford to let the frame drift.
I’m not here to give you a technical manual written by someone who has only ever shot in a controlled classroom. I want to talk about the actual mechanics—how to brace your weight, how to pivot without turning your camera into a pendulum, and when to stop fighting the gear and just adapt. This is about the practical, messy reality of keeping your shots steady when the room is cramped and the client is staring you down.
Beyond the Shaky Hands Learning How to Use a Monopod
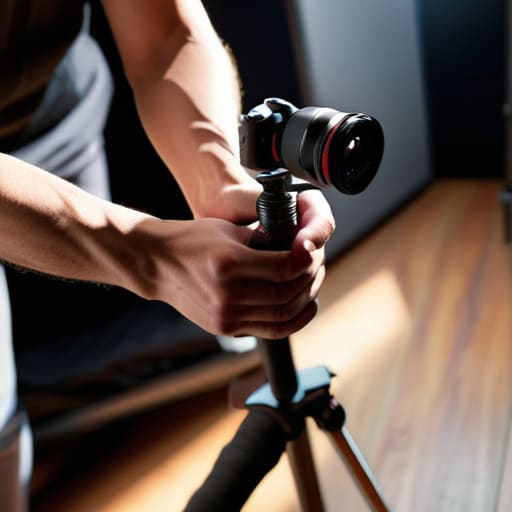
Most people think a monopod is just a “lite” version of a tripod, but that’s a mistake. If you treat it like a tripod, you’ll end up fighting the gear instead of the environment. In my experience, the real trick to stabilizing camera with monopod setups isn’t just about sticking the pole in the ground; it’s about how you use your body as the anchor. You need to tuck your elbows into your ribs and find a solid point of contact, whether that’s your hip or a piece of studio furniture.
When I’m doing quick video snippets or chasing a subject through a crowded event, I’m not looking for a perfectly static shot—I’m looking for controlled movement. This is where the monopod wins the monopod vs tripod comparison every single time. A tripod is a beautiful, heavy anchor that keeps you stuck in one corner of the room, but a monopod is the best camera support for mobility when the client decides they want to walk through the garden halfway through the session. It gives you that extra bit of weight to stop the micro-jitters without turning you into a statue.
The Weight of the Moment a Monopod Weight Capacity Guide
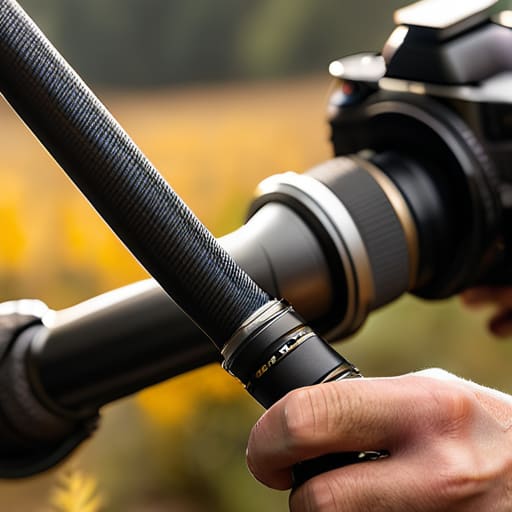
Here is the thing they don’t tell you when you’re staring at a spec sheet: a monopod isn’t just a stick; it’s a structural commitment. I’ve seen too many people grab a lightweight carbon fiber model for a heavy DSLR paired with a 70-200mm lens, only to watch the whole thing shudder like it’s having a panic attack the moment they press the shutter. If you are stabilizing a camera with a monopod, you need to account for the “effective weight.” It’s not just the gear sitting on the mount; it’s the downward pressure of your grip and the momentum of your movement.
When you’re looking at a monopod weight capacity guide, don’t just look at the maximum load. Look at the stability threshold. If your setup is pushing 80% of the rated limit, you aren’t gaining stability; you’re just managing a heavy, vibrating pole. For my wedding work—the stuff I usually do under protest—I need something that can handle a heavy prime lens without feeling like it’s going to snap if I pivot too quickly. You want a buffer. If your gear is heavy, buy a beefier stick. Period.
When Mobility Wins Best Camera Support for Mobility
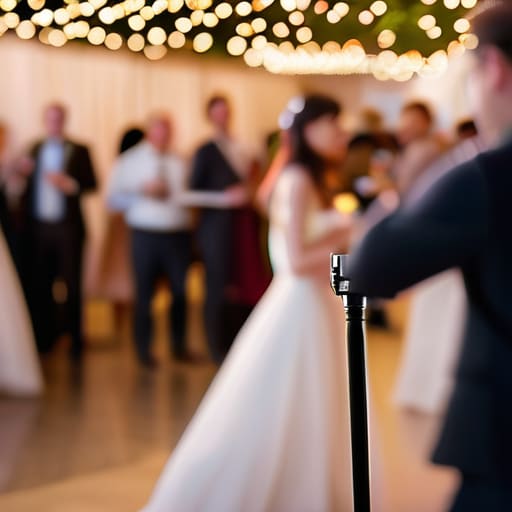
If you’re doing a corporate headshot in a controlled studio, you’re probably using a tripod. But the second I’m hired for a fast-moving event or a wedding I actually agreed to, the tripod becomes a literal trip hazard. When I’m weaving through a crowd of guests or trying to get a low-angle shot of a speaker without looking like I’m setting up a crime scene, the best camera support for mobility is always going to be a monopod. It gives you that crucial third point of contact without the footprint of a tripod, letting you pivot on a dime when the schedule inevitably falls apart.
In a monopod vs tripod comparison, the tripod wins on absolute stillness, but the monopod wins on survival. If you are trying to capture a moving subject—think a quick video clip of a CEO walking through a lobby or a wedding processional—you need that middle ground. You aren’t just improving handheld shot stability; you’re reclaiming your ability to move with the energy of the room. It’s about being fast enough to catch the moment before the client realizes they’ve changed their mind about the lighting.
The Split Decision a Monopod vs Tripod Comparison
Deciding between a monopod and a tripod usually comes down to how much you actually trust your subject to stay still. If I’m shooting a corporate headshot where the person is sitting in a chair and won’t budge, I’m reaching for the tripod every single time. It’s about precision and that rock-solid foundation. But the moment I’m working a wedding reception or a fast-moving event where I need to pivot between a laughing bridesmaid and a departing guest, the tripod becomes a literal trip hazard. In those frantic, low-light gaps, a monopod vs tripod comparison usually ends with me choosing the monopod because I can’t afford to be anchored to one spot.
It’s a trade-off between absolute stability and the ability to react. A tripod is perfect for long exposures or macro work, but it’s clunky. If you’re looking for the best camera support for mobility while still wanting to take some of the weight off your wrists, the monopod is your middle ground. It won’t give you the surgical precision of a three-legged setup, but it stops your shots from looking like they were taken during an earthquake.
Chasing the Action Monopod for Sports Photography
If you’re moving from studio portraits to the sidelines of a pitch or a track, you need to stop thinking about stability as “stagnation.” In sports, a tripod is basically an anchor that keeps you from seeing the play develop. When I’m shooting fast-moving subjects, a monopod for sports photography isn’t about being a statue; it’s about being a pivot point. You aren’t trying to lock the camera into a fixed coordinate in space; you’re using the pole to take the weight of that heavy 70-200mm lens off your wrists so you can actually track the action without your arms turning into jelly by the second half.
The trick is in the contact. You don’t grip it like a walking stick; you tuck the base against your body—usually your hip or your pelvis—to create a third point of contact. This is the secret to stabilizing camera with monopod setups when the subject is sprinting toward you. It gives you just enough resistance to stop the micro-jitters while allowing you to whip the lens around the moment the ball breaks toward the corner. If you treat it like a rigid tripod, you’ve already lost the shot.
Stabilizing Camera With Monopod When the Environment Fights Back
Sometimes the studio isn’t a studio at all; it’s a cramped corner of a client’s office with zero floor space and a flickering fluorescent light that makes everyone look like they’ve been dead for three days. When you’re stuck in these tight spots, you can’t exactly deploy a tripod without tripping over a power cable or knocking over a vase. This is where stabilizing camera with monopod becomes less of a choice and more of a survival tactic. I’ve found that if you can wedge the base of the pole into a corner or even press it firmly against a heavy piece of furniture, you get a level of stability that feels surprisingly close to a tripod, but without the massive footprint.
It’s about using the environment as your third leg. If you’re working a corporate event where people are constantly weaving in and out of your frame, you need that middle ground—the best camera support for mobility that doesn’t sacrifice your ability to react. Don’t just stand there holding it like a walking stick; tuck your elbow into your ribs and use the monopod to create a rigid tension between your body and the lens. It’s not about being perfectly still; it’s about controlling the wobble so the sensor doesn’t turn your sharp portrait into a blurry mess.
Five ways to stop fighting your gear and start actually shooting
- Stop treating it like a tripod. If you try to plant it and freeze like you’re doing a headshot in a studio, you’re going to lose the moment. A monopod is a pivot point, not an anchor. Keep your weight slightly off the center and let it move with you, or you’ll end up fighting the tension every time you try to reframe.
- Watch your elbow. When things get frantic—like a wedding guest suddenly deciding to dance or a kid running toward the lens—your instinct is to tuck your elbows in to feel “stable.” Don’t. Keep a bit of a gap between your ribs and your elbows; it gives you the leverage to actually steer the camera instead of just bracing it.
- The “Footwork Rule.” I’ve seen so many assistants trip over their own gear because they forget the base of the monopod is a literal hazard. If you’re working in a tight room with a client who’s already nervous, don’t plant the leg right in the middle of the walking path. Tuck it behind your heel or keep it tight to your body.
- Use your body as the secondary stabilizer. A monopod is only half the battle; the other half is your core. If you’re shooting handheld with a heavy lens on a monopod, press your shoulder or hip slightly against the pole. It creates a tripod effect using your own skeleton, which is way more reliable than any carbon fiber strut.
- Mind the tilt. Most people forget that monopods are terrible at vertical tilt without a bit of manual help. If you need to go from a waist-level shot to an eye-level shot, don’t just try to swing the pole. Lean into the movement and use your left hand to guide the barrel of the lens, otherwise, you’ll get a jerky motion that ruins the frame.
The Myth of the Steady Hand
Stop waiting for your hands to stop shaking and start using the monopod as an extension of your own body; it’s not a tripod’s lazy cousin, it’s the only thing that’ll save your shot when the client is pacing the room and the floor is uneven.
Iwona Krawczyk
The Final Setup
At the end of the day, a monopod isn’t some magical stabilizer that fixes a bad eye or a poorly lit room. It’s just a tool to help you manage the chaos. We’ve talked about everything from checking your gear’s weight capacity so you don’t end up with a snapped leg, to choosing between the rock-solid stillness of a tripod and the frantic, necessary mobility of a monopod when the client is moving faster than your shutter speed. Whether you’re fighting a crowded studio floor or trying to stay steady in a windstorm, the goal is the same: minimizing the mechanical failures so you can actually focus on the person in front of your lens. Don’t let the gear become the bottleneck; learn the limits of your equipment so you know exactly where the compromise lies before you even click the shutter.
If there’s one thing I’ve learned from years of assisting and now shooting my own commissions, it’s that the best shots usually happen when you stop fighting your environment and start working with it. A monopod might save your shot from a shaky hand or a cramped corner, but it won’t make the portrait. That part is still up to you, your connection to the subject, and how you handle that awkward moment when they ask what they should do with their hands. Use the support to stay steady, but keep your eyes on the human element. The gear is just the scaffolding; the real work is what happens in the space between you and the subject.
