
I once spent three hours in a client’s home office that was essentially a glorified walk-in closet, sweating through my shirt while trying to figure out how to shoot a portrait in a small room without the subject looking like they were being interrogated by the secret police. The light was garbage, the walls were a shade of beige that felt aggressive, and I had exactly enough space to move my tripod, let alone a softbox. Most photography tutorials will tell you to just “buy a wider lens” or “invest in portable LED panels,” but they never mention the claustrophobia of trying to manage a client’s ego when you’re practically stepping on their toes.
I’m not here to sell you a new piece of kit or give you some idealized studio setup that requires a mortgage to maintain. Instead, I want to talk about the actual physics of the struggle: how to manage your light modifiers when you can’t swing them more than six inches, how to use the limited depth you have to create separation, and when to just embrace the mess. This is about the practical, unglamorous reality of making a tight space look intentional rather than accidental.
The Walls Are Closing in How to Shoot a Portrait in a Small Room
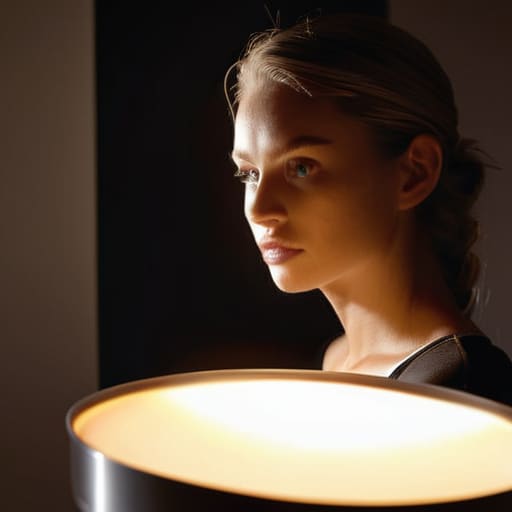
First things first: stop looking at your gear list. When you’re backed into a corner with a client who is already checking their watch, the last thing you need is a massive octabox blocking the only exit. In these cramped quarters, your biggest enemy isn’t the lack of space, it’s the light bouncing off every beige wall and white ceiling. You end up with a muddy, flat look because the room is essentially acting like a giant, unintentional reflector. To combat this, I usually lean toward managing shadows in small studios by using much smaller modifiers—think a small beauty dish or even a simple strip box—to keep the light from spilling everywhere and washing out the subject’s features.
Then there is the lens dilemma. You’ll be tempted to grab your widest glass just to fit the person in the frame, but please, avoid that wide angle lens distortion in portraits at all costs. It makes people look like they’ve been stretched on a rack. Instead, I try to find a compromise with a slightly wider focal length, maybe a 35mm, but I stay mindful of the edges. If you can’t step back, you have to change your perspective.
Fighting the Shrinking Space Choosing the Right Focal Length for Tight Spac
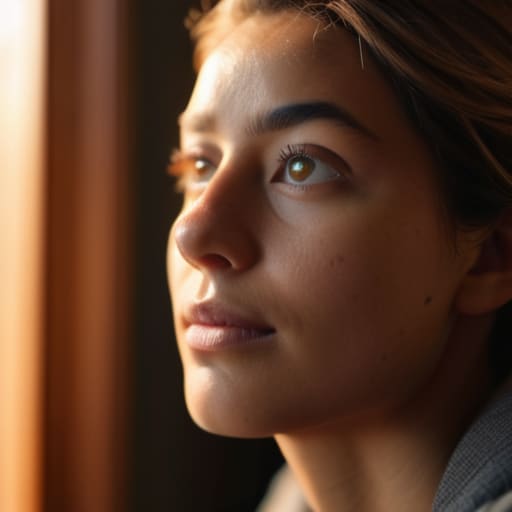
When you’re backed into a corner, your instinct might be to grab whatever lens is closest, but that’s a trap. I’ve seen too many beginners grab a 24mm because they physically can’t step back any further, only to realize they’ve accidentally given their subject a massive, bulbous nose. Wide angle lens distortion in portraits is a nightmare to fix in post, and frankly, it’s a waste of your client’s time. If you can, try to fight for at least a 35mm, but even then, you have to be mindful of how you’re positioning the subject relative to the edges of the frame.
If you’re stuck with a fixed lens or a limited zoom, your best bet is to lean into the compression of a slightly longer focal length and accept that you’ll have to get uncomfortably close. I usually find that a 50mm is the sweet spot for finding the right focal length for tight spaces without making the subject look like they’re being viewed through a fish-eye. It forces you to be more intentional with your camera angles for cramped environments, making sure you aren’t just shooting from a low, awkward height because you couldn’t find a step stool.
When the Window Is Your Only Friend Using Natural Light in Small Rooms
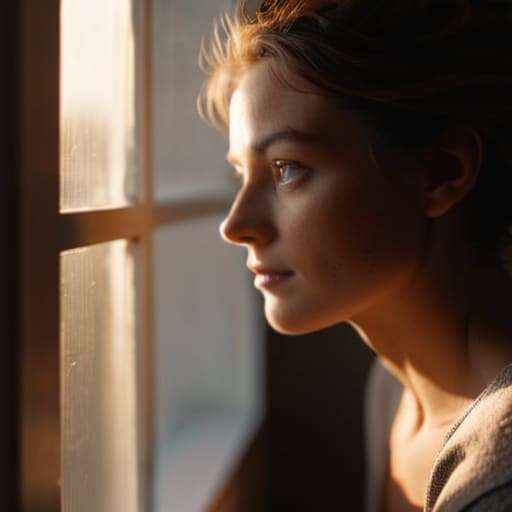
When you’re squeezed into a corner and your lighting kit is still sitting in the car, you stop looking for power outlets and start looking for the window. In a cramped space, trying to bounce a massive strobe off a ceiling that’s only eight feet high is a recipe for a headache and uneven light. Instead, lean into using natural light in small rooms as your primary source. I usually position my subject at a forty-five-degree angle to the glass; it gives me enough depth to work with without needing a three-meter softbox that would hit the wall behind them.
The trick is knowing how to handle the fall-off. If the window is small, the light will drop into darkness incredibly fast just a few feet away from the subject. This is where you start managing shadows in small studios by using a simple white foam board—not a professional reflector, just a piece of trash from the local stationery shop—to kick a little bit of that spill back into the shadows. It keeps the look soft and prevents the subject from looking like they’re being swallowed by a void.
The Chaos of Darkness Mastering Portrait Photography Lighting Setups Nearby
When the natural light dies and you’re left staring at a dark corner, the panic usually sets in. You realize your heavy modifiers won’t fit between the desk and the door, and suddenly, your standard portrait photography lighting setups feel like they belong in a warehouse, not this tiny spare bedroom. This is where most people make the mistake of trying to force a massive softbox into a space where it can’t even fully open. If you can’t get the light far enough away from the subject to wrap around them, you’re going to end up with harsh, unflattering edges that make them look like they’re being interrogated rather than photographed.
Instead of fighting the physics, I’ve learned to embrace the proximity. I usually grab a small silver reflector or a single small beauty dish and place it just a few feet away. The trick to managing shadows in small studios isn’t about adding more light; it’s about controlling the spill. You have to be ruthless with your flags. If the light is bouncing off that beige wall and washing out your contrast, throw a black piece of foam core in the line of fire. It’s messy, it’s cramped, and you’ll probably bang your elbow on a tripod, but it’s the only way to keep the drama from turning into a muddy mess.
Taming the Shadows Managing Shadows in Small Studios Without Losing the Sou
When you’re working in a cramped corner, shadows stop being a stylistic choice and start becoming a logistical nightmare. In a large studio, you can move a light three feet to the left to soften a harsh edge, but in a small room, moving that light might mean hitting the client in the eye or knocking over a bookshelf. You quickly realize that managing shadows in small studios isn’t about where you place the light, but how much you control what bounces back from those nearby walls. If you’re working with white walls, your shadows will look muddy and washed out because the room is essentially acting like a giant, uncontrolled reflector.
I’ve learned to stop fighting the proximity and start using it. Instead of trying to overpower the environment with a massive softbox—which usually just ends up hitting the ceiling and creating a flat, lifeless mess—I prefer a single small modifier, like a beauty dish or a small strip box, held close. This gives you a predictable fall-off. If the shadows feel too aggressive, don’t reach for a second light; just grab a piece of black foam core to carve out the shape of the face. It’s about intentionality, not volume.
Geometry Over Gear Finding Better Camera Angles for Cramped Environments
When you’re working in a space where you can barely pivot without hitting a radiator, you stop thinking about the “perfect” eye-level shot and start thinking about geometry. In a cramped room, your usual stance is gone. You’ll find yourself crouching in a corner or leaning precariously against a bookshelf just to get the perspective you need. The trick isn’t to fight the architecture, but to use it to frame the subject. Sometimes, a slightly higher angle can make a small, cluttered corner feel intentional rather than accidental, helping to distract the eye from the bookshelf that’s looming two inches from your client’s shoulder.
You also have to be incredibly wary of wide angle lens distortion in portraits when you’re forced to back up as far as possible. If you’re using a wider lens because there’s simply no room to move, stay away from the edges of the frame; that’s where noses start looking elongated and faces warp. Instead, find a way to use the existing lines of the room—a door frame or a corner—to lead the eye toward the subject. It’s about finding the sweet spot where the tight environment feels like a deliberate choice rather than a logistical failure.
The Survival Kit: 5 Things to Do Before the Walls Close In
- Clear the clutter before the client walks in. I’m not talking about moving a stray coffee mug; I mean clearing every single distracting visual element from the background. In a small room, the eye has nowhere to hide, so if there’s a pile of laundry or a messy bookshelf three feet behind your subject, it’s going to be the star of the show.
- Lean on the “one light” rule. When you’re tripping over power cables in a ten-by-ten space, the temptation to build a complex three-point lighting setup is a trap. Stick to one large modifier—a 120cm octa might be too bulky for a cramped corner, so grab a medium softbox instead—and use a single reflector to bounce the spill. It’s cleaner, faster, and saves your shins from the light stands.
- Manage the heat. Small rooms with professional lights turn into saunas in about fifteen minutes, and once your subject starts sweating, the shoot is effectively over. If you can’t crack a window without losing your light control, keep a silent fan tucked just out of frame to keep the air moving.
- Watch your “throw.” In a tight space, you lose the ability to move the light far away from the subject, which means your shadows are going to be much harsher and more immediate. You have to compensate by using a larger, softer modifier to mimic that distance, or you’ll end up with “raccoon eyes” that no amount of retouching can fix later.
- Negotiate the floor plan early. Don’t wait until you’ve unpacked your bag to realize the subject’s chair blocks the only exit. I always walk the room first, identifying the “dead zones” where I can tuck my gear so I’m not constantly apologizing for stepping on someone’s toes.
The Real Constraint
Stop obsessing over whether you have a 35mm or an 85mm lens; the real constraint is the six feet of cluttered floor between you and the subject, and the fact that your light stand is currently acting as a tripod for a bookshelf. You don’t need more gear, you need to stop fighting the architecture and start negotiating with it.
Iwona Krawczyk
The Room is Just a Variable
At the end of the day, shooting in a tight space is a game of subtraction. You stop looking for the perfect, expansive studio setup and start looking for what you can live with. It’s about choosing that 35mm lens because the 85mm simply won’t fit between the wardrobe and the subject, and realizing that a single window is often more reliable than a tangled mess of three power cables and a light stand that keeps hitting the ceiling. You learn to embrace the geometry of the constraints, using the walls to your advantage rather than fighting them. If you can manage the shadows and keep your kit minimal, you’ve already won half the battle.
Don’t let a cramped floor plan convince you that the work will be inferior. Some of the most intimate, soul-piercing portraits I’ve ever taken happened in living rooms where I had to sit on the floor just to get the angle right. When the space is small, the distance between you and the subject naturally shrinks, and that often leads to a level of raw honesty you just can’t manufacture in a massive, sterile warehouse. So, stop worrying about the square footage and start looking at the light. The room might be small, but the frame is still yours to command.
