
Stop buying more gear. Seriously. I see these “ultimate” tutorials online that suggest you need a three-thousand-dollar kit of RGB panels and specialized diffusers just to get a decent shot, but that’s a lie designed to sell you things you don’t need. Most of the time, when people ask me how to light with continuous light for video, they aren’t struggling with a lack of lumens; they’re struggling with the fact that they’ve placed a single, harsh LED panel three feet from a subject who is currently squinting and looking like they’re under interrogation. It’s not about the specs on the box; it’s about where you stand and how you manage the mess of the room you’re actually in.
I’m not here to give you a lecture on the physics of photons or a shopping list of overpriced modifiers. Instead, I’m going to tell you what actually happens when you’re staring at a client who is losing patience and a monitor that looks like a muddy mess. I’ll show you how to use a single light, a bit of distance, and maybe a cheap white sheet to get a professional look without the technical headache. This is about the practical reality of making things look good when the clock is ticking.
Stop Blaming the Sensor the Reality of How to Light With Continuous Light F
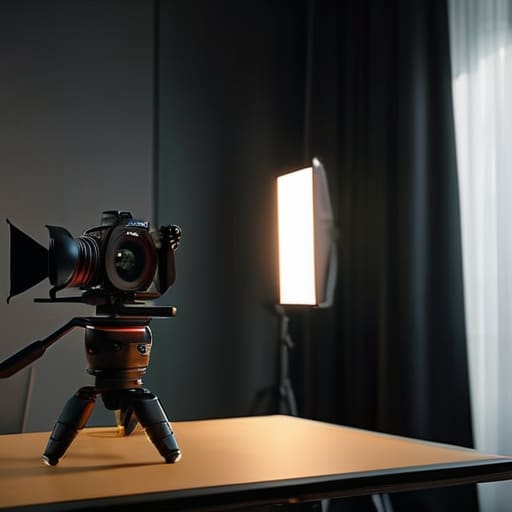
I’ve seen it a dozen times: a client buys a brand-new mirrorless body with a sensor that can see in the dark, only to complain that their video looks “cheap” or “muddy.” They think they need a better sensor, but what they actually have is a mess of uncontrolled reflections and a single, tiny light source fighting a losing battle against a window. When you’re working with an LED video lighting setup, the sensor is just the messenger. It’s reporting back exactly what you’ve fed it, and if you’ve fed it a chaotic mix of warm tungsten bulbs from the ceiling and blue daylight from the side, the sensor isn’t the failure—your planning was.
The real work happens in the physics of the room. You need to decide, right now, if you want a softbox vs hard light situation. If you’re shooting a corporate headshot, you want that soft, wrap-around glow that hides skin texture; if you’re trying to look moody, you go hard. But you can’t just point a light at a face and hope for the best. You have to account for the bounce off that white wall behind the subject or the way the light spills into the background, washing out all your depth. It’s about control, not gear.
The Room Is the Enemy Mastering Your Led Video Lighting Setup
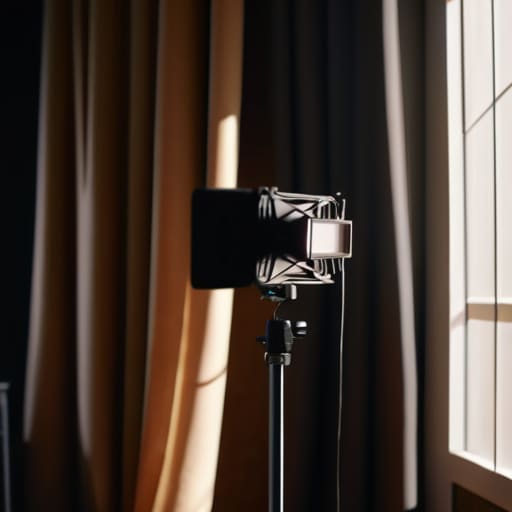
You can buy the most expensive LED video lighting setup on the market, but if you’re shooting in a room with white walls and a massive window behind the subject, you’re fighting a losing battle. I’ve spent many afternoons staring at a monitor, wondering why my skin tones look like radioactive sludge, only to realize the light from the hallway is bleeding into my frame. You have to become obsessed with managing light spill in video. If you can’t control the environment, the environment will control your image. I usually start by closing the heavy curtains and seeing if I can actually own the shadows before I even touch a power switch.
Once you’ve neutralized the room, you can actually start playing with your gear. Don’t fall into the trap of thinking more lights equals better quality. I often find that a single large softbox is more effective than a messy, poorly aimed three-point lighting technique that just creates unnecessary clutter on the subject’s face. It’s about intentionality. If you’re using a softbox vs hard light, remember that the softbox is there to wrap the light, not to turn the whole room into a glowing lightbox. Keep your modifiers close and your boundaries tight.
Beyond the Basics Why Three Point Lighting Technique Often Fails You
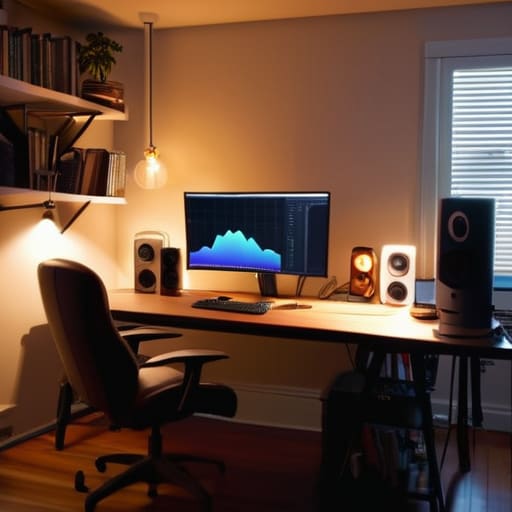
We’ve all seen the diagrams: a key, a fill, and a backlight arranged in a perfect, mathematical triangle. It looks great in a textbook, but in a real studio—or a client’s cramped office—the three-point lighting technique often falls apart the moment you actually plug things in. The problem is that these diagrams assume you have total control over the environment, which you almost never do. You’ll set your key light, only to realize your “fill” is actually just a white wall reflecting a messy bookshelf, or your backlight is catching a ceiling fan and creating a strobing nightmare.
Instead of chasing a perfect geometric setup, I’ve learned to focus on managing light spill in video. If you’re using a large softbox to get that flattering wrap, you’re also going to flood the entire room with light, washing out any sense of depth. I’d rather use one well-placed light and a single black foam board to shape the shadows than struggle to balance three different sources that are all fighting with the windows or the hallway light behind me. It’s about subtraction, not addition.
The War Between Softbox vs Hard Light in Unpredictable Spaces
I once spent forty minutes trying to wrap a massive softbox around a tiny corner desk in a client’s home office, only to realize the light was bouncing off a white wall and washing out every bit of contrast I’d worked for. This is the classic softbox vs hard light dilemma that nobody prepares you for. A softbox is your safety net; it hides the skin texture and the nervous sweat of a subject who’s convinced they look terrible. But in a cramped room, that “soft” light becomes a giant, uncontrollable glow that bleeds into every corner.
If you’re working in a tight space, don’t be afraid to lean into a harder light source. I’ve found that using a smaller LED panel with a honeycomb grid—or even just a tighter modifier—is often better than a massive softbox that you can’t control. It’s about managing light spill in video so you don’t end up with a muddy, flat image. Sometimes, a little bit of shadow is exactly what you need to give a face some actual shape when the room is fighting you every step of the way.
Fighting the Chaos Managing Light Spill in Video Environments
You’ve finally got your LED video lighting setup dialed in, the subject is actually cooperating, and then—disaster. A stray beam of afternoon sun hits a white wall behind you, or your key light bounces off a glossy bookshelf, washing out all the depth you just fought to create. This is where most people panic and think their gear is broken, but it’s just physics. You aren’t fighting the light; you’re fighting the environment.
To win, you need to stop treating light like something that only goes where you point it. I always keep a stack of black foam core boards—flags, really—within arm’s reach. If you’re struggling with managing light spill in video, don’t just turn down the power on your main light; instead, use a flag to physically block the light from hitting that reflective surface or that annoying white ceiling. It’s much more effective than trying to fix a muddy image in post-production. It’s about being surgical. You want to shape the light, not just flood the room with it.
Chasing the Mood Color Temperature for Video and Cinematic Intent
Everyone tells you to set your lights to 5600K and call it a day, but that is how you end up with a video that looks like a sterile hospital corridor. If you want to actually move people, you have to stop treating color temperature for video like a math problem and start treating it like a feeling. I’ve spent many afternoons realizing that a slightly “wrong” temperature—maybe a hint of warmth from a tungsten source or a cooler, blueish tint from a window—is exactly what makes a shot feel intentional rather than accidental.
The real trick is the contrast. If you are using a standard LED video lighting setup, don’t be afraid to play with the mismatch. I often pull a subject away from a cool window and hit them with a warmer key light. It creates a depth that a perfectly balanced, “correct” exposure can never touch. It’s about the tension between the colors. Just remember: once you start messing with these shifts, you can’t hide behind a white balance preset anymore. You have to own the mood you’ve created.
Five Things I’ve Learned While My Clients Were Panicking
- Stop treating your light like a static object. If you’re using a single LED panel, move it three inches to the left, then two inches higher, then tilt it slightly toward the subject’s chin. Continuous light is a moving target; you don’t “set” it, you hunt for the moment the shadow under the nose stops looking like a bruise.
- Check your subject’s eyes, not the light meter. I don’t care if the exposure looks “correct” on your screen if the catchlights have vanished. If they aren’t seeing a tiny spark of light in their pupils, they’ll look dead on camera, and no amount of post-production color grading will fix a soul-less stare.
- Watch out for the “Ghost Glow” from nearby windows. You can have the most expensive COB LED on a heavy-duty stand, but if a stray sunbeam hits a white wall behind your subject, your lighting ratio is dead. Close the blinds, throw a black sheet over that bookshelf, or just accept that you’re fighting a losing battle against the sun.
- Don’t trust the “Auto” settings on your light or your camera. I’ve seen so many beginners let the camera’s auto-exposure try to compensate for a dark room, only for the light to suddenly ramp up and wash everything out. Lock your ISO, lock your shutter, and set your light to a fixed intensity before you even think about hitting record.
- Keep a “problem solver” kit within arm’s reach. This isn’t about fancy modifiers; it’s about a roll of black gaffer tape to kill a reflection on a client’s glasses and a piece of white foam core to bounce a little light back into a shadow. When the room is working against you, these cheap scraps of material are more valuable than your entire lens kit.
The Illusion of the Perfect Setup
Stop obsessing over whether your LED panel is the ‘right’ model; it isn’t. The real work is realizing that a single, well-placed light source held three feet away from a subject is worth more than a thousand-euro kit scattered around a room that’s fighting you every step of the way.
Iwona Krawczyk
The Reality Check
At the end of the day, lighting for video isn’t about mastering some complex mathematical formula or buying every LED panel on the market. It’s about realizing that your environment is constantly fighting you. You’ve learned that the room’s dimensions matter more than the sensor’s dynamic range, that a single well-placed softbox beats a messy three-point setup every time, and that managing spill is the difference between a professional look and a muddy mess. If you can control the light spill and understand how color temperature shifts when a client opens a window, you’re already ahead of most people. Stop looking for the magic setting on your camera and start looking at where the light is actually landing.
Don’t let the gear intimidate you into paralysis. I’ve seen incredible work shot with a single light in a cramped corner, and I’ve seen massive budgets wasted because someone forgot to account for the subject’s nervous hands or a reflective white wall. The goal isn’t perfection; it’s intentionality. When you stop fighting the room and start working with the constraints you actually have, that’s when the work starts to look real. Now, go turn on one light, see what it does to the shadows, and actually look at the screen before you hit record.
