
I was standing in a damp parking lot at 11 PM, staring at a dead strobe and a client who was already checking her watch, realizing that my entire professional setup had just become expensive luggage. Most people think you need a five-figure lighting rig to get a decent portrait, but the truth is much grittier. When the gear fails and the sun is long gone, you have to learn how to use a car headlight as a light source if you want to save the shoot. It’s not about the gear you own; it’s about how you manipulate the light you’ve actually got.
In this notebook entry, I’m skipping the technical fluff about lumens and focusing on the actual physics of making it work. I’ll tell you exactly where to position the car to avoid those harsh, unflattering shadows, which modifiers you can jury-rig to soften the beam, and why you might actually prefer this raw, cinematic look over a perfectly polished studio setup. This isn’t a lecture; it’s a guide on how to stop panicking when things go wrong and start making something beautiful out of a breakdown.
Guide Overview
Tools & Supplies
- Wire strippers for removing insulation
- Multimeter for testing polarity and voltage
- Screwdriver for housing disassembly
- Car headlight assembly (1 unit)
- 12V DC power adapter or battery (1 unit)
- Electrical wire (2-3 feet)
- Electrical tape or heat shrink tubing (1 roll)
Step-by-Step Instructions
- 1. First, you need to get your subject and the car into position, and I don’t mean “close enough.” You need to park the vehicle so the headlight is hitting the subject at a slight angle—think about a 45-degree offset rather than shooting them dead-on like a mugshot. If you hit them straight on, you’re going to get that flat, unflattering glare that makes everyone look like they’re being interrogated by the police.
- 2. Once you’ve parked, turn the lights on and watch the shadows. Car headlights are notoriously “hard”—they don’t have the soft, forgiving wrap of a beauty dish or even a large softbox. You’ll see harsh, defined lines cutting across their face. If the shadow under the nose looks like a dark cavern, you need to move the car slightly further back or adjust the angle to soften the transition between light and dark.
- 3. Now, let’s talk about the “modifier” problem, which in this case is just you and whatever you can find in your kit bag. Since you can’t exactly wrap a 5-foot octabox around a bumper, grab a white bedsheet or a large piece of translucent shower curtain. Hold it between the headlight and the subject. It won’t make it a professional strobe, but it’ll take the jagged edge off the light and stop your subject from squinting like they’re staring into the sun.
- 4. Check your white balance immediately. Car lights—especially older halogen ones—are going to throw a heavy, sickly yellow tint into your frame that can make skin look uncomfortably jaundiced. Don’t try to fix this in post-production by just sliding the temperature bar; set your camera to the Tungsten preset right from the start. It’s much easier to work with a neutral base than to try and rescue a muddy, orange mess later.
- 5. You’re going to need a second light source, even if it’s just a tiny one, to fill in the shadows. Because that headlight is so directional, the “dark side” of the face is going to fall into absolute blackness. I usually grab a small LED panel or even a bounced flashlight to hit the shadow side just enough so we can still see the jawline. You aren’t trying to kill the drama; you’re just trying to make sure the subject doesn’t disappear into the void.
- 6. Finally, watch your subject’s eyes. This is where most people fail. Even with a sheet acting as a diffuser, a headlight is a concentrated beam of energy that makes people want to close their eyes or look away. I always ask them, “What do you do with your hands when you’re nervous?” to get them talking and relaxed, but I also tell them to keep their chin slightly down. This helps the brow bone act as a natural shield, protecting the eyes from the direct glare while still catching that tiny, cinematic catchlight we’re looking for.
Understanding How to Use a Car Headlight as a Light Source
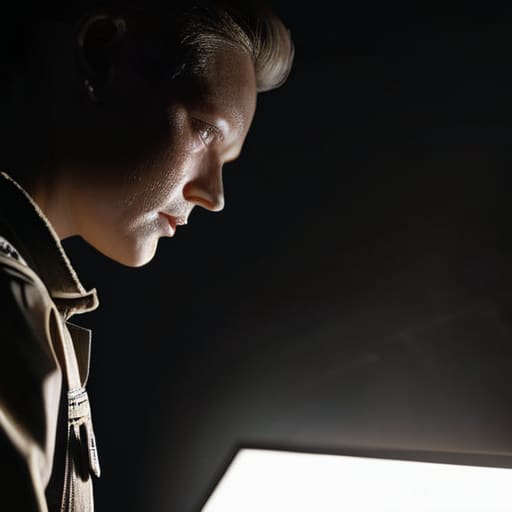
Before you actually start rigging anything, you need to understand the physics of what you’re dealing with. A car headlight isn’t a softbox; it’s a concentrated, directional beam designed to pierce through darkness, not to wrap around a human face. If you just point it straight at a subject, you’re going to get the most unflattering, high-contrast shadows you’ve ever seen. Think of it as a hard, specular source that requires immediate mitigation. You aren’t just using a light; you are managing a miniature sun that wants to blow out every highlight on your subject’s forehead.
To make this work without making your client look like a witness in a crime documentary, you have to treat it as one of those emergency lighting solutions where the goal is control, not perfection. I usually spend five minutes just figuring out how to bounce the beam off a white foam board or a nearby wall first. It’s essentially a form of automotive bulb repurposing that relies more on your ability to diffuse the light than the light itself. If you can’t soften that edge, you might as well just pack up the gear and go home.
Key Things to Know
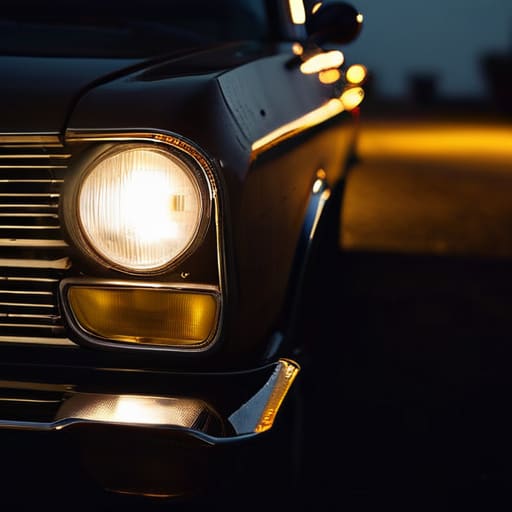
First, let’s talk about the heat. If you’re running a car for more than a few minutes just to keep that beam alive, you aren’t just dealing with light; you’re dealing with an engine that’s idling for no reason. It’s one of those improvised flashlight techniques that works brilliantly in a pinch, but it’s not a sustainable studio setup. If you’re doing this in a parking lot or a driveway, keep an eye on your temperature gauge. I’ve seen enough shoots go sideways because someone forgot that a car is a machine, not a battery pack.
Also, be prepared for the color temperature to be a total mess. Most modern halogen bulbs are going to throw a harsh, yellowish light that fights every piece of gear you actually own. You can try some automotive bulb repurposing tricks with gels, but honestly? Just lean into it. If the light is ugly, make it look intentional. Use it as a rim light or a harsh kick to create drama rather than trying to make it look like a softbox. Sometimes the best light is the one you didn’t want, provided you know how to hide the seams.
Practical Tips and Steps
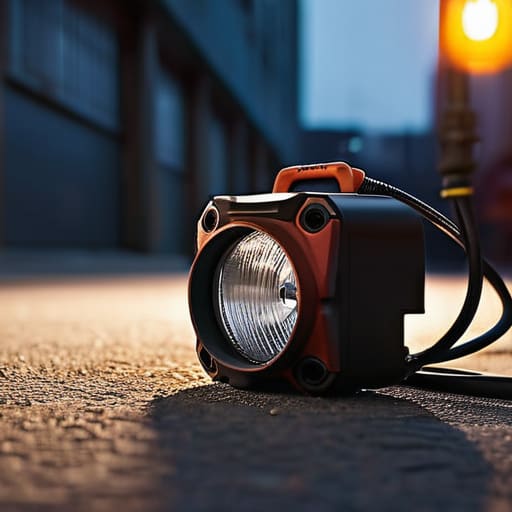
First, don’t try to be a hero and run a single cable from a running engine into your studio; you’ll end up with more noise in your image than a crowded pub. If you’re serious about this, think of it as a portable light hack rather than a permanent fixture. I usually suggest using a jump starter or a dedicated deep-cycle battery if you’re parked nearby. It keeps the power consistent so you aren’t constantly fighting the flickering that happens when a car’s alternator is struggling.
Also, remember that a headlight is essentially a massive, unyielding beam. It’s not “soft” in any sense of the word. To stop it from looking like a police interrogation, you need to buffer the intensity. I’ve had success taping a thin sheet of white diffusion paper or even a piece of frosted plastic over the lens. It’s a messy, desperate way to work, but it’s one of those emergency lighting solutions that actually delivers a usable catchlight in your subject’s eyes instead of just blowing out their forehead.
The bits they don't tell you in the manual
- Watch the heat. These things aren’t designed to sit three feet from a subject’s face for an hour; they get hot enough to singe hair or melt cheap plastic modifiers, so keep an eye on your gear and your model.
- Embrace the harshness or fight it with diffusion. A bare headlight is going to give you brutal, high-contrast shadows that feel more like a noir film than a corporate headshot, so if you want something softer, you’ll need to bounce it off a white board or find a way to drape some light-weight diffusion silk in front of it.
- Don’t forget the “catchlight” factor. Because the source is so concentrated, you’re going to get a very specific, small reflection in the eyes; check your monitor early to make sure it looks intentional and not like your subject is staring into a laser beam.
- Manage the color temperature mess. Most car lights are a nasty, cool blue-ish white that fights with any ambient tungsten light in the room, so don’t bother trying to balance it perfectly—just lean into the cold look or use a CTO gel if you’re feeling brave enough to tape it to a hot housing.
- Use it as a rim light, not your main source. If you try to use a single headlight as your primary key light, you’re going to struggle with the lack of wrap; instead, tuck it behind the subject to create a sharp, dramatic outline that separates them from a dark background.
The Lesson in the Low Light
When you’re staring at a dead strobe and a client who’s losing patience, you realize the gear doesn’t actually matter—what matters is that you aren’t afraid to walk out to the parking lot, crack the hood of your car, and use whatever light the world is willing to give you.
Iwona Krawczyk
The Lesson in the Mess
At the end of the day, using a car headlight isn’t about finding a perfect, polished light source; it’s about managing the chaos of a situation that isn’t going according to plan. You’ve learned that you have to account for the harshness of the beam, the way the light falls off rapidly, and the inevitable unpredictability of a source that wasn’t meant for a studio. Whether you’re using a reflector to soften those brutal shadows or positioning the car just far enough away to stop the subject from squinting, the goal is simply to stop the panic and start seeing. It’s a messy, improvised way to work, but it forces you to stop leaning on your gear and start relying on your eyes.
If there is one thing I want you to take away from this notebook, it’s that the gear is just a tool, and sometimes the best tools are the ones you didn’t intend to bring. When the power cuts out or the client’s vision shifts mid-session, don’t let the lack of a softbox make you freeze. The most important skill you can develop isn’t knowing how to dial in a strobe, but knowing how to make something happen with whatever is sitting in the parking lot. Photography is mostly just problem-solving in a room with bad lighting; you might as well get good at it.
