
I once spent three hours in a client’s spare bedroom—a space so cramped I could practically feel the wallpaper sweating—trying to figure out how to light a small room without turning the subject into a silhouette or a victim of harsh, bouncing glare. My assistant was sweating, the client was hovering, and I was staring at a massive octabox that suddenly felt like a giant, useless white sail in a bathtub. Most tutorials will tell you to just “get more gear” or “buy a wider lens,” but they never mention the reality of tripping over a C-stand every time you try to adjust your angle.
I’m not here to sell you a new kit or walk you through some theoretical physics lesson. This is about the actual, messy physics of making space work. I’m going to show you how to use what you’ve actually got—whether that’s a single light, a tiny window, or just a very strategically placed reflector—to create depth when the walls are practically touching your shoulders. We’re going to talk about distances, modifiers, and the inevitable compromises you’ll have to make when the room simply won’t cooperate.
Understanding How to Light a Small Room
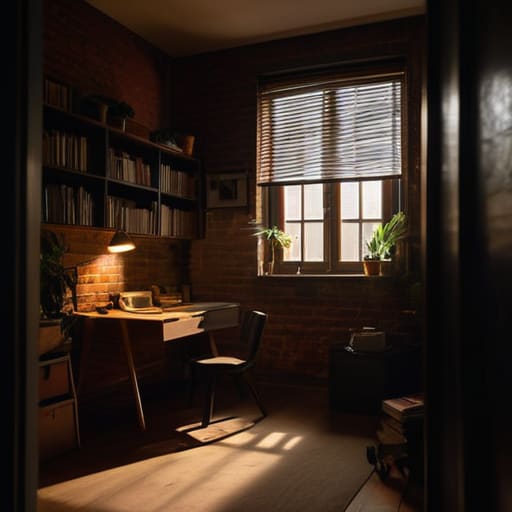
Before you even touch a dial, you have to look at the geometry of the failure. In a cramped studio or a tiny office, you aren’t just fighting darkness; you’re fighting physics. When you’re working in tight quarters, your light source is inevitably closer to the subject, which means the fall-off is aggressive and the light is much “harder” than you’d like. If you try to blast a single strobe into a corner, you’ll end up with a subject who looks like they’re being interrogated in a basement.
The secret isn’t more power; it’s layered lighting design. You want to stop thinking about one big “key” and start thinking about how light bounces. I’ve spent half my career using mirrors to reflect light back onto a subject’s face because I simply didn’t have the three feet of clearance required for a softbox. If you can’t move the light, move the reflection. You aren’t just illuminating a person; you’re managing how the light interacts with every square inch of that suffocating space.
Key Things to Know
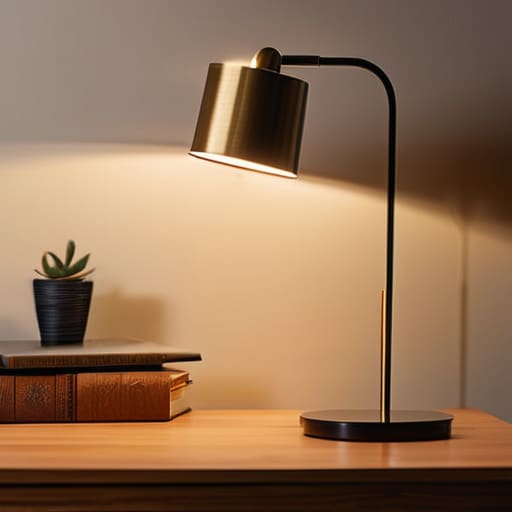
First, stop thinking about your light source as a single, heroic beam. In a cramped studio or a tiny office, a single strobe or a heavy softbox is just going to turn the space into a chaotic mess of bounce and glare. You need to think about layered lighting design instead. This means using a mix of practicals—lamps that are actually in the shot—and subtle, directional light to create depth. If everything is lit from one angle, the room will feel flat and claustrophobic, which is the last thing you want when you’re trying to make a subject look professional.
Second, you have to respect the boundaries of the walls. When you’re working in tight quarters, you’re constantly fighting the urge to bounce light everywhere, but that often leads to a muddy, low-contrast look. I’ve found that using mirrors to reflect light is a much cleaner way to expand the perceived space without adding more gear. A well-placed mirror can catch a sliver of window light and throw it back toward your subject, giving you that soft, directional glow without the need for a massive modifier that takes up half the floor.
Practical Tips and Steps
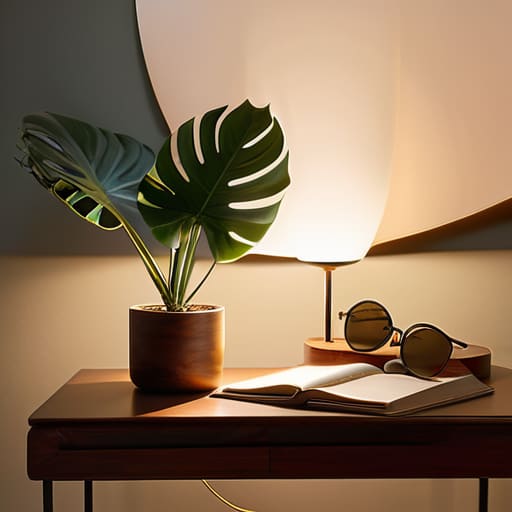
First, stop thinking about your main light source as a single, massive floodlight. In a cramped studio or a tight corner, a giant softbox is just a way to hit the ceiling and create a muddy, grey mess. Instead, I lean into layered lighting design. Start with a small, controlled key light—maybe a single LED panel with a diffusion sheet—and then use practicals, like a small desk lamp, to fill the gaps. This prevents that “interrogation room” look and gives the space actual depth.
If you’re struggling with a lack of natural light, don’t just stare at the window; try using mirrors to reflect light toward your subject. Placing a mirror opposite a window can bounce a much softer, more natural glow into the shadows without needing to drag extra cables across the floor. Also, keep an eye on your color temperature. If you’re mixing the blueish light from a window with the orange glow of a bedside lamp, your camera is going to struggle, and so will your eyes. Pick a side and stick to it.
Common Mistakes to Avoid
The biggest mistake I see—and I’ve seen it in countless cramped studio setups—is the urge to fight the space by blasting it with a single, massive light source. People think more power equals better visibility, but in a tight corner, you’re just creating a chaotic mess of bounce and glare. Instead of trying to overpower the room, you should be thinking about layered lighting design. If you rely on one overhead bulb, you’re going to end up with that flat, depressing “interrogation room” look. You need small, intentional pools of light that create depth rather than washing everything out.
Another trap is ignoring the physics of the walls. I often see people struggle with avoiding harsh shadows in small spaces because they’ve positioned their key light too close to a dark, matte surface. If you’re working in a tiny apartment or a cramped office, the walls are part of your kit. Don’t just ignore them; use them. I’ve saved so many mediocre shoots simply by using mirrors to reflect light back toward the subject, softening the edges of the frame without needing to drag a massive softbox into a space where no one can actually move.
Final Thoughts
At the end of the day, don’t let the square footage intimidate you. Most people think they need a massive studio setup to get a decent shot, but a cramped corner can actually be a gift if you stop fighting the constraints and start working with them. If you’re struggling with a lack of depth, try using mirrors to reflect light from a window or a single lamp; it’s an old trick, but it works better than almost any expensive modifier I’ve ever owned.
The goal isn’t to turn a tiny apartment into a bright, sterile box. It’s about intentionality. Whether you are setting up for a quick video call or a formal portrait, aim for a bit of layered lighting design rather than just blasting the ceiling with a single overhead bulb. Mix a soft key light with a bit of practical lamp glow in the background. It creates a sense of space that isn’t actually there. Just remember: if the room feels tight, stop looking at your light meter and start looking at the walls. They are your biggest tool, or your biggest enemy.
The Survival Kit: Five Ways to Stop the Walls from Closing In
- Ditch the big softboxes. I know, you want that beautiful, wrap-around light, but a 120cm octabox is a physical hazard in a tiny studio. It’ll hit the ceiling, it’ll hit the subject, and you’ll spend half the shoot apologizing for bumping into it. Switch to a medium beauty dish or even a small strip box; you get the control without the constant spatial anxiety.
- Stop fighting the ceiling and start using it. If you’re stuck in a room with low ceilings, don’t try to aim a light straight up—you’ll just get a muddy, flat mess. Instead, aim your light at a side wall or a corner. Let the light bounce off the vertical surfaces to create a soft, indirect glow that feels like it’s coming from the room itself, rather than a lamp pointed at a plasterboard nightmare.
- Watch your shadows, because they’re going to be aggressive. In a small space, light doesn’t have much room to travel before it hits a wall and bounces back in ways you didn’t plan. This creates “spill,” which can turn a moody portrait into a washed-out mess. Keep your light source closer to your subject and use black foam core (flags) to cut off the light from hitting the walls behind them.
- Embrace the single light setup. When the room is cramped, every extra stand is just another thing for you or the client to trip over. I’ve done my best work in closets with nothing but one light and a single reflector. It keeps the footprint small and the workflow clean. If you can’t move the light, move the subject.
- Check your color temperature before you even plug anything in. Small rooms often have a mix of “bad” light—a window on one side, a warm overhead bulb on the other, and maybe a weirdly blue LED strip in the corner. Pick one light source to be your “truth” and try to kill the others. If you try to balance three different temperatures in a 2×2 meter space, you’ll spend the whole session fighting your white balance instead of actually shooting.
The Geometry of Frustration
Stop looking at your light meter and start looking at the walls; in a cramped studio, your biggest enemy isn’t a lack of lumens, it’s the bounce-back from that beige wallpaper you didn’t notice until the strobe hit it.
Iwona Krawczyk
The Final Setup
At the end of the day, lighting a cramped space is less about chasing the perfect technical spec and more about managing the constraints you’ve been handed. You don’t need a massive octabox or a three-point setup that requires ten feet of clearance to work its magic. It’s about knowing when to swap that huge modifier for a smaller beauty dish, when to pull your light closer to the subject to save space, and when to just accept that the shadows are going to be a bit tighter than you planned. Remember: keep your modifiers small, keep your lights close, and stop fighting the walls. If you try to force a large-scale studio setup into a closet-sized office, you’re just going to end up frustrated and out of time.
If you’re feeling stuck, just remember that some of the most striking portraits I’ve ever taken happened because I was forced into a corner. There is a specific kind of intimacy that comes from a tight, controlled environment—a way the light wraps around a person when there’s nowhere else for it to go. Don’t view a small room as a limitation; view it as a defined boundary that dictates your creativity. Once you stop worrying about the gear you can’t fit in the room and start looking at the light you actually have, you’ll realize that the best work often happens in the tightest spots. Now, go see what you can do with what you’ve got.
