
I remember standing in the back of a drafty stone nave last November, my boots damp and my hands shaking—not from the cold, but from the sheer panic of seeing the light die through those stained-glass windows. I had a client who wanted “ethereal and bright,” but the reality was a cavernous, dim mess that felt more like a tomb than a sanctuary. Most tutorials will tell you to just crank your ISO to the moon and pray, but they never mention that grainy shadows and blown-out highlights are a recipe for a very expensive disaster. Learning how to use available light in a church isn’t about having the most expensive wide-aperture lens in your bag; it’s about understanding how that single, stubborn beam of afternoon sun is going to behave once the clouds roll in.
I’m not here to give you a lecture on the physics of photons or a shopping list of gear you don’t need. Instead, I want to talk about the actual compromises you’ll have to make when the architecture refuses to cooperate and the liturgy is moving faster than your autofocus. This is a notebook on how to read a room, manage your expectations, and find the usable light that’s already there.
Understanding How to Use Available Light in a Church
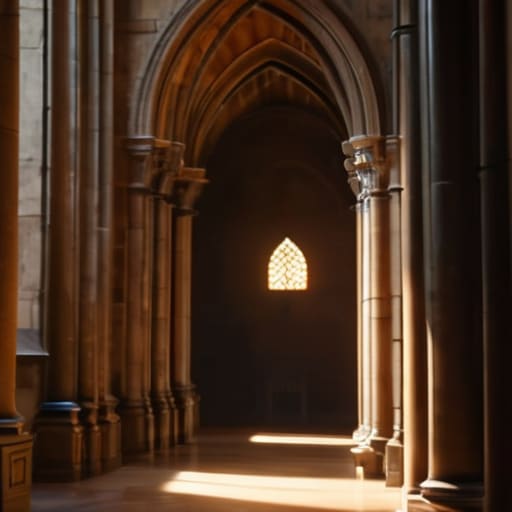
First, you have to accept that you aren’t in control. When I walk into a sanctuary, I’m not looking at the altar; I’m looking at the windows and the clock. Most churches are architectural marvels of shadow, which is great for mood but a nightmare for your sensor. You’ll likely find yourself managing mixed lighting temperatures—that sickly orange glow from old tungsten bulbs clashing with the cool, blueish light pouring through a high clerestory window. Don’t try to fight it with a white balance preset and hope for the best. Pick a side. If the light is coming from the side, lean into the shadows.
If you’re shooting a ceremony, your biggest hurdle is the sheer lack of lumens. You’ll need to embrace a wide aperture for dim environments, likely pushing your lens to f/1.4 or f/2.8 just to keep your ISO from screaming. But be careful; once you start cranking that ISO to compensate, your shadows will turn into a grainy mess. The trick isn’t just finding the light, it’s finding the texture within it without letting the shadows swallow your subject whole.
Key Things to Know
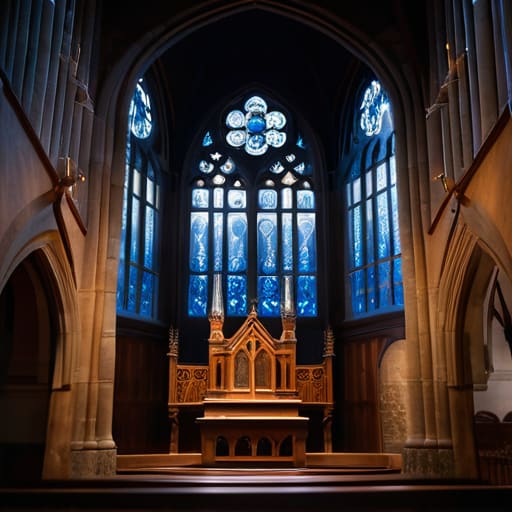
First, let’s talk about the light itself, because it’s rarely consistent. You’ll likely find yourself managing mixed lighting temperatures between the sickly yellow of old tungsten bulbs and the cool, blueish shafts coming through the clerestory windows. Don’t try to fight it by forcing a white balance that makes the whole room look like a hospital; embrace the warmth. If you’re shooting a ceremony, your best friend is a wide aperture for dim environments. I usually default to an f/2.8 or even f/1.8 to keep my ISO from screaming, but remember that this shallow depth of field means if your subject shifts an inch, they’re out of focus.
Then there’s the practical reality of the space. You aren’t in a controlled studio where I can just move a Profoto head three feet to the left. You have to deal with handling stained glass light spill, which can throw violent patches of magenta or deep blue across a subject’s face. It’s beautiful, but it’s unpredictable. Also, keep your movements quiet. Church sanctuary photography etiquette isn’t just about being polite; it’s about not being the person whose heavy tripod legs are clattering across the stone floor during a silent prayer.
Practical Tips and Steps
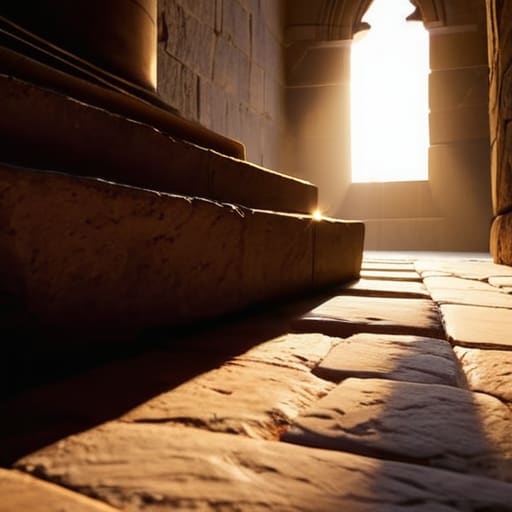
First, stop looking at your light meter and start looking at the floor. If the sun is hitting a specific patch of stone at 3 PM, that is your only window of opportunity. When you’re dealing with those massive, heavy shadows, you’ll need to lean heavily on a wide aperture for dim environments—I usually go straight for f/1.8 or f/2.8 to keep the shutter speed from dropping into the “handheld shake” danger zone. Don’t be afraid to push your ISO higher than you think is comfortable; a little grain looks like intention, but a blurry subject looks like an amateur mistake.
Second, watch out for the colors. If you’re shooting near a window with heavy colored glass, you’ll find yourself managing mixed lighting temperatures that make skin tones look sickly or bruised. I’ve learned it’s often better to set your white balance manually rather than letting the camera guess, especially when the orange glow of a votive candle meets the blue tint of a north-facing window. If the light is fighting you, embrace the mess rather than trying to correct it in post-production.
Common Mistakes to Avoid
The biggest mistake I see—and I’ve seen it ruin perfectly good shoots—is trying to fight the architecture rather than working with it. People get so obsessed with getting a “clean” shot that they try to compensate for a dark corner by cranking their ISO until the grain looks like sand. Instead of leaning into the shadows, they chase a brightness that isn’t there. If you’re struggling with a dim nave, don’t just pray for more light; use a wide aperture for dim environments and accept that some parts of the frame will be dark. That’s not a failure; that’s atmosphere.
Another trap is ignoring the color mess happening right in front of you. You’ll have warm tungsten bulbs from the side aisles clashing with the cool, blue-tinted light pouring through a window, and suddenly your skin tones look like they’ve been bruised. Managing mixed lighting temperatures is a nightmare if you don’t decide on a direction early. Pick a side—either the warm or the cool—and commit to it. Also, watch out for handling stained glass light spill; that beautiful red glow on a subject’s face might look great in person, but on sensor, it can turn them into a silhouette of pure crimson.
Final Thoughts
At the end of the day, don’t let the scale of the architecture intimidate you. Whether you’re shooting a quiet baptism or a crowded wedding, remember that you aren’t fighting the building; you’re just negotiating with it. If you find yourself struggling with the shadows, remember that a wide aperture for dim environments is your best friend, but even the fastest glass can’t fix a subject who is freezing up because they’re worried about the dark.
Stop obsessing over getting the “perfect” technical exposure and start looking at the mood. If you’re managing mixed lighting temperatures between those warm tungsten bulbs and the blue spill from the windows, make a choice. Don’t try to satisfy both; pick a side and lean into it. Sometimes a slightly underexposed, moody shot feels a lot more honest than a bright, clinical one that looks like it was shot in a supermarket. Trust your eyes, watch your clock, and when in doubt, just keep moving. The light won’t wait for you to find the perfect setting.
Five ways to stop fighting the architecture and start working with it
- Watch the windows, not the altar. I’ve learned that the light in a church is almost always directional, coming from those high, narrow windows. Instead of trying to light the whole room, find where those beams hit the floor or the pews. Position your subject in that spill. If you try to fight the shadows the architecture creates, you’ll just end up with a muddy, flat mess.
- Respect the “Golden Hour” trap. People talk about beautiful sunset light through stained glass, but they forget that in a massive stone building, that light vanishes in a heartbeat. If you’re shooting a ceremony, check exactly where the sun will be at 3 PM. If the light is dying, stop trying to be a hero with high ISOs and just move your subject closer to the light source.
- Use the walls as your giant, accidental reflectors. If you’re stuck in a corner with a subject and the light is coming from a single side window, look at the color of the wall behind them. A pale stone wall is a gift; it’ll bounce a soft, natural fill back onto their face. A dark wood panel? Forget it. You’ll need to compensate for that lack of bounce manually.
- Stop chasing the “perfect” exposure. In a church, your dynamic range is going to be a nightmare—you’ll have blown-out windows and pitch-black corners. Don’t try to balance them perfectly in-camera. Expose for the skin tones. I’d rather have a slightly underexposed background that I can lift in post than a subject whose face looks like a piece of chalk.
- Watch out for the “flicker” lie. If you’re shooting video, you might think the ambient light is steady, but old church lighting or certain LED replacements can create a strobe effect that’s invisible to your eye but looks like a disaster on screen. Always check your shutter speed against the local power frequency before you commit to a long sequence.
The Reality of the Room
Stop looking for the perfect light and start looking at where the light is actually dying; in a church, you aren’t fighting the shadows, you’re negotiating with them.
Iwona Krawczyk
The Reality of the Shot
At the end of the day, shooting in a church isn’t about mastering a specific lighting ratio; it’s about managing the chaos of a space you can’t control. You’ve checked the sun’s path, you’ve braced yourself for the inevitable dimming of the light at 3 PM, and you’ve learned to stop fighting the shadows and start working with them. Remember that your gear is secondary to your ability to read the room. If the light is failing, don’t reach for a massive strobe that will offend the architecture or the mood; instead, lean into the grain, adjust your exposure, and accept that perfection is a myth when you’re working with what the building gives you.
When you finally pack your bag and head home, I hope you realize that the best shots weren’t the ones where everything went according to the manual. They were the ones where you pivoted when the clouds rolled in or when the light hit a specific stained-glass pane just right for three minutes. Photography is often just a series of graceful compromises. Don’t get so caught up in the technicalities of lumens and stops that you forget to actually see the soul of the space. The light will change, the subjects will move, and the room will never look exactly like this again. Just capture it while it lasts.
