
I once spent forty minutes trying to dial in a complex three-light setup for a corporate headshot, only for the CEO to walk in five minutes before his flight to Heathrow. I remember the frantic, sweaty feeling of realizing my expensive modifiers were actually my biggest enemies in that moment. Most tutorials will tell you to grab more gear or “speed up your workflow,” but they never tell you that the real secret to how to shoot a portrait with no time isn’t about moving faster; it’s about knowing what to ignore. When the clock is screaming, you don’t need a lighting diagram; you need a survival strategy.
In this entry, I’m skipping the gear talk and getting straight to the triage. I want to show you how to strip your setup down to the bare essentials—usually just one light and a single, reliable modifier—so you can stop fiddling with dials and start actually looking at the person in front of you. This isn’t about perfection; it’s about making the best possible decision with the chaos you’ve been given. I’ll tell you exactly which compromises are worth making and which ones will absolutely ruin the shot.
Understanding How to Shoot a Portrait With No Time
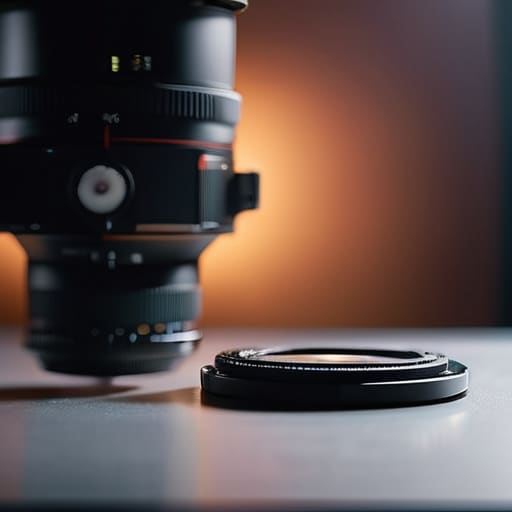
When the schedule collapses, you have to stop thinking like an artist and start thinking like a technician. Most people think “no time” means you need to move faster, but that’s how you end up with blurry shots and a client who feels rushed. Real speed comes from a rapid portrait photography workflow that you’ve already practiced until it’s boring. It’s about knowing exactly where your tripod goes before the subject even walks through the door. If you’re still hunting for your spare batteries or deciding which lens feels “right” while the client is staring at you, you’ve already lost the session.
You have to embrace minimalist lighting setups as your default setting, not a fallback. I’ve learned that one single large softbox, positioned about four feet from the subject’s face at a forty-five-degree angle, will save your life more often than a complex three-light array ever could. When the clock is against you, complexity is your enemy. You aren’t looking for perfection; you’re looking for a clean, intentional look that doesn’t require twenty minutes of tweaking a reflector. Focus on the light that works, lock your settings, and keep moving.
Key Things to Know

First, you have to accept that you aren’t going to get that perfect, layered Rembrandt lighting setup you spent twenty minutes dreaming about in the car. When the schedule is collapsing, you need to lean into minimalist lighting setups—think one single large softbox or even just a window and a reflector. If you spend ten minutes adjusting a grid or a snoot while the client is already looking at their watch, you’ve already lost the session. The goal isn’t perfection; it’s a clean, intentional look that doesn’t feel rushed.
Second, your technical prep has to be invisible. You shouldn’t be fumbling with ISO or shutter speeds while the subject is staring at you. I rely heavily on a rapid portrait photography workflow where my exposure is dialed in before they even walk through the door. This means having your efficient camera settings for portraits locked down—usually a wide aperture to hide a messy background and a fast enough shutter to catch the movement. If you’re fighting your gear, you aren’t fighting the chaos of the room, and that’s where the real work happens.
Practical Tips and Steps
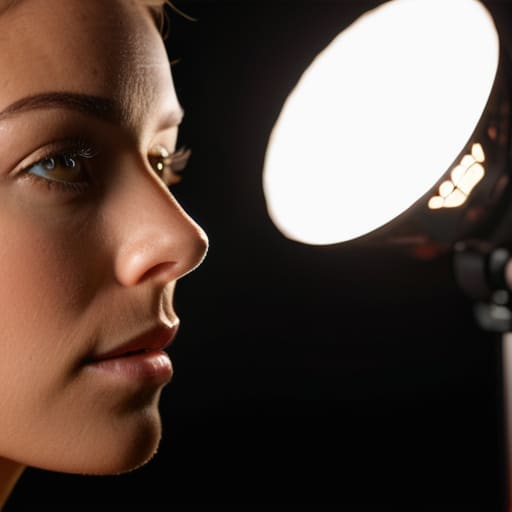
First, stop reaching for the third light. When you’re in a rush, your best friend is a single source—a large octa or even just a window if you’re lucky. I always lean toward minimalist lighting setups because they are faster to move and easier to troubleshoot when the sun starts shifting. If you spend ten minutes dialing in a complex three-point setup only to realize the client’s schedule just got cut in half, you’ve already lost. Set your key light, check the catchlights in their eyes, and move on.
Next, stop overthinking the gear and start managing the person. I’ve learned that improvisational photography skills are more valuable than a pristine kit. Instead of cycling through a dozen poses, give them two or three solid directions and stay there. I usually ask them what they do with their hands when they’re nervous—it breaks the ice and gives us a starting point for a natural pose. Keep your efficient camera settings for portraits locked in: a wide aperture to hide a messy background and a shutter speed that won’t punish a nervous subject. Focus on the connection, not the dials.
Common Mistakes to Avoid
The biggest mistake I see is the urge to “fix it in camera” by adding more gear. When you’re rushed, your instinct might be to grab a second light or a complex modifier to compensate for a bad room, but that’s how you lose twenty minutes just fighting with power cables. Instead, lean into minimalist lighting setups. If you have one light and a reflector, use them. Adding complexity when the clock is ticking is just a fast track to a nervous client and a messy workflow.
Another trap is obsessing over your technical settings while the subject is visibly wilting. I’ve seen photographers spend five minutes tweaking their ISO and aperture while the person in front of them is already checking their watch and losing their posture. You need to develop some improvisational photography skills here; if the light isn’t perfect, move the person, not the tripod. Don’t let the pursuit of the “perfect” technical frame kill the actual energy of the portrait. If they look stiff, the most efficient camera settings in the world won’t save the shot.
Final Thoughts
At the end of the day, when the schedule is collapsing and you’re feeling that specific kind of panic, remember that your gear isn’t going to save you. You can have the most expensive strobe in the world, but if you haven’t mastered a few minimalist lighting setups that work in any corner of a room, you’re just carrying heavy luggage. Success in these moments comes down to your ability to stop overthinking the technicalities and start reacting to the person in front of your lens.
Developing these improvisational photography skills takes time, and usually, it’s learned the hard way—during a shoot where everything that could go wrong actually does. Don’t aim for perfection when the clock is ticking; aim for a clean, intentional image that respects the subject’s time. If you can nail the light and keep the subject feeling steady, you’ve done your job. Everything else is just noise. Now, go find a corner with decent window light and practice being decisive.
The triage list: what actually matters when the clock is winning
- Kill the lighting setup before you even touch the camera. If you have ten minutes, do not reach for the octabox and the wireless trigger. Find the biggest window in the room or a single overhead light that isn’t making them look like a witness in a crime drama. One light source, one direction, move the subject until it works.
- Forget the “perfect” lens. I know, you want to swap to that 85mm prime for the compression, but if it’s in the bag, you’ve already lost. Stay on the 24-70mm or whatever zoom is already on your body. The difference in bokeh is nothing compared to the difference between a finished portrait and a client walking out the door mid-session.
- Stop trying to fix their posture and start managing their hands. As soon as I see them start to fidget or tuck their hands into their pockets, I stop adjusting the light and start giving them a task. “Hold this edge of your jacket” or “Rest your hand on your knee.” If their hands are busy, their brain stops panicking about how they look.
- Simplify the background to a single texture or color. When time is tight, you don’t have the luxury of “scouting the depth” of a room. Push them against a plain wall or find a dark corner. A messy background takes twenty minutes to clean up or hide; a blank one takes zero seconds.
- Take the shot before you feel “ready.” There is this trap where we think we need to tweak the exposure or the modifier one last time to make it perfect. If the light is decent and the subject is looking at the lens, press the shutter. You can always fix a slightly underexposed frame in Lightroom, but you can’t fix a missed opportunity because you were busy fiddling with a softbox.
The truth about the ticking clock
When you’re staring down a deadline and the client is already fidgeting, stop obsessing over your lighting ratios and start managing the energy in the room; you can fix a slightly underexposed frame in post, but you can’t fix the look of a person who has already decided the shoot is a failure.
Iwona Krawczyk
The Reality Check
At the end of the day, shooting under pressure isn’t about having a faster sensor or a more expensive strobe; it’s about how you manage the friction. You need to strip everything back to the essentials—one reliable light source, a single focal length you know by heart, and a plan that accounts for the client’s sudden loss of confidence. Stop trying to build a cinematic masterpiece when you only have fifteen minutes. Focus on the fundamentals of light and shadow, simplify your setup, and prioritize the subject’s comfort over your gear list. If you can control the chaos of the room and the ticking of the clock, the technical side usually takes care of itself.
I know it feels like every minute lost is a failure, but some of my favorite portraits came from sessions where everything went sideways. When you stop fighting the constraints and start working with the limitations, you actually find a certain kind of honesty that a perfectly staged, three-hour session rarely captures. Don’t let the lack of time make you a bad photographer; let it make you a decisive one. Trust your eyes, trust your hands, and remember that the best shot is the one you actually take before the client walks out the door.
