
I spent eight years as an assistant watching photographers scramble to justify a five-figure invoice by lugging around a mountain of unnecessary gear, as if a more expensive sensor could somehow fix a subject who is visibly panicking. If you think learning how to shoot a headshot for professional use is about mastering the most complex menu settings on a mirrorless body, you’ve been sold a lie. The truth is, I’ve seen stunning, high-end setups fail because the light was too harsh for a client’s skin type, or because the photographer forgot to account for the psychological weight of a person sitting in a chair under a spotlight.
I’m not here to give you a lecture on aperture or the theoretical beauty of bokeh. Instead, I want to talk about the stuff they skip in the expensive workshops: how to manage the room, how to handle the person who insists they “look terrible” in every frame, and why a single light source is often more powerful than a complex rig. This is a notebook on the practical, messy reality of getting a professional result when things aren’t going perfectly.
Its Not the Gear How to Shoot a Headshot for Professional Use
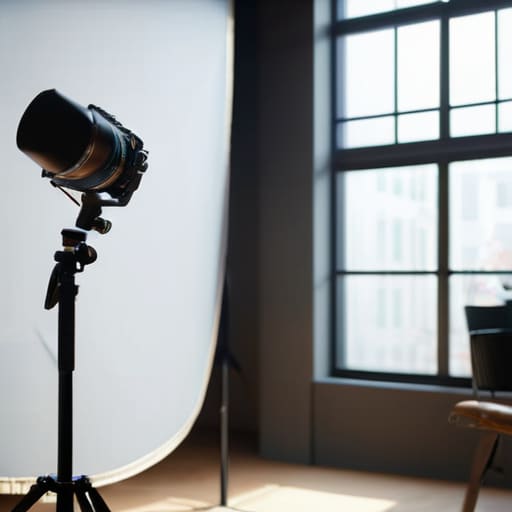
I spent years carrying heavy lighting kits for other people, and if there is one thing I learned, it’s that a five-figure camera body won’t fix a bad setup. You can obsess over your camera settings for portraits until you’re blue in the face, but if you haven’t accounted for the window swallowing your key light or the client’s sweater reflecting a weird green tint from the wall, you’re just wasting time. I’ve seen shooters walk into a room with the latest mirrorless tech and still fail because they didn’t realize the ceiling was too low for their modifiers.
The real work happens in the space between the lens and the subject. Instead of chasing gear, I focus on the environment. I’ll take a single large softbox, place it about four feet from the subject at a forty-five-degree angle, and call it a day. Whether you are debating studio vs natural light headshots, the goal is consistency. If the light is fighting you, stop tweaking the ISO and start moving the chair. Most “bad” shots aren’t a technical failure; they are just a failure to control the room.
The Room Is the Enemy Mastering Professional Portrait Lighting Techniques
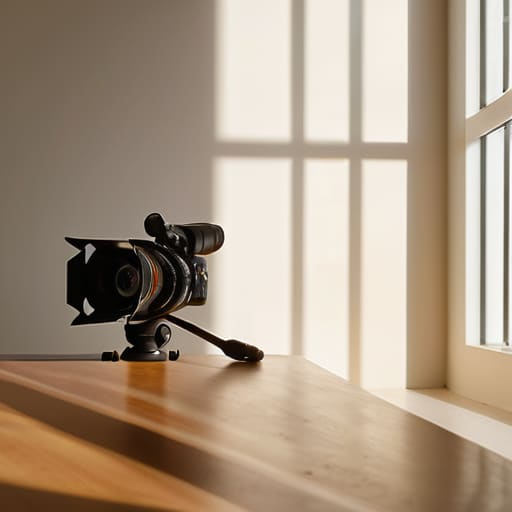
You can have the most expensive strobe in the world, but if you’re shooting in a room with floor-to-ceiling windows and a white wall that’s bouncing light back into your subject’s chin, you’re fighting a losing battle. I’ve spent more time moving furniture and closing blinds than I have adjusting my aperture. When people ask me about professional portrait lighting techniques, they expect a lecture on ratios; I usually just tell them to look at the ceiling. If you’re stuck in a makeshift home office, stop trying to fight the sun. I’ve learned that studio vs natural light headshots isn’t a theoretical debate—it’s a logistical war. If the sun is moving, your light is moving, and your “perfect” setup will be dead in twenty minutes.
My rule of thumb is to control the bounce before you even touch your camera settings for portraits. If the room is too bright, kill the overheads. If it’s too dark, don’t just crank the ISO; find a way to kick some light back onto the face using a simple foam board. You want to manage the environment, not just the equipment.
Choosing Between Studio vs Natural Light Headshots in Chaos
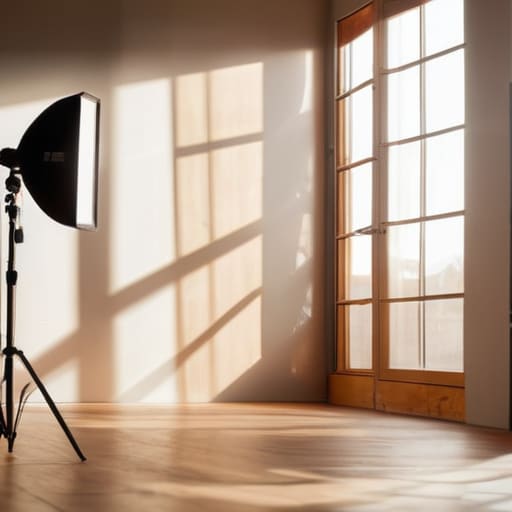
When you’re staring at a client who just arrived twenty minutes late, the debate between studio vs natural light headshots stops being a creative choice and starts being a survival tactic. If you have a window that actually works, use it. Natural light is forgiving, but it’s also a liar; it shifts every fifteen minutes, and if a cloud rolls in mid-session, your carefully planned professional headshot composition goes out the window. I’ve spent too many mornings chasing a patch of sun across a floor only to realize the light is too harsh for the client’s skin texture.
If you can’t control the sun, grab the strobe. I prefer the predictability of a single light source when things get messy. Even if the room is a disaster, a controlled flash allows you to ignore the chaos outside and focus entirely on the person in front of you. You don’t need a complex setup to nail the professional portrait lighting techniques that matter; you just need enough consistency so you aren’t fighting the environment while trying to manage a subject who is clearly overthinking their business attire for headshots.
Managing the Subject Beyond Basic Camera Settings for Portraits
Once you’ve wrestled the room into submission, you’re left with the person in the chair. This is where most of the actual work happens. I always start by asking, “What do you do with your hands when you’re nervous?” It breaks the ice and usually results in a laugh, but more importantly, it prepares them for the fact that their hands are about to become a problem. If they’re wearing heavy business attire for headshots, like a stiff blazer or a high collar, they’ll likely hunch. I spend half my time telling people to drop their shoulders and breathe, because a person who is holding their breath is a person who looks like they’re being interrogated, not photographed.
Don’t get bogged down in the technicalities of camera settings for portraits while they are still settling in. If they feel self-conscious, no amount of perfect aperture will save the shot. I focus on the micro-adjustments: a slight tilt of the chin to define the jawline or a subtle shift in weight to avoid that “passport photo” rigidity. You aren’t just capturing a face; you are managing a tiny, localized crisis of confidence. The goal is to make them forget the lens exists.
The Wardrobe Battle Navigating Business Attire for Headshots
I’ve lost count of how many times a session has been derailed because a client showed up in a shirt that was technically “business casual” but featured a pattern so loud it practically screamed at the sensor. When you’re working with business attire for headshots, you have to be the one to draw the line. Small, tight patterns or thin stripes create a moiré effect that is a nightmare during the process of editing professional headshots. It’s not about being a fashion critic; it’s about preventing a technical headache that no amount of retouching can truly fix.
I always tell my subjects to aim for solid, mid-tone colors. Avoid stark white—it blows out your highlights and makes your professional portrait lighting techniques feel wasted—and stay away from deep black, which can turn into a featureless void if your light isn’t dialed in perfectly. If they’re wearing something textured, like a heavy knit or a linen blazer, that’s fine, but keep the focus on the face. If the clothes are doing all the heavy lifting, the portrait loses its purpose.
Fixing the Mess Professional Headshot Composition and Editing
Once you’ve wrestled the subject into something resembling decent business attire for headshots and finally stopped the room from bleeding light into your shadows, you’re left with the frame. Most people think composition is just centering a face, but in a professional headshot composition, it’s actually about managing negative space. If you crop too tight, the subject looks claustrophobic; too loose, and they look lost in a sea of office beige. I usually aim for a bit of breathing room above the hair, but I always keep an eye on the eye line. If they’re looking slightly off-camera, ensure the lead room is sufficient so it feels like they are looking at something, not just staring into a void.
Then comes the part where everyone wants to hide. When it comes to editing professional headshots, my rule is to fix the distractions, not the person. If a stray hair is crossing an eye or a shirt collar is tucked weirdly, pull it out. But if you start smoothing skin until they look like a CGI render, you’ve failed. The goal isn’t perfection; it’s a version of them that looks like they actually had a good night’s sleep.
Five Things I Wish I Knew Before My First Real Commission
- Watch the eyes, not the chin. I spent my first year worrying about whether a jawline looked sharp, only to realize that if the catchlight isn’t hitting the eyes, the person looks dead. If they look vacant, move your key light up or tilt it slightly; you need that spark, or the CEO will look like they’re staring into a void.
- The “Hand Question” is your secret weapon. Before I even touch the shutter, I ask, “What do you do with your hands when you’re nervous?” It breaks the ice and tells me exactly how much coaching they’ll need. If they say “I hide them in my pockets,” I know I’m going to spend the next twenty minutes helping them find a natural way to rest their arms so they don’t look like a stiff mannequin.
- Stop fighting the shadows. Beginners try to fill every single dark spot with a reflector, but a little shadow provides the structure that makes a face look three-dimensional. I’d rather have a slightly moody professional portrait than a flat, washed-out image that looks like a passport photo from 1998.
- Check the background for “growth.” I’ve seen so many great portraits ruined because a stray plant or a door frame looks like it’s sprouting directly out of the subject’s head. Get close, change your angle by six inches, or move the subject forward; don’t let a messy room dictate your composition.
- Build in a ten-minute “buffer” for the inevitable meltdown. Whether it’s a client who realized their tie is crooked or a subject who has decided they “look terrible,” you need time to breathe. If you rush the technical stuff while they are spiraling, the tension will show in their shoulders, and no amount of post-processing can fix a person who looks terrified of the lens.
The Real Work
You can spend ten thousand pounds on a lens that renders skin like silk, but if you haven’t figured out how to stop the subject from clutching their hands like they’re holding a live grenade, or how to kill the glare from that glass partition behind them, you’re just taking an expensive photo of a nervous person in a bad room.
Iwona Krawczyk
The Real Work Starts After You Click
At the end of the day, a successful headshot session isn’t about having the sharpest glass or the most expensive strobe in your kit. It’s about the fact that you managed to control the light in a room that didn’t want to cooperate, navigated the awkwardness of a client’s wardrobe crisis, and kept your cool when the schedule started slipping. You realized that the gear was just a tool, while the real heavy lifting happened in how you managed the space and the person sitting in front of you. If you can master the chaos of the environment and the unpredictability of the subject, the technical settings will practically take care of themselves.
Don’t let the pursuit of technical perfection paralyze you. You will have sessions where the light is terrible and the subject is convinced they look ridiculous, and that is perfectly fine. That is where the actual craft lives. Stop worrying about whether your sensor is hitting every single megapixel and start focusing on whether you’ve created a space where someone feels seen. Once you stop fighting the variables and start working with the reality of the room, you’ll find that the best portraits aren’t manufactured—they are simply captured from the middle of the mess.
