
I remember a corporate headshot session three years ago in a glass-walled conference room that felt more like a greenhouse. I had every light I owned set up, but the subject looked completely flat—just a washed-out, two-dimensional ghost because the light was bouncing off every white wall and polished surface in the room. I spent twenty minutes frantically adjusting my key light, only to realize the problem wasn’t the light I was adding, but the light I couldn’t stop. That was the day I stopped obsessing over more gear and finally understood how to use negative fill to actually shape a face.
I’m not going to give you a lecture on the physics of light or tell you that you need a five-figure lighting kit to fix a bad room. Instead, I’m going to show you how to use a simple piece of black foam core or a heavy fabric to reclaim your shadows. We’ll talk about where to place it, how much distance to keep between the subject and the black flag, and why sometimes the best thing you can do for a portrait is to take light away.
The Room Is Fighting You Why Light Is Often the Enemy
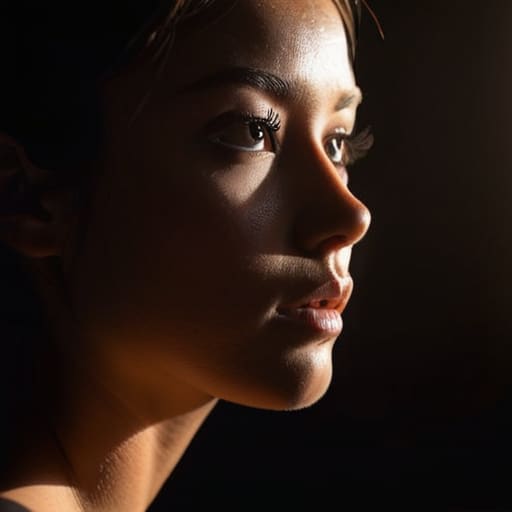
The problem with most studios—and most rental spaces—is that they aren’t actually controlled environments; they are just rooms with windows or white walls. You think you’ve set up the perfect single-light portrait, but then you realize the light is bouncing off that eggshell-colored wall behind the subject and hitting them from the wrong side. Suddenly, your shadows have vanished, and your subject looks like they’ve been flattened by a steamroller. You aren’t dealing with a gear failure; you’re dealing with managing ambient light that refuses to stay where you put it.
When the room starts fighting you, you have to stop thinking about where to add light and start thinking about where to take it away. This is where using black flags in studio becomes your best friend. If you have a bounce happening from a side wall that’s killing your contrast, you don’t need a second light to fix it—you need a piece of black foam core or a heavy fabric drape to soak up that stray energy. It’s about reclaiming the shadows that the room is trying to steal from you.
How to Use Negative Fill to Reclaim Your Subject
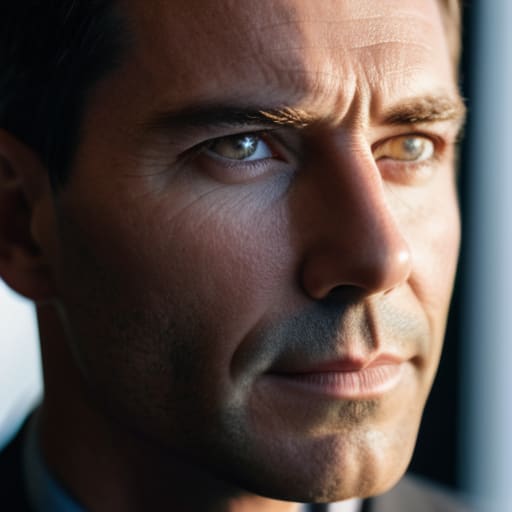
Start by grabbing whatever you have that’s matte black. In a studio, I usually reach for my large black flags, but if you’re shooting a corporate team in a bright office, a piece of black foam core or even a dark coat draped over a chair will do. The goal isn’t to add light; it’s to subtract it. Position your flag on the side of the subject’s face opposite your key light. You’re essentially creating a controlled shadow to prevent that annoying bounce from the white walls from filling in every detail.
This is one of those fundamental shadow manipulation for filmmakers and photographers that separates a flat, “commercial” look from something with actual soul. By managing ambient light this way, you stop the room from dictating the mood. I’ve found that if you move the flag just six inches closer or further away, the transition from light to shadow changes entirely. It’s about finding that sweet spot where the shadow feels intentional rather than just a dark hole in the frame.
Managing Ambient Light When the Environment Refuses to Cooperate
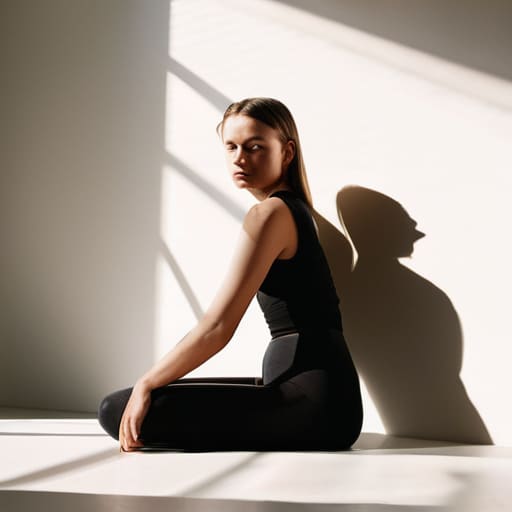
The problem with most “natural light” setups is that nature doesn’t know how to stop. You’ll find yourself in a beautiful studio with floor-to-ceiling windows, thinking you’ve hit the jackpot, only to realize the light is bouncing off every white wall and pale ceiling in the room. You aren’t actually lighting your subject; you’re just illuminating a giant, unintentional softbox. This is where managing ambient light becomes less about adding gear and more about subtractive thinking. If your subject looks flat—like they’ve been pressed between the pages of a book—it’s because the light is coming from everywhere at once.
To fix this, you need to start controlling light spill with intention. I usually reach for my heavy black foam boards or even just a dark velvet curtain. If I’m shooting a portrait and the side of the face facing away from my key light is too bright, I’ll tuck a black flag right into the shadow side. It feels counterintuitive to bring more “darkness” into a bright room, but that’s the secret to adding depth to portraits. You aren’t just making shadows; you’re carving the subject out of the chaos.
Using Black Flags in Studio to Stop the Chaos
When you’re working in a controlled studio environment, you’d think you’re in the driver’s seat, but the walls usually have other ideas. White walls are essentially giant, unintended reflectors that bounce light back into every shadow, flattening your subject until they look like a cardboard cutout. This is where using black flags in studio becomes your best friend. I usually keep a few large pieces of black foam core or dedicated fabric flags leaning against the wall near my key light. If you notice the shadow side of a face is looking too “milky” or lacks any real definition, slide a flag between the subject and the wall. You aren’t adding light; you are simply subtracting the bounce that’s ruining your shape.
It’s a subtle game of shadow manipulation for filmmakers and photographers alike. I don’t go for dramatic, noir-style darkness immediately; instead, I use the flags for controlling light spill that’s creeping into places it shouldn’t be, like the catchlights in the eyes or the texture of a dark suit. It’s about precision. If the light is hitting the cheekbone where it should be falling off, move the flag closer. It’s much easier to fix a shadow with a piece of black board than it is to try and fix a washed-out face in post-production.
Controlling Light Spill and Mastering Shadow Manipulation for Filmmakers
If you’re moving from stills into video, you’ll quickly realize that light is much harder to “tame” when it’s constantly in motion. In photography, I can get away with a slightly messy shadow, but for video, that light spill hitting a white wall behind my subject creates a distracting, flat flicker that ruins the mood. To get those cinematic lighting techniques working, you can’t just set a light and walk away; you have to actively hunt down where the light is bouncing.
This is where shadow manipulation for filmmakers becomes your best friend. I usually keep a couple of large black foam boards on hand, not just for the studio, but to flag off reflections in a client’s window or a polished conference table. If you want to add weight to a face on screen, you need to stop the light from wrapping too far around the cheek. By placing a flag just out of frame, you’re essentially carving the subject out of the background. It’s about creating shape through subtraction rather than just adding more lamps to the room.
Cinematic Lighting Techniques for Adding Depth to Portraits
If you’re tired of your portraits looking like they were shot under a fluorescent office light, you need to stop thinking about adding light and start thinking about where you can take it away. Most people think cinematic lighting is about finding a fancy new LED panel, but it’s actually about shadow manipulation for filmmakers and photographers alike. When you’re working with a single key light, the bounce from a white wall or a light-colored floor can kill your mood instantly, turning a dramatic profile into something flat and uninspired.
To get that real sense of dimension, I usually grab a large black foam board—something I keep tucked behind my kit for exactly this reason—and place it on the side of the subject opposite my light source. This isn’t just about making things dark; it’s about adding depth to portraits by creating a controlled fall-off. By controlling light spill with these negative shapes, you’re essentially sculpting the face. You want that transition from light to shadow to feel intentional and soft, not like the subject is being swallowed by a void. It’s the difference between a snapshot and a portrait.
Five ways to stop the light from winning
- Don’t be afraid to get close. If you’re using a black flag to create a shadow on a subject’s cheek, don’t just stand there five feet away. Get the edge of that foam board right near the edge of their jawline. The closer the negative fill is to the subject, the more surgical you can be with the shadow.
- Watch your bounce. If you’re shooting in a client’s office and they have those bright white walls, your light is going to hit those walls and bounce right back into the shadows you’re trying to create. You might need to hang a black sheet on the wall behind the camera just to stop the room from fighting your setup.
- Use it to fix a “flat” face. If you’ve looked at your monitor and the subject looks like a thumb—just one big, uninteresting shape of light—you don’t need a new light. You need to take away some. Slide a black flag into the side of the frame to carve out a cheekbone or a jawline.
- Think about the “why” before the “where.” I always tell my assistants: we aren’t just adding black; we are adding shape. Before you move a heavy flag, ask yourself if you’re trying to add drama or if you’re just trying to stop a window from ruining your contrast.
- Watch out for the “ghost” spill. Sometimes you think you’ve killed the light on one side, but then you see a weird, thin sliver of light hitting the subject’s ear or the back of their hair. That’s the light finding a way around your gear. You might need a larger flag or a different angle to truly shut it down.
The Art of Taking Away
Everyone spends their time obsessing over where to add the next light or which modifier will make the skin look prettier, but half the battle is actually just deciding what to take away. If your subject looks like they’re floating in a sea of flat, unhelpful light, stop looking for a better lamp and start looking for something black to stand in the way of it.
Iwona Krawczyk
The Art of Taking Away
At the end of the day, negative fill isn’t about adding some magic new light source to your kit; it’s about having the discipline to take something away. We’ve talked about fighting the bounce from white walls, using black flags to carve out a jawline, and stopping that annoying spill from ruining your shadows in a video setup. It’s easy to get obsessed with buying more LEDs or bigger softboxes, but more light usually just means more chaos. If your subject looks flat or washed out, don’t reach for another lamp. Reach for a piece of black foam core or a heavy drape. Sometimes, the most important tool in your studio is simply the absence of light.
Don’t let the technicalities paralyze you when you’re actually on set. You’ll be halfway through a shoot, the client will be checking their watch, and you’ll realize the lighting looks “cheap” or uninspired. That’s when you stop, look at where the light is bouncing, and start blocking it. It’s a messy, trial-and-error process, and you’ll probably spend ten minutes moving a flag two inches to the left, but that’s where the real work happens. Stop worrying about whether your camera is “good enough” and start mastering the room. That is how you move from just taking pictures to actually making them.
