
I spent three years assisting on high-end sets where we had enough lighting modifiers to outfit a small moon colony, yet we still couldn’t stop the light from bleeding into the shadows and washing out every bit of dimension in a subject’s face. People will try to sell you a new, expensive softbox or a smarter strobe to fix your contrast issues, but they’re lying to you. Most of the time, the problem isn’t that you don’t have enough light; it’s that you have too much of it in the wrong places. If you actually want to learn how to use a flag to reclaim your shadows, you need to stop looking at your gear list and start looking at the unwanted light bouncing off the walls.
I’m not here to give you a theoretical lecture on light physics or a manual for a specific brand of V-flat. I want to talk about the messy reality of a studio session where the windows are too big, the walls are white, and your subject is starting to lose their shape. I’m going to show you exactly where to place a black foam board or a heavy fabric to kill the spill and create the depth you’re actually after. This is about the practical, slightly unglamorous work of subtraction.
The Problem Isnt the Lens Its the Unruly Light
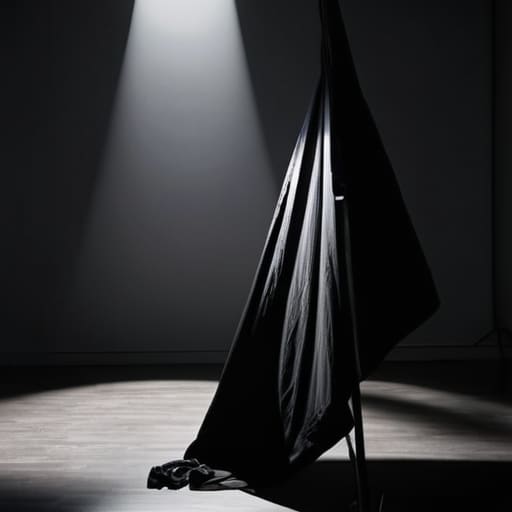
The problem is that we’re taught to think about adding light, but we almost never talk about how to take it away. You can spend three grand on a prime lens, but if you’re shooting in a small studio with white walls and a massive window, that lens won’t save you from the bounce. The light hits the subject, hits the wall, hits the floor, and comes back into the lens as a flat, muddy mess. You aren’t dealing with a lack of exposure; you’re dealing with a lack of direction.
This is where most people start panicking and reaching for more studio lighting equipment, thinking they need a second or third strobe to “fix” the look. They don’t. Usually, you just need to start shaping light with flags to stop the chaos. If your subject looks like they’ve been flattened by a steamroller, it’s because the ambient light is filling in every single contour. You need to stop the spill before it reaches the eyes. Mastering negative fill techniques—basically just using a black board to suck the light back out of the shadows—is what actually gives a portrait its shape.
Mastering the Basics of How to Use a Flag
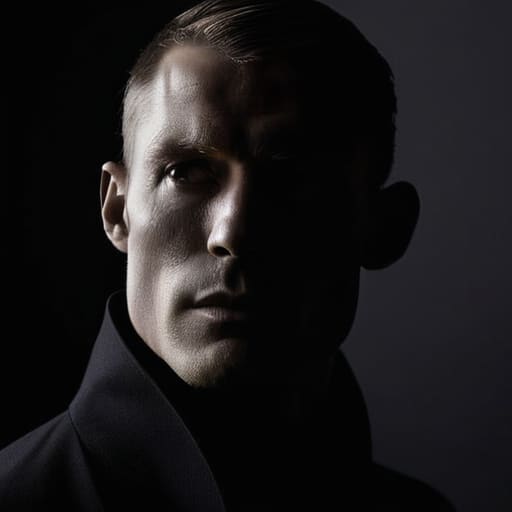
Forget the expensive modifiers for a second. If you’re standing in a studio with a single strobe and a subject who is being swallowed by a flat, milky light, you don’t need a new softbox; you need to subtract. This is where negative fill techniques actually become your best friend. When you use a black flag—or even just a piece of black foam core—on the side of the face opposite your light source, you aren’t just blocking light; you are carving out a jawline. I’ve spent many sessions using a single 24×36 black floppy just to stop the bounce from a white wall from ruining the drama I was trying to build.
It’s about shaping light with flags to create depth where the room is trying to erase it. If you’re working on a short-form video and the subject looks like they’ve been washed out by a fluorescent ceiling, slide a flag between the light and the background to create a controlled shadow. It’s a simple way of controlling light spill that most people overlook because they’re too busy looking at their aperture settings. Stop adding more light to fix a bad setup; start taking it away.
Controlling Light Spill When the Room Wont Cooperate
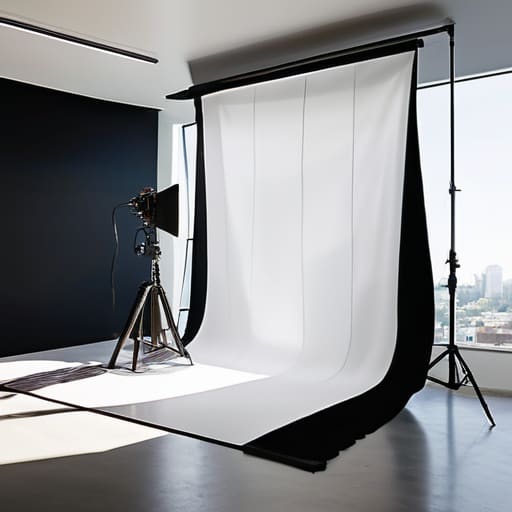
You’ll find this most often when you’re shooting a corporate headshot in a rented office space with white walls and a floor-to-ceiling window. You set up your key light, thinking you’ve nailed the angle, only to realize the light is bouncing off the white drywall and washing out every ounce of dimension in your subject’s face. This is where controlling light spill becomes less about art and more about damage control. If you don’t step in, the room will make all your decisions for you, and usually, those decisions result in a flat, lifeless image.
I usually reach for a large black V-flat or even just a piece of foam core wrapped in black duvetyn. By placing it on the side of the subject opposite your light source, you’re using negative fill techniques to suck that stray energy back out of the frame. It’s not about adding something new; it’s about carving away the mess. It’s the difference between a subject looking like they’re standing in a void and looking like they actually exist in a three-dimensional space.
Negative Fill Techniques to Fix a Flat Image
If you’ve ever looked at a portrait and felt like the subject was being swallowed by a beige, featureless fog, you aren’t looking at a bad sensor; you’re looking at too much bounced light. In a small studio or a white-walled office, light hits everything and comes back at you from every direction. This is where negative fill techniques become your best friend. Instead of adding more light to fix a problem, you’re actually taking it away. I usually grab a large piece of black foam core or a black flag and position it on the shadow side of the face—the side furthest from my key light.
By doing this, you aren’t just blocking light; you are shaping the light to create a sense of depth that the camera can actually read. It defines the jawline and prevents that dreaded “flat” look where the nose and cheekbones blend into a single plane. It’s one of those essential cinematography lighting modifiers that people forget they need until they’re staring at a monitor full of grey mush. It’s a simple move, but it’s the difference between a snapshot and a portrait with actual soul.
Shaping Light With Flags Amidst Studio Lighting Equipment
When you’re staring at a tangled mess of C-stands, softboxes, and power cables, it’s easy to think you need more gear to fix a lighting issue. You don’t. Usually, you just need to block what you don’t want. I’ve spent many afternoons tripping over sandbags just to realize that my key light was bouncing off a white wall and washing out every bit of intentionality in the frame. Instead of adding another light to compensate—which just creates more chaos—I reach for a flag. Shaping light with flags is about being subtractive. If your subject’s far side is looking too bright because of a nearby reflector or a pale wall, don’t move the light; just put a black floppy between the source and the spill.
It’s a bit like sculpting, really. You use your studio lighting equipment to build the shape, but you use flags to carve the edges. I often find myself placing a strip flag just a few inches from a subject’s cheek to create a subtle shadow that defines the jawline. It’s a small, precise movement that prevents the light from feeling “accidental.”
Creating Shadows in Film Through Cinematography Lighting Modifiers
When you move from still portraits into short-form video, the stakes for your lighting change. In a photo, I can cheat a bit in post-production, but video demands a more disciplined approach to creating shadows in film. If you’re working with a single key light, the temptation is to let the ambient light fill in everything, which results in that muddy, “cheap” digital look. To get that cinematic depth, you need to stop thinking about where the light goes and start obsessing over where it doesn’t.
This is where your knowledge of cinematography lighting modifiers becomes practical rather than theoretical. I don’t just throw a black cloth in front of a light; I use large, heavy flags to carve out the darkness. If I’m shooting a subject against a white wall that’s bouncing light back into their eyes, I’ll position a flag specifically to block that bounce. It’s about deliberate subtraction. You aren’t just adding light to a scene; you are using flags to sculpt the shadows that give the image its shape and mood.
Five ways to stop fighting the light and start controlling it
- Stop relying on your softbox to do all the work; if you have light hitting the background where you don’t want it, don’t turn down your strobe, just put a black floppy between the light and the wall.
- When you’re working with a subject who feels “washed out,” stop adding more light and start adding negative fill—tuck a black V-flat just out of frame on the shadow side to give their face some actual shape.
- Watch your spill on the catchlights; if the reflection in their eyes looks like a giant, messy blob because of a nearby window, use a small flag to slice the light path and sharpen that reflection.
- Don’t forget the floor; if you’re shooting on a white studio floor that’s bouncing light back up into the subject’s chin like a flashlight, throw a piece of black foam core or a dark rug right under their feet.
- Keep your flags close to the source, not the subject; if you try to flag the light right in front of someone’s face, you’re just going to create a massive, clumsy shadow that looks amateurish instead of intentional.
The Art of Taking Away
A flag isn’t just a piece of black fabric; it’s your way of telling the light where it’s not allowed to go. Most people think photography is about adding light, but after years of fighting bad rooms and messy windows, I’ve learned that the best shots usually come from what you choose to subtract.
Iwona Krawczyk
Stop Fighting the Light and Start Shaping It
At the end of the day, using a flag isn’t about adding more gear to your kit; it’s about having the discipline to subtract what doesn’t belong. We’ve talked about everything from stopping that annoying spill from a window to using negative fill when a subject looks like they’ve been flattened by a steamroller. Whether you are grabbing a piece of black foam core to carve out a jawline or positioning a large flag to keep a backlight from washing out your subject’s hair, remember that control is more important than power. You don’t need a more expensive strobe to fix a messy room; you just need to master the shadows that the room is trying to force upon you.
If you leave this session with nothing else, remember this: the most beautiful part of a portrait is often the part you can’t see. The light provides the information, but the flags provide the intent. Don’t get so caught up in your settings that you forget to look at the shape of the light hitting the eyes or the way a shadow falls across a shoulder. Next time you feel like your gear is failing you, step back, look at the spill, and grab a flag. It’s usually the simplest solution to the most frustrating problems.
