
I remember a shoot for a corporate team in a rented loft—the kind with polished concrete floors and zero regard for physics. I had a heavy octabox mounted on a cheap, spindly stand that I’d grabbed because it looked “good enough” on the spec sheet. Halfway through the session, as I was asking the CEO what he does with his hands when he’s nervous, the whole thing decided to take a dive toward his shoulder. It wasn’t a catastrophic crash, but that sudden, sickening metallic clatter is enough to kill the mood of a room instantly. If you’re currently staring at a dozen different options online, wondering how to choose a light stand that will not fall without spending your entire commission on heavy-duty steel, you aren’t alone.
I’m not going to give you a lecture on metallurgy or suggest you buy the most expensive kit on the market just because a YouTuber told you to. Instead, I want to talk about the actual mechanics of a studio floor: weight distribution, footprint, and why that lightweight aluminum model is lying to you. I’ll show you exactly what to look for so your gear stays exactly where you put it, leaving you free to focus on the person in front of the lens.
The Chaos of the Room and How to Choose a Light Stand That Will Not Fall
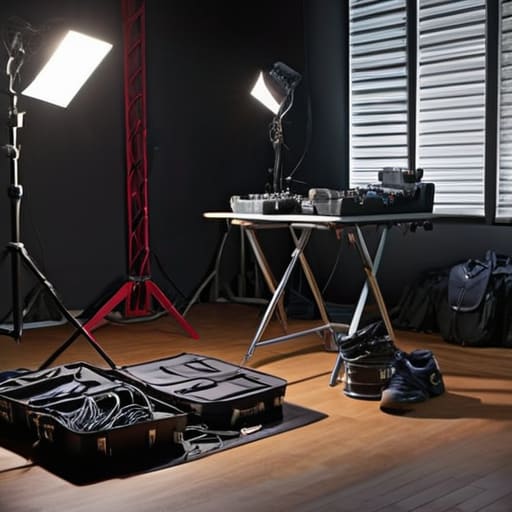
The chaos of the room and how to choose a light stand that will not fall
I’ve learned the hard way that a studio isn’t a vacuum. It’s a living, breathing mess of cables, people tripping over things, and clients who decide mid-shoot that they actually want to stand three feet to the left. When you’re working in a cramped corner or a drafty rented loft, your biggest enemy isn’t a bad exposure; it’s a sudden breeze or a stray elbow. This is why I stopped looking at just the height of a stand and started obsessing over tripod base stability for photography. If the footprint is too narrow, you’re basically setting a trap for yourself.
You need to know the maximum load capacity for light stands before you even unwrap the gear. If you’re mounting a heavy softbox or a deep beauty dish, a cheap, spindly stand is going to groan under the weight. I don’t care how much the kit cost; if it feels light in your hands, it’s probably going to fail when things get hectic. My rule of thumb is to always carry extra weight for sandbagging light stands for safety—even if it feels like overkill. Because when a heavy modifier starts to tilt, you don’t want to be the one catching it.
Why Maximum Load Capacity Is Your Only Real Insurance Policy
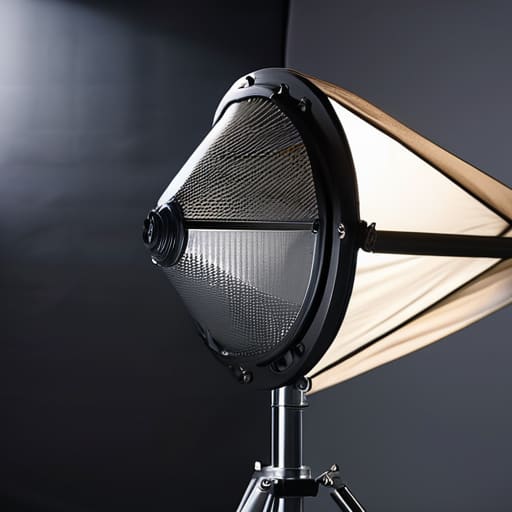
You’ll see spec sheets everywhere claiming a stand can hold ten kilos, but those numbers are usually measured in a vacuum, with the stand perfectly centered and the air perfectly still. In a real studio, you’re dealing with heavy modifiers, perhaps a softbox that acts like a sail if someone opens a window, or a client who leans a little too heavily on a nearby table. If you’re hovering right at the limit of what a piece of gear can handle, you’re playing a dangerous game. I always look for a maximum load capacity that is at least double what I actually plan to hang. It’s not about being paranoid; it’s about having a buffer for when the unexpected happens.
If you’re working with larger modifiers or those bulky, heavy-duty lighting supports, that buffer becomes your only real insurance policy. When you’re pushing the limits of a cheap, lightweight stand, you aren’t just risking a broken bulb; you’re risking a bruised ego or a broken toe. Never trust a spec sheet blindly—always assume the real-world weight is heavier than the paper says.
The Physics of Tripod Base Stability for Photography
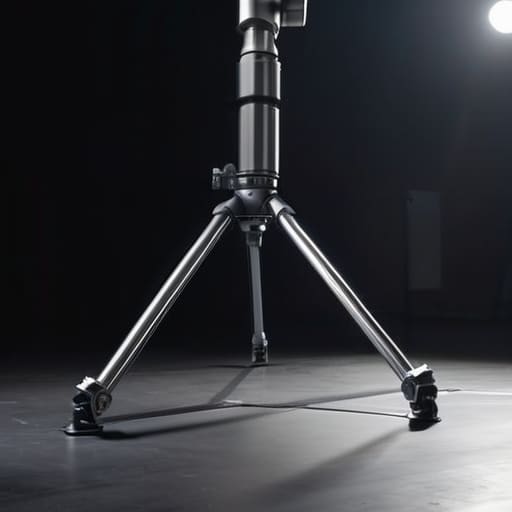
It’s easy to get caught up in the specs of the lamp or the softness of the modifier, but you have to look down at the floor. True tripod base stability for photography isn’t about how expensive the metal is; it’s about the geometry of the legs. If you’re using a narrow-base stand with a long boom arm, you’ve essentially built a lever designed to pull itself over. I’ve seen it happen a dozen times: a heavy softbox shifts just an inch, the center of gravity moves past the footprint of the legs, and suddenly your expensive gear is meeting the floor at high velocity.
When you’re working in a cramped studio or navigating around a client’s desk, you can’t always spread the legs wide to create a stable footprint. This is where people get lazy and assume the weight rating covers them. It doesn’t. Even with heavy duty lighting supports, physics doesn’t care about your budget. If the weight is cantilevered too far out, the stand will tip. You need to understand that stability is a relationship between the weight of the modifier, the length of the extension, and the actual surface area the legs occupy on the ground.
Heavy Duty Lighting Supports for When the Client Changes Everything
There is a specific kind of panic that sets in when a client decides, midway through a corporate headshot session, that they actually want a dramatic, low-angle backlight instead of the soft, high-key setup we agreed upon. Suddenly, you’re dragging a heavy modifier across a cramped studio floor, navigating around expensive monitors and a client’s designer handbag. This is exactly why I stopped skimping on my gear. Investing in heavy duty lighting supports isn’t about being a gear snob; it’s about having the structural integrity to handle those last-minute pivots without the whole rig wobbling like a newborn deer.
When you are working in a tight space or dealing with a client who keeps shifting the “vibe,” you cannot rely on those spindly, lightweight stands that come in starter kits. You need something that stays put when bumped. I’ve learned the hard way that preventing light stand tip over isn’t just about the weight of the lamp itself, but about the footprint of the base. If you aren’t already sandbagging light stands for safety, start now. A single five-kilo sandbag at the base of a heavy boom arm is the difference between a successful pivot and a very expensive insurance claim.
Sandbagging Light Stands for Safety in an Unpredictable World
If you aren’t sandbagging, you’re basically just playing a game of Russian roulette with your gear. I learned this the hard way during a corporate shoot when a client’s assistant tripped over a cable, sending a heavy softbox tilting toward a very expensive mahogany desk. If I’d been using heavy duty lighting supports without weight, that light would have been gone. When you’re sandbagging light stands for safety, the rule is simple: the bag goes on the tallest leg, near the center of gravity, not just dangling off the bottom knob like an afterthought.
You have to treat every stand as if it’s actively trying to tip over. I don’t care if the room feels calm; someone will eventually walk through a doorway too quickly or a breeze will catch a large modifier. Preventing light stand tip over isn’t about being paranoid; it’s about being professional. A well-placed sandbag compensates for the awkward leverage of a boom arm or a massive umbrella, ensuring that your setup stays put even when the environment gets chaotic. It’s the cheapest insurance you’ll ever buy.
Preventing Light Stand Tip Over With Studio Lighting Equipment Safety Tips
If you’re looking for a checklist of studio lighting equipment safety tips, you won’t find much comfort in a list of “best practices.” Real safety is about anticipating the moment someone trips over a cable or a client decides they want the subject moved three feet to the left, right into the path of your main light. I’ve seen a perfectly balanced setup get undone by a single rogue power cord. My rule is simple: if a light is taller than your eye level, it’s a potential projectile. Always check your cables before you even think about powering up; a tangled mess of wires is just a tripwire waiting to happen.
When you’re working with modifiers—especially those massive octaboxes that act like sails if someone opens a window—you have to be ruthless about preventing light stand tip over. Don’t just set it and forget it. I make it a habit to physically nudge the stand after I’ve positioned it to see how it reacts to a little tension. It sounds paranoid, but sandbagging light stands for safety isn’t just an extra step; it’s the only thing standing between a professional shoot and a very expensive pile of broken glass on the studio floor.
Five ways to stop worrying about your gear tipping over
- Check the footprint before you extend the legs. A stand might look beefy when it’s collapsed, but once you crank that center column up to eye level, the center of gravity shifts and suddenly that expensive softbox is a pendulum waiting to swing.
- Stop buying the “all-in-one” cheap kits. If you’re using a heavy modifier—and let’s be honest, even a medium octabox has weight—don’t try to balance it on a stand that was clearly designed for a tiny speedlight.
- Watch out for the “leg spread” compromise. You’ll want to spread those legs as wide as the design allows to create a stable base, but if you’re working in a cramped studio with a client’s assistant tripping over everything, you have to find the sweet spot between stability and not becoming a trip hazard.
- Look for locking mechanisms that actually lock. There is nothing more heart-stopping than hearing a ratchet slip while you’re mid-composition; if the knob feels like it’s made of thin plastic, it’s going to fail you when the client asks you to move the light six inches to the left.
- Match your stand to your modifier’s “personality.” If you’re using a heavy, deep beauty dish, you need a heavy-duty C-stand or a dedicated heavy-duty pole, not a lightweight air-cushioned stand that’s going to shudder every time you touch it.
The real cost of a cheap stand
I’ve learned that a light stand isn’t just a piece of metal; it’s the difference between a controlled portrait session and a frantic, expensive cleanup. You don’t buy a heavy-duty base because you want to be a gear snob—you buy it because you can’t afford to watch a client’s expression shift from confidence to terror the second a modifier starts to tilt.
Iwona Krawczyk
The final check before you hit the shutter
At the end of the day, choosing a light stand isn’t about buying the most expensive piece of aluminum in the catalog; it’s about anticipating the moment the room stops behaving. You need to look at the load capacity, check the footprint of that tripod base, and—this is the non-negotiable part—never leave a stand standing without a sandbag when you’re working in a tight space. I’ve seen too many shoots grind to a halt because someone thought a lightweight travel stand could handle a heavy softbox, or because they ignored the physics of a cantilevered arm. If you respect the weight of your modifiers and the unpredictability of your environment, you aren’t just protecting your gear; you are protecting the flow of the session.
When everything is set, the lights are steady, and the subject has finally stopped asking what they should do with their hands, you want to be thinking about the light, not the hardware. There is a specific kind of peace that comes from knowing your setup is boringly, stubbornly stable. You want your gear to be the invisible foundation that allows you to actually look at the person in front of you. Build your kit with the assumption that everything will go slightly wrong, and you’ll find that you can spend much more time doing the work that actually matters: making the connection.
