
I once spent three hours in a basement studio in East London, surrounded by half-dried oil canvases and the overwhelming smell of turpentine, trying to figure out how to photograph an artist in a studio while they paced a hole into the floorboards. They weren’t worried about my lighting setup or my focal length; they were convinced that their face looked “wrong” in every single frame. It wasn’t a technical failure of my camera, but a complete collapse of the human element. Most tutorials will tell you to bring a 50mm prime and a softbox, but they never mention what to do when the subject is sweating through their shirt because they’re terrified of being seen.
This isn’t going to be a lecture on gear or the “perfect” exposure settings. Instead, I’m going to give you the notes I wish someone had handed me during my eight years of assisting: the messy, unpolished reality of managing a workspace that wasn’t built for photography. We’ll talk about navigating cramped corners, dealing with unpredictable natural light, and most importantly, how to handle the person standing in front of the lens. This is about the work that happens between the shutter clicks.
The Room Is the Subject How to Photograph an Artist in a Studio
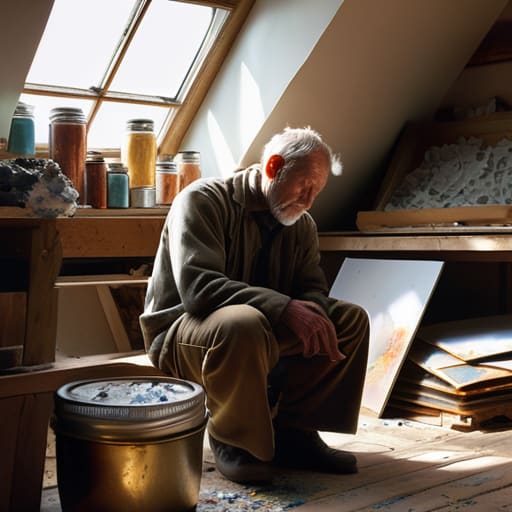
When you walk into an artist’s workspace, stop looking for the “perfect” shot and start looking for the mess. Most people think they need to clean up before I arrive, but a sterile studio is a lie. The real magic happens when you lean into environmental portraiture techniques that actually show how the person lives. I’m looking for the dried paint on the floorboards, the stack of half-finished canvases in the corner, and that one specific, stained rag that’s been there for three years. If the room feels cramped or the ceiling is too low, don’t fight it; use that tension to frame the person within their own chaos.
Lighting is usually where the battle is won or lost. You’ll likely find yourself fighting with inconsistent natural lighting in art studios, where a single window creates a massive contrast gap between a bright easel and a dark corner. Don’t try to flatten everything out with a massive softbox—that kills the mood. Instead, use a single reflector or a small, controlled strobe just to fill in the shadows on their face. You want to catch the texture of the charcoal or the grit of the clay, not turn the whole place into a bright, lifeless office.
Chasing the Ghost Mastering Natural Lighting in Art Studios
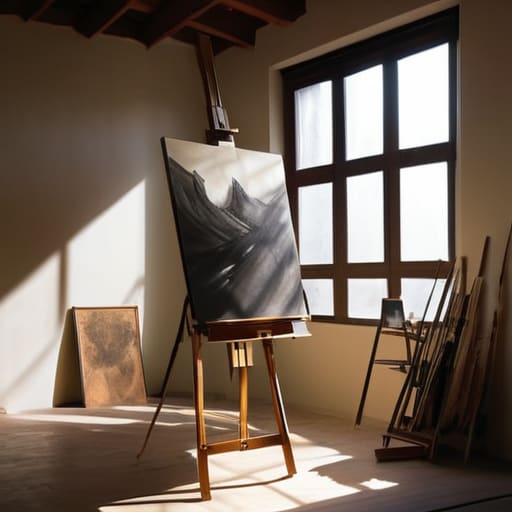
The biggest mistake people make when trying to master natural lighting in art studios is thinking they can control it like a strobe. You can’t. If you’re working in a north-facing studio with big windows, you’re in luck; the light is soft and reliable. But most artists work in spaces that are a chaotic mess of skylights, harsh afternoon sun, and shadows that move faster than you can adjust your aperture. My rule of thumb? Stop fighting the light and start anticipating the shift. If the sun starts hitting a pile of charcoal sketches directly, don’t try to underexpose it into submission—move the artist, or change your angle.
When I’m documenting creative process photography, I’m looking for how that light interacts with the mess. I want to see the way a single beam hits the grit on a palette or the texture of a dried brush. Don’t just aim for a clean face; look for the way the shadows fall across the tools. Sometimes, the best shot isn’t the perfectly lit portrait, but the way the dust motes dance in a sliver of light right next to a stained apron. It’s about the compromise between clarity and mood.
Environmental Portraiture Techniques for the Unruly Workspace
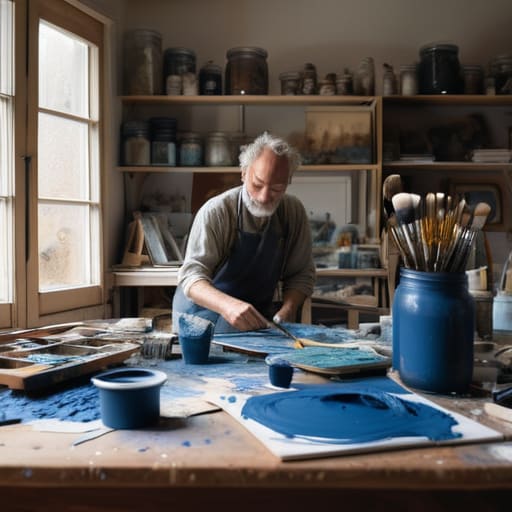
Once you’ve wrestled with the light, you have to deal with the mess. An artist’s studio isn’t a sterile set; it’s a living, breathing disaster of half-finished ideas. When I’m documenting creative process photography, I try to resist the urge to tidy up. If there’s a smear of Prussian Blue on a palette or a stack of discarded sketches, leave them. Those aren’t distractions; they are the narrative. I usually set my tripod about 2.5 meters back to grab a wider view, ensuring the subject is framed by their own chaos rather than sitting in front of it like a mannequin.
The real trick to effective environmental portraiture techniques is finding the tension between the person and their tools. I like to get close—maybe 80cm—to capture the grit. Don’t just shoot the artist looking at the camera; shoot the way their fingers grip a charcoal stick or how they lean into a canvas. I’m looking for those small, tactile moments. If they look stiff, I tell them to pick up a brush or move a sculpture. It gives their hands something to do, which is usually where the tension lives.
Documenting Creative Process Photography Beyond the Final Piece
Most people come to me wanting the “hero shot”—the polished, seated portrait where the artist looks thoughtful and competent. But if you only capture the finished face, you’re missing the actual story. Documenting creative process photography is less about the person and more about the friction between the maker and the medium. I’ve learned that the best shots happen when I stop looking for a pose and start looking for the mess. I want to see the charcoal dust under the fingernails or the way a palette knife scrapes against a dried layer of oil.
To do this well, you have to get comfortable with being a nuisance. You can’t wait for a perfect moment; you have to anticipate it. I find myself leaning into capturing artist tools and textures—the frayed edges of a brush, the grit of a stone, or the specific way light hits a spilled jar of turpentine. It’s about finding the rhythm in the movement. Don’t be afraid to get close, even if it means dodging a stray elbow. The goal isn’t a clean image; it’s an honest one.
The Soul of the Mess Capturing Artist Tools and Textures
Don’t let the clutter intimidate you; that pile of dried-out brushes and half-empty pigment tubes is where the story actually lives. When I’m capturing artist tools and textures, I’m not looking for a tidy arrangement. I’m looking for the evidence of work. I usually drop my aperture down to f/2.8 or f/4 to pull a specific, stained palette knife out of a chaotic background. It’s about creating a sense of depth so the viewer feels the grit of the charcoal or the tackiness of the oil.
The trick with composition for workspace photography is to stop treating the mess like an obstacle and start treating it like a layer. I’ll often set my camera about thirty centimeters from a messy workbench, using a macro lens or just a tight focal length, to let the foreground blur into a soft, textural haze. You want the viewer to smell the turpentine. If you try to clean up the space before you shoot, you’ve already lost the soul of the portrait. You aren’t there to document a showroom; you’re there to document the struggle.
Finding Order in Chaos Composition for Workspace Photography
When you’re standing in the middle of a studio that looks like a paint bomb went off, your first instinct is to find a clean line. Don’t. If you try to force a sterile, perfectly balanced frame onto a workspace that thrives on entropy, the whole image will feel dishonest. Instead, use composition for workspace photography to find the rhythm in the wreckage. I usually look for “anchors”—a heavy wooden stool, a stack of dried canvases, or a singular, stained palette—to act as a visual weight. Once you have that anchor, you can let the rest of the chaos bleed into the edges of the frame. It’s about directing the eye through the mess rather than trying to tidy it up.
I’ve learned that the best candid artist portraits often happen when I stop looking for the perfect geometry and start looking for leading lines made of clutter. A spilled jar of brushes or a long, streak of charcoal across a table can lead the viewer’s eye straight to the subject’s hands. Don’t be afraid of a shallow depth of field here; blurring out a distracting pile of scrap metal in the foreground can actually give the image a sense of depth that makes the viewer feel like they are peeking into a private world.
Five things I wish someone had told me before my first studio commission
- Stop trying to tidy up. I spent years thinking a clean desk meant a professional shot, but with artists, the “mess” is usually their shorthand for thinking. If you move their brushes or stack their canvases, you’ve just killed the energy of the room. Instead, look for the patterns in the chaos—the way the paint dries on a palette or how the charcoal dust settles—and frame around that, not through it.
- Watch the hands. I always ask people what they do with their hands when they’re nervous, and artists are no different; they’ll often hide them in pockets or grip their tools like a weapon. Don’t fight it. If they’re fidgeting with a palette knife or smoothing out a piece of clay, lean into it. That’s where the real portrait lives, in the tactile connection to the work.
- The “One Light” rule for mood. You’ll be tempted to bring a massive lighting kit to overpower the studio’s vibe, but don’t. If the studio has a single window, use it. If you absolutely must add light, bring one single large softbox or a silver reflector and place it about 45 degrees off-axis. Anything more and you’re just photographing a set, not a workspace.
- Manage the “I look terrible” spiral. About twenty minutes in, most subjects—especially artists who spend their lives looking at things critically—will decide they look awkward. When that happens, stop looking at the screen and stop talking about the lighting. Switch the focus entirely to the work. Ask them a specific question about a technique; once they start talking about their craft, their face relaxes, and the “bad” portrait disappears.
- Watch your depth of field, but don’t overdo it. It’s easy to get seduced by a creamy, blurred background (f/1.8 is a trap in a small studio), but you need enough of the environment in focus to tell the story. I usually aim for something around f/4 or f/5.6. You want the artist sharp, but you want the viewer to actually recognize the tools they’re using.
The Real Work
You can spend three hours obsessing over the fall-off on your key light, but none of that matters if you haven’t figured out how to stop the artist from hiding behind their easel the second you raise the camera. The shot isn’t in the gear; it’s in the moment you convince them that their mess is actually their strength.
Iwona Krawczyk
The Final Frame
At the end of the day, photographing an artist isn’t about finding the perfect technical setting or the most expensive modifier; it’s about navigating the friction between their creative mess and your need for a coherent shot. We’ve talked about managing the erratic natural light, embracing the clutter of the workspace, and documenting the actual grit of the process rather than just the polished end product. If you remember nothing else, remember that the composition is often secondary to the mood. You have to be willing to compromise on a clean background if it means capturing the way the light hits a paint-stained hand or how the subject leans into their work when they think no one is watching. The goal is to document the reality, not a sanitized version of it.
When you finally pack up your gear and head home, don’t obsess over whether you missed a specific shadow or if the lens was slightly off-center. The most successful portraits are the ones where the subject feels seen, not just staged. An artist’s studio is a living, breathing extension of their mind, and your job is simply to be the witness to that chaos. If you can capture even a fraction of the tension between the creator and their medium, you’ve done your job. Put the camera down, stop worrying about the gear, and trust that the story was already there in the room waiting for you to find it.
