
I once spent three hours in a cramped, windowless office trying to figure out how to light an interview setup for a CEO who looked like he was being interrogated by the Gestapo. I had two expensive softboxes, a reflector, and a tripod that kept slipping, yet the result looked like a cheap detergent commercial. The problem wasn’t my gear or my technical knowledge; it was the fact that I was trying to force a “perfect” studio diagram onto a room that hated me. Most tutorials will tell you to buy a three-point lighting kit and call it a day, but they never mention what to do when the client’s desk is blocking your key light or when the overhead fluorescents are making everyone look like they have jaundice.
This isn’t going to be a lecture on the physics of light or a shopping list for the latest high-end LED panels. Instead, I’m going to show you the practical compromises I make when things go sideways. I’ll tell you exactly where to stand, which modifiers actually work when you’re short on space, and how to achieve a professional look when you’re working with limited time and even more limited control.
Forget the Camera the Real Truth About How to Light an Interview Setup
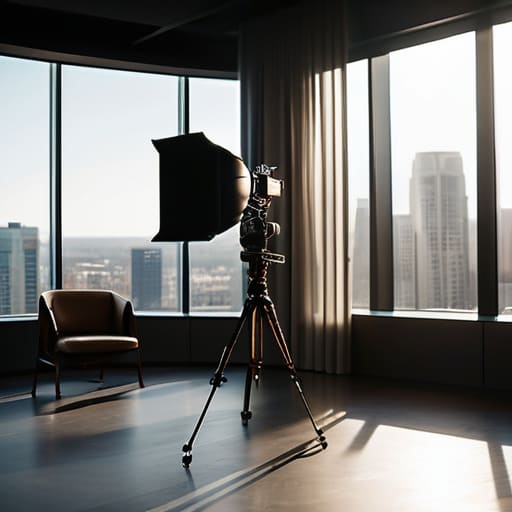
I spent years watching senior photographers sweat over sensor noise and bitrates, only to realize they were actually sweating because the client’s office had floor-to-ceiling windows and no blinds. You can own a cinema camera that costs more than my car, but if you haven’t mastered controlling shadows in video interviews, that sensor isn’t going to save you. Most people approach a new space thinking about apertures, but I’m thinking about the ceiling height and whether the air conditioning is going to make my subject’s hair fly everywhere.
When I walk into a room, I’m looking for the light that’s already there and figuring out how to kill it or tame it. You’ll hear people talk about a perfect three point lighting setup like it’s a magic spell, but in a real-world interview, you’re usually improvising. It’s about the compromise. Maybe you can’t get a clean rim light because there’s a bookshelf in the way, or maybe you have to settle for a single large softbox because the room is too cramped for a full kit. It’s not about being perfect; it’s about making the room work for you instead of against you.
Navigating the Chaos Mastering the Three Point Lighting Setup
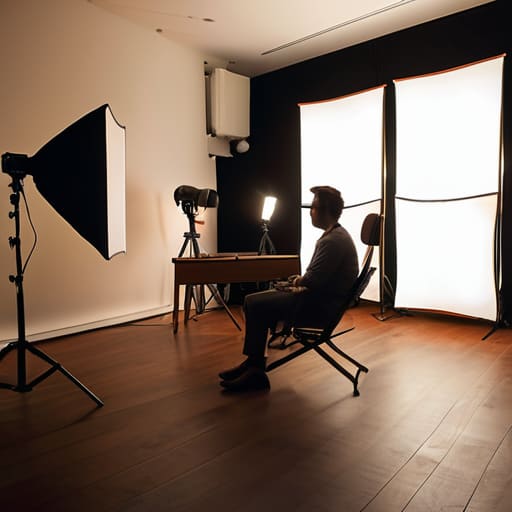
Look, everyone talks about the three point lighting setup like it’s some holy ritual, but in a real room, it’s more like a negotiation. You start with your key light—usually a large octa or a deep softbox placed about 45 degrees off-axis—to establish the shape of the face. But the mistake I see most often is people getting so caught up in the “perfect” angle that they forget about the background. If you don’t manage your secondary lights, your subject just becomes a floating head in a dark void.
To actually get that depth, you need to stop treating the fill light like a secondary thought. It’s not there to erase the shadows; it’s there for controlling shadows in video interviews so they don’t look like a noir film unless that’s the specific brief. Then, you bring in the kicker. I always suggest a dedicated hair light or a subtle rim lighting for subject separation. It’s that tiny sliver of light that tells the viewer’s eye, “This person is a three-dimensional human being, not a flat cutout against a beige wall.”
The Softbox vs Ring Light for Interviews Choosing Your Weapon
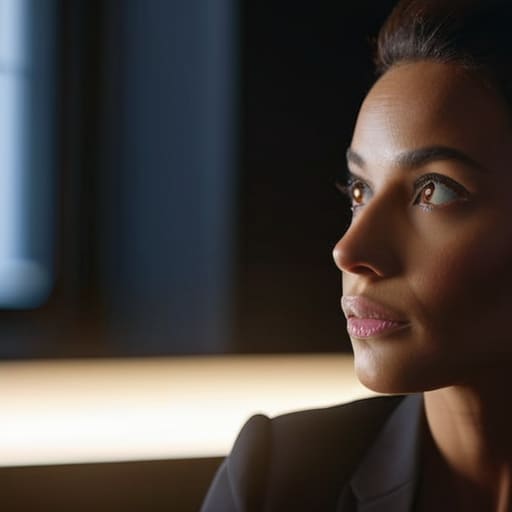
I’ve seen people walk into a client’s office with a ring light, thinking they’ve solved everything, only to realize they’ve turned their subject into a flat, lifeless doll. Ring lights are fine for a quick TikTok in a bedroom, but for a real interview, they lack the dimension you need. They wrap light around the face in a way that erases the very thing that makes a portrait interesting: the shape of the bone structure. If you want to actually master controlling shadows in video interviews, you need to stop thinking about “even” light and start thinking about depth.
This is where the softbox becomes your best friend. A decent 36-inch octa or a medium rectangular softbox gives you a directional source that mimics a window, creating those subtle gradients that make a shot look professional rather than accidental. When you’re weighing the softbox vs ring light for interviews, remember that the softbox allows you to place your key light slightly off-axis. This creates a natural fall-off that separates the subject from the background, making the whole setup feel intentional rather than just “lit.”
A Cinematic Interview Lighting Tutorial for Unpredictable Rooms
When you walk into a client’s office and realize the ceiling is a grid of harsh fluorescent tubes, don’t panic. This is where the theory of a standard three point lighting setup meets the messy reality of a room that wasn’t built for film. My first move is always to kill the overheads—if you can. If you can’t, you have to work around them. I usually set my key light about 45 degrees off-axis, using a large softbox to keep the light wrap gentle. The goal isn’t perfection; it’s about creating a sense of depth in a space that wants to look flat and corporate.
Once your key is set, focus on rim lighting for subject separation. In a cluttered room or a beige-walled office, your subject will bleed into the background if you aren’t careful. A small, tucked-away LED strip or a focused light behind them can create that thin line of light along the shoulder that says “this person is three-dimensional.” It’s a tiny tweak, but it’s the difference between a professional clip and something that looks like a grainy Zoom call. Just watch your color temperature for video production—nothing kills a mood faster than a warm key light fighting a freezing blue window.
Controlling Shadows in Video Interviews When the Subject Fights Back
Then there’s the subject who decides, halfway through the first question, that they hate shadows. They’ll start tilting their chin up or shifting their weight to avoid a dark patch under their nose, effectively killing your carefully crafted depth. When this happens, don’t fight them by trying to re-engineer your entire three point lighting setup on the fly. Instead, look at your fill light. If the shadows are becoming too aggressive because they’ve moved into a “dead zone,” grab a white foam board or a large reflector and tuck it just out of frame. It’s a blunt tool, but it works better than trying to negotiate with a nervous CEO about their jawline.
If they are still fighting the light, you might need to lean into the drama rather than trying to fix it. Sometimes, the best way of controlling shadows in video interviews is to stop trying to erase them and instead use a bit of rim lighting for subject separation to pull them away from a dark background. If you can define their silhouette, the shadows on their face become a stylistic choice rather than a technical error. It’s about making the compromise work for you.
Color Temperature and Rim Lighting for Subject Separation in Real Life
Once you’ve managed to stop the subject from blending into a beige wall, you have to deal with the light itself. I’ve spent far too many shoots squinting at my monitor because I ignored the color temperature for video production, trying to mix a warm tungsten lamp with the blueish spill from a nearby window. If your temperatures are fighting, your skin tones will look sickly, and no amount of post-production magic is going to save you from that muddy, amateur look. Pick a side: either balance everything to daylight or commit to the warmth, but stop trying to make both happen at once.
Then there’s the issue of depth. In a cramped office or a cluttered living room, your subject often looks like they’ve been pasted onto a flat background. This is where rim lighting for subject separation becomes your best friend. I usually tuck a small, focused light behind them—angled just enough to catch the edge of their shoulder or hair. It creates that thin, bright line that pulls them away from the shadows. It’s a tiny adjustment, but it’s the difference between a flat, lifeless shot and something that actually feels cinematic.
Five things I wish I knew before my first real commission
- Stop trying to fight the sun. If you’re in a room with massive floor-to-ceiling windows, don’t spend forty minutes trying to balance your strobes against the daylight. Just black them out with some heavy fabric or move the subject to the darkest corner. You can’t out-power a midday sun with a portable kit, and you’ll only end up with a sweaty client and a messy setup.
- Watch the ceiling, not just the walls. Most people forget that a white ceiling is basically a giant, uncontrolled bounce card. If you’re trying to create a moody, cinematic look but your subject has a weirdly bright glow on the top of their head, it’s because your light is bouncing off the plaster. Get a flag or a piece of black foam core up there to kill the spill.
- The “nervous hand” check applies to lighting, too. When a subject starts fidgeting, they often lean forward or shift their weight, which throws your light ratio completely off. I always keep my key light on a stand with a decent footprint so I can nudge it three inches to the left without having to re-calculate the entire room.
- Don’t over-rely on the hair light. It’s tempting to crank up a rim light to make someone “pop,” but if you aren’t careful, you end up with a glowing halo that looks cheap and amateur. Use just enough to separate their shoulders from the background, and keep the intensity low. If the rim light is brighter than the key, you’ve gone too far.
- Always carry a way to kill the “office” look. Most interview spaces have those terrible, flickering overhead fluorescent tubes. Even if you have a perfect three-point setup, those green-tinted ceiling lights will bleed into your shadows and ruin your color grade. Turn them off. If the client complains it’s too dark, tell them you’ll bring more light in, rather than letting the bad light stay.
The Myth of the Perfect Gear
You can spend six months’ rent on a cinema camera, but if you haven’t accounted for that one aggressive window or the way your subject’s skin reacts to a cheap LED, you aren’t making a film—you’re just recording a headache.
Iwona Krawczyk
The Reality of the Final Frame
At the end of the day, lighting an interview isn’t about following a textbook diagram or owning every modifier in the catalog. It’s about the constant, messy negotiation between your gear and the room you’ve been dropped into. Whether you’re wrestling with a window that won’t stay shaded, trying to salvage a flat face with a single softbox, or using rim light to pull a subject away from a beige wall, remember that technical perfection is secondary to intention. You’ve learned to manage the three-point setup, you know when to ditch the ring light for something more cinematic, and you’ve realized that controlling shadows is often more important than adding light. If you can manage the chaos of the environment, the gear will eventually fall into line.
When the lights are finally packed away and you’re looking at the raw footage, don’t obsess over whether your Kelvin scale was off by fifty points. Look at the subject. If they look human, if they look like they are actually present in the conversation, then you’ve done your job. Photography and video are just tools to capture a moment of truth, and sometimes that truth is found in the imperfect shadows or the way a light catches a nervous hand. Stop worrying about the “perfect” setup and start focusing on the human connection happening in front of your lens. That’s where the real work lives.
